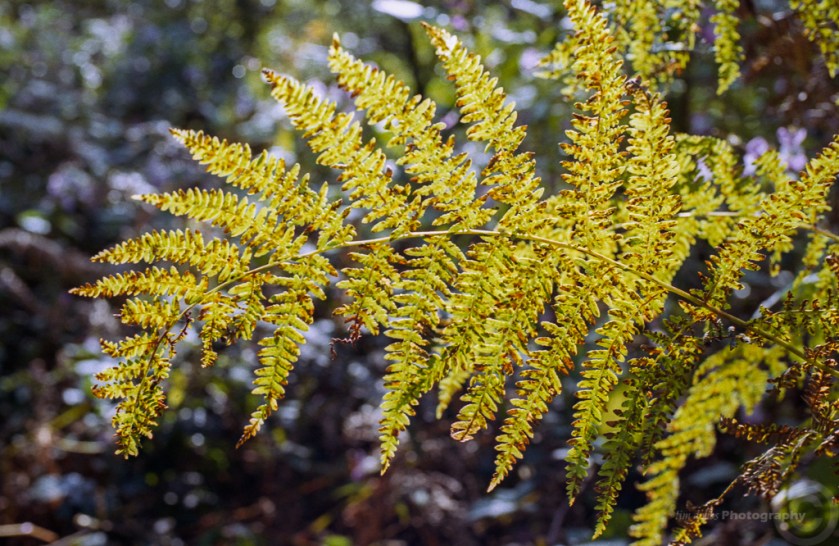
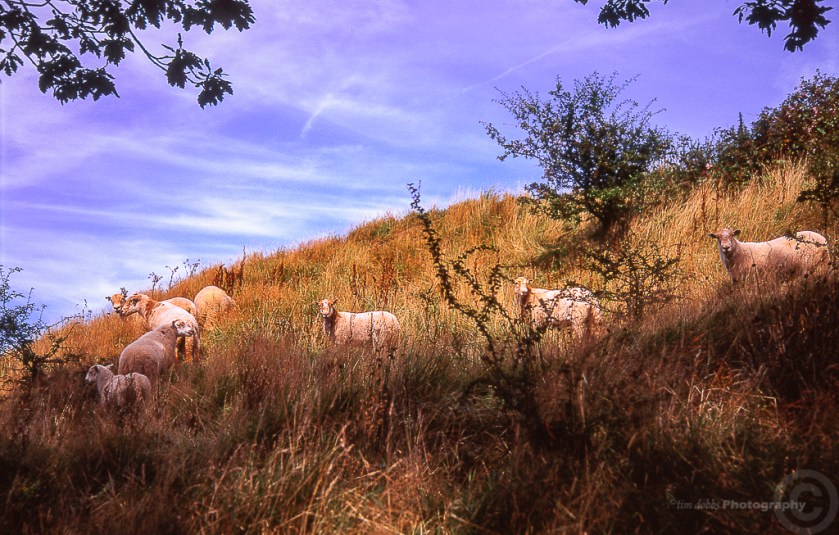
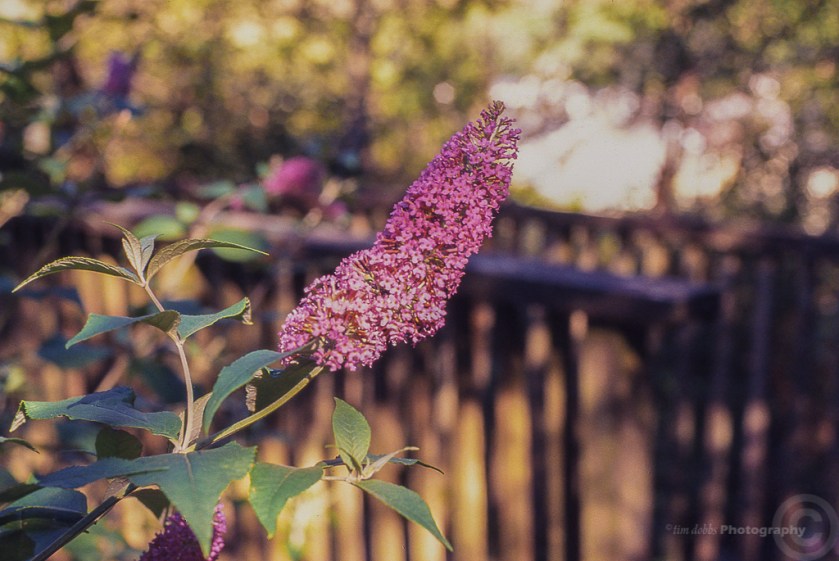
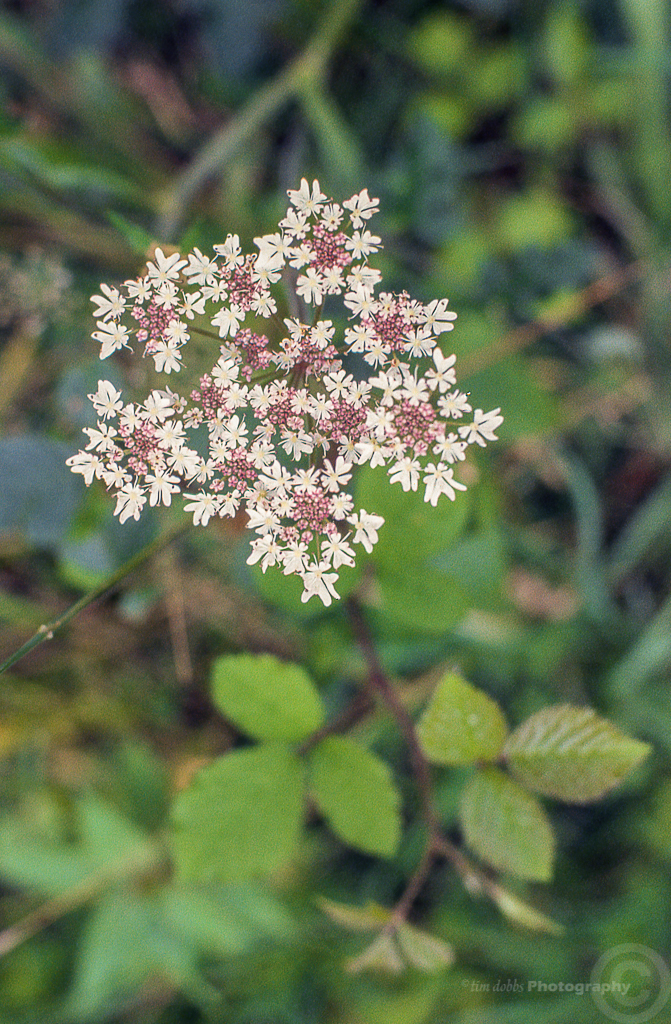
I love trying new/old film stocks, usually its some old expired stuff I find on eBay but for a change I picked up a 3 roll box of Lomography Colour Negative 400 35mm last week and was interested in seeing what the film was like compared to some of my favorite films like Portra 400 vc or Fuji Reala.Luckily for me it was a nice bright day which after viewing the scan really showed the best side of this film.
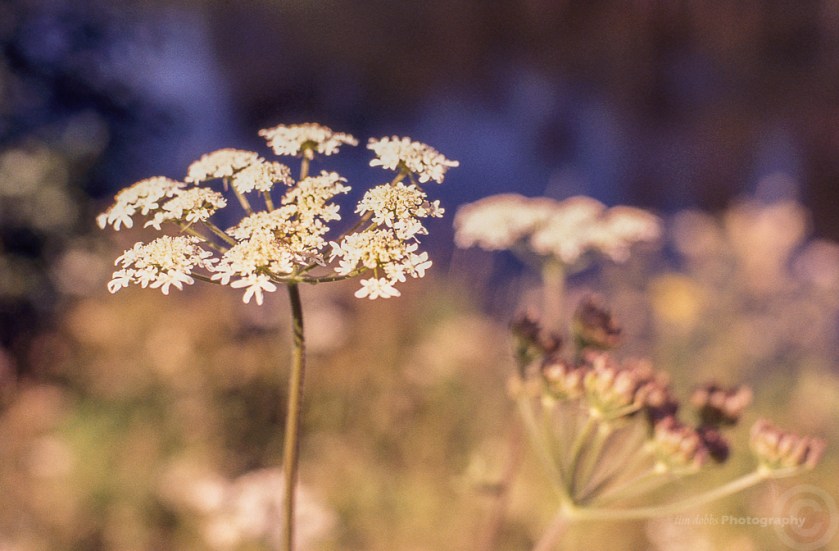
I decided to use a camera that I have not shot for an absolute age … my Canon AE1 program with the 50mm f1.4 which was such fun to use again.The sharpness of the film was quite impressive as so were the colours.
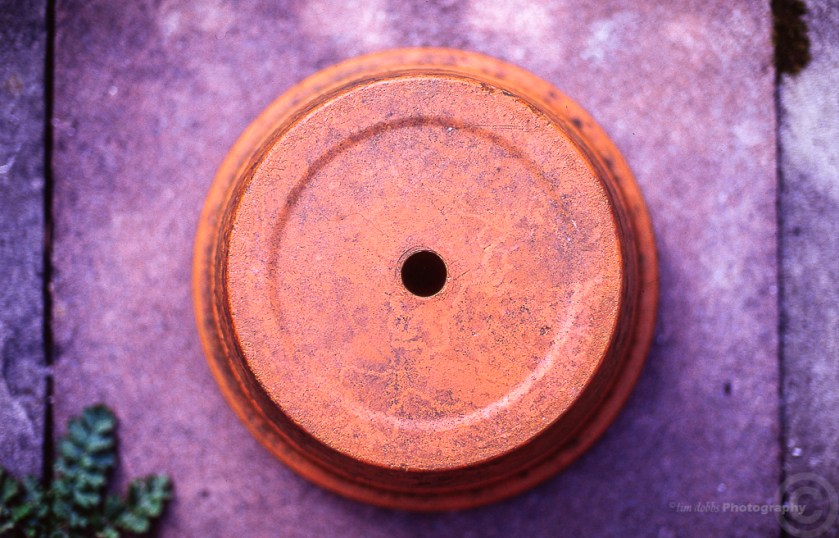
There seemed to be a slight green cast to most of the shots which did not detract from the image in fact I really liked the look.The brighter the light the more saturation I seemed to get which was great.
I am not sure what I was expecting from this film but its fair to say I love it.
I have since bought another pack but this time in 120 format so I can’t wait to give that a try …. so watch this space.
Thanks for looking ….
Click on an image to view larger
All images are available as prints just drop me an email
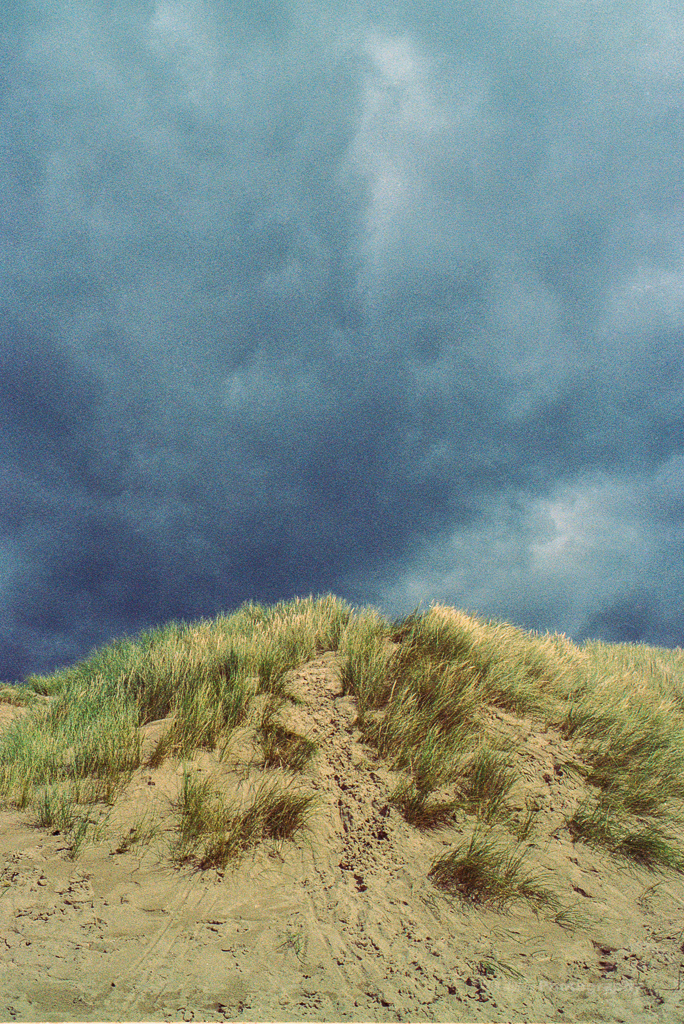
I am always looking on Ebay for any film bargains even though I have way more film than I actually need already and came across a few rolls of Kodak Ultra 400 that had expired back in 2005.
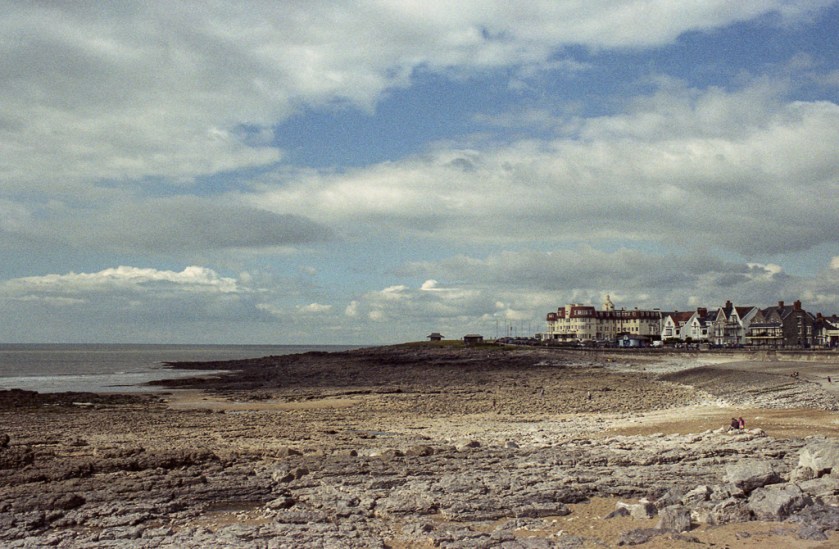
The seller said it had been cold stored and as I didn’t have any of this stock I took a punt.I loaded up my Nikon FE2 & 35mm f2.5 and we popped down to the beach at Porthcawl, the weather started quite bright but by the time I was half way through the roll the clouds darkened which gave me two different looks to the images.
Once I started scanning the roll I was taken aback with how the images looked, pretty normal colours while shooting in the partial sunshine but when it clouded over the images had quite a pronounced colour shift which for me were the better looking frames if I am honest.Overall I was very happy with how many keepers that I managed to get from this roll.
I even like the pronounced grain in the funkier one’s too.
I am going to print out a couple at quite a decent size as I think the grain/colour will pop more when viewed larger.
Thanks for looking ….
Click on an image to view larger
All images are available as prints just drop me an email
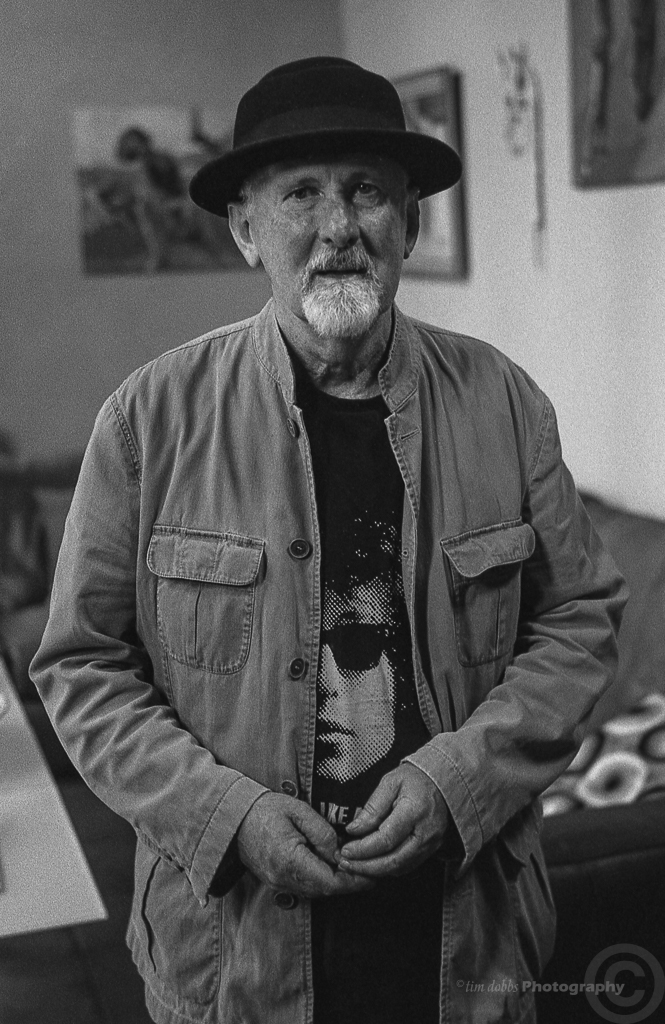
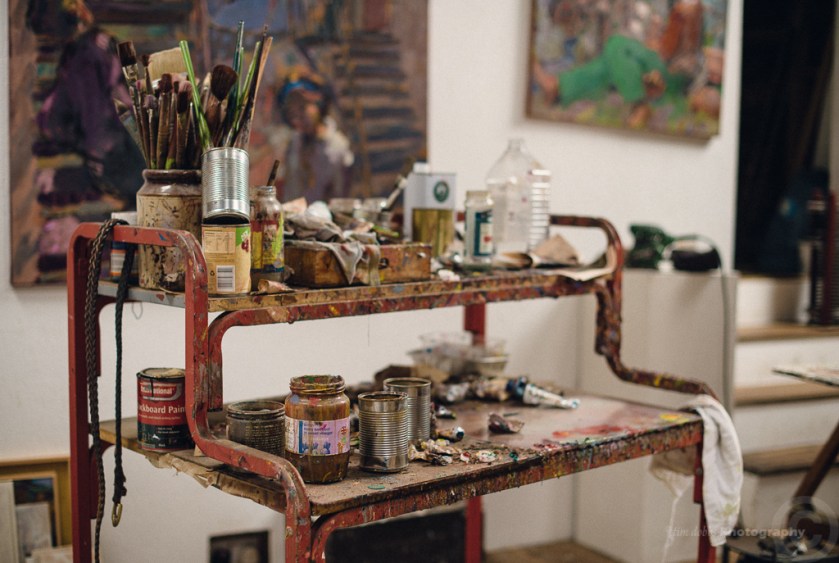
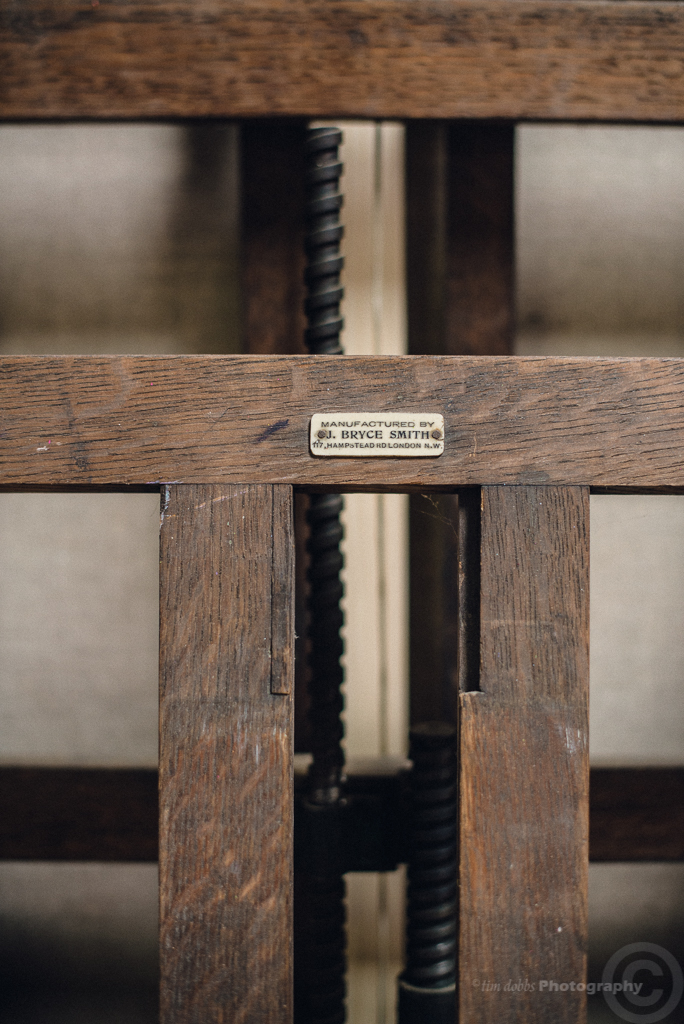
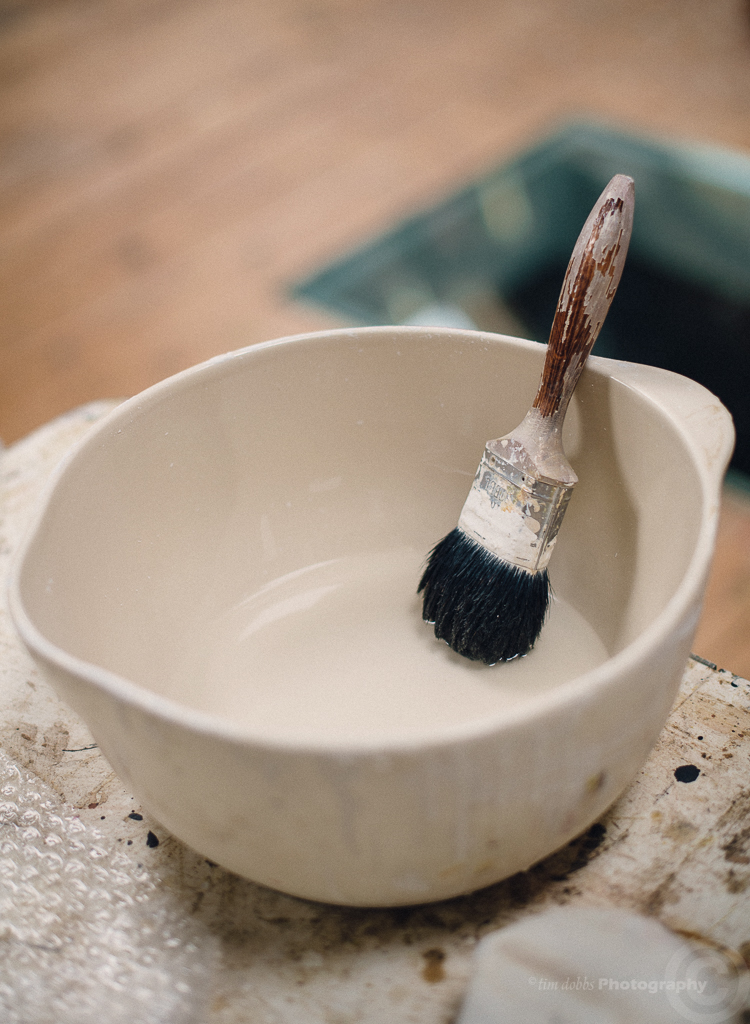
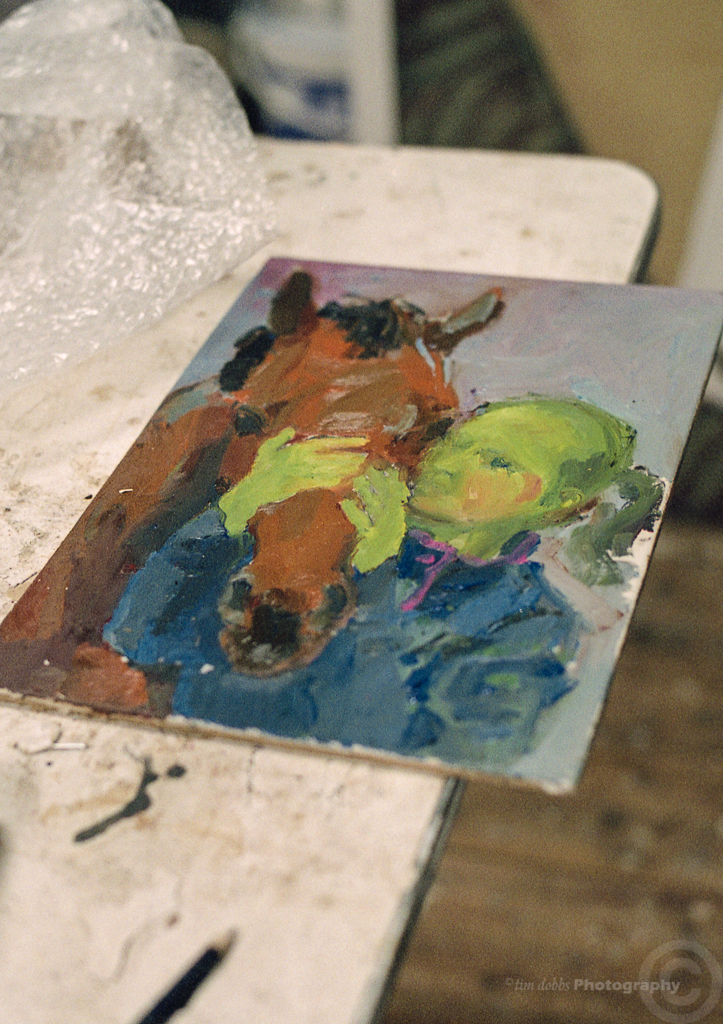
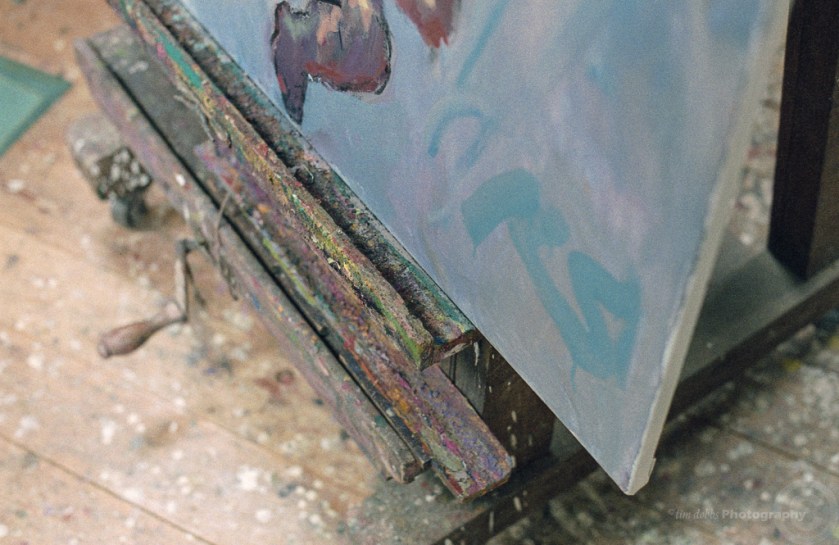
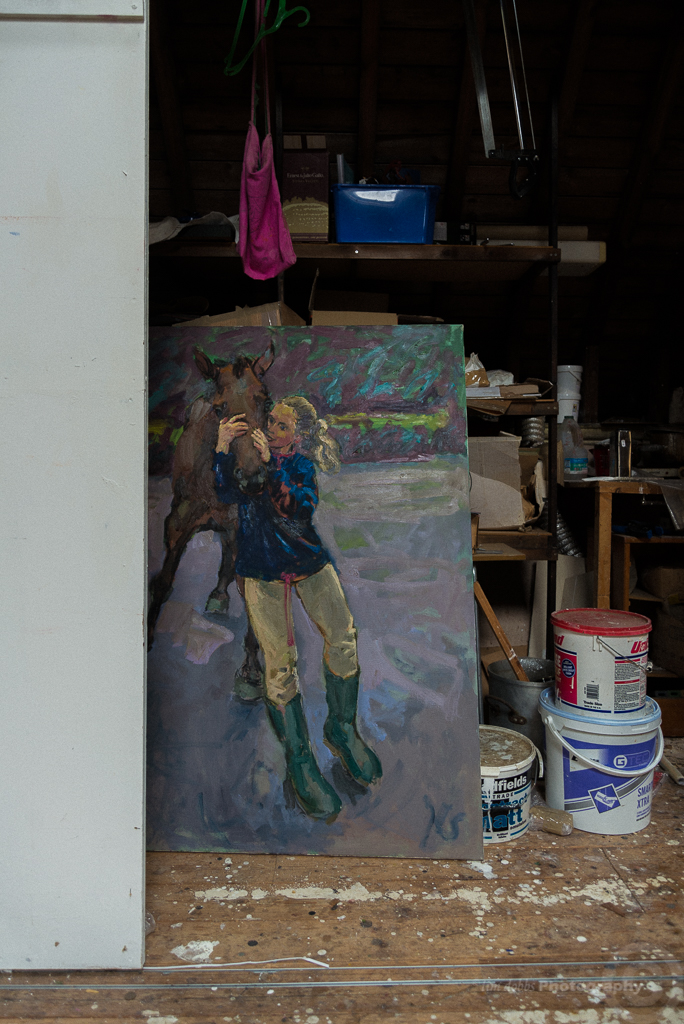
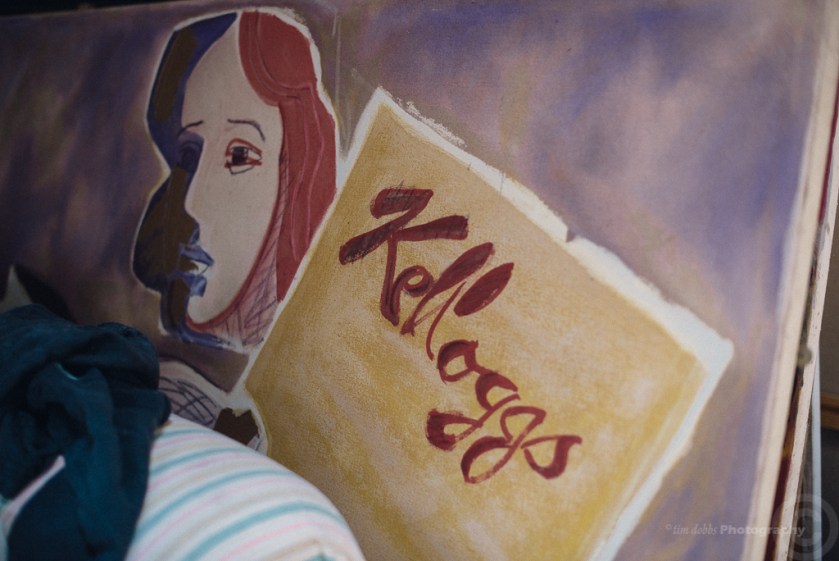
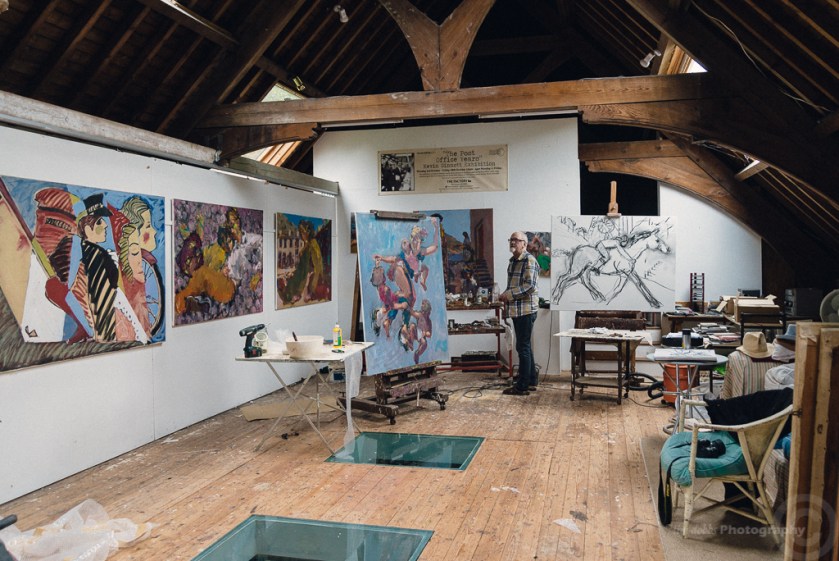
Over the last few weeks I have had the pleasure of spending time with world renowned artist Kevin Sinnott who lucky for me lives here in Pontycymmer where he also has his studio and his most excellent gallery “Studio 18”.
My first thoughts about this series of images was to shoot it completely on film which after my initial test shoots was not going to show how I pictured the project in my mind where I had some sort of control over the colours of the paintings.
So I used a mix of film & Digital hopefully to give a good overview of a working artist.
Before we start here is a very brief snippet about Kevin that I procured from the web….
Kevin Sinnott
Born in Sarn, South Wales in 1947, Kevin Sinnott is a contemporary Welsh artist with a truly international reputation. He trained at Cardiff College of Art & Design, Gloucestershire College of Art & Design and at the Royal College of Art, London. Kevin remained in London throughout the 1970s and 80s, building a very successful career, and exhibiting at leading London galleries, major galleries in the USA and mainland Europe. Kevin’s work is collected worldwide and he is represented in many important public collections, including the Metropolitan Museum of Art, New York. His large canvas, ‘Running Away with the Hairdresser’ has proved to be one of the National Museum and Galleries of Wales’s most popular acquisitions. Kevin returned to live in Wales in 1995 and has quickly established himself at the forefront of the renaissance in Welsh painting. While his work is primarily concerned with human relationships, the influence of the south Wales landscape is strongly felt in his paintings. He was elected to the Royal Cambrian Academy in 2007.
I will include some links at the end of the post to various articles featuring Kevin that may be of interest.Hopefully this will be the start of an ongoing project where I hope to spend time with artists in their studio or place of work where I can document the process of their discipline whether they are a painters, photographers, illustrators, musicians, sculptors etc
This 1st post may be an exception as Kevin gave me unlimited access to him and his studio for which I am so grateful.
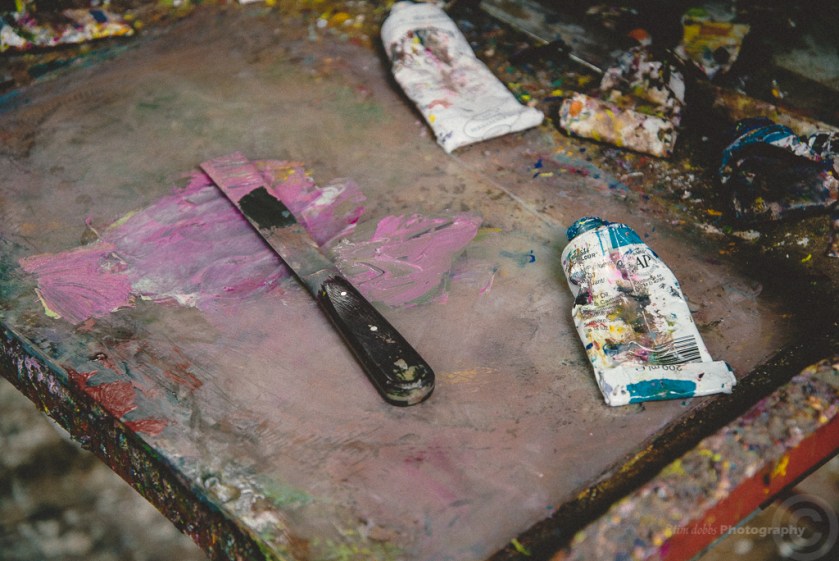
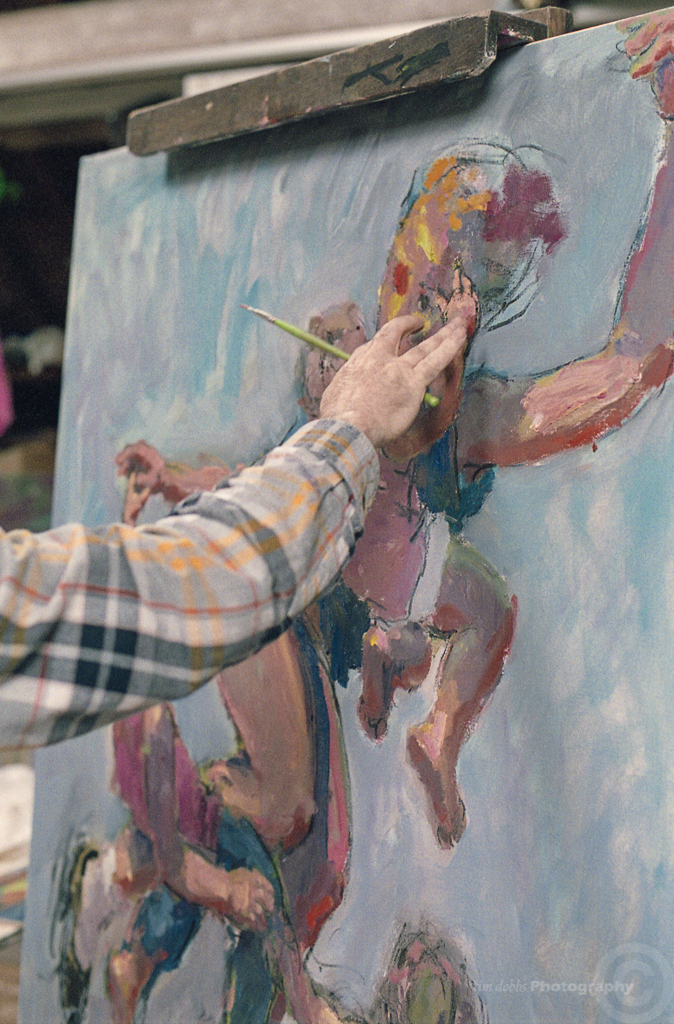
I was very lucky with my timing as Kevin was in the middle of a painting on the day we arranged for me to pop over to do the studio shoot.
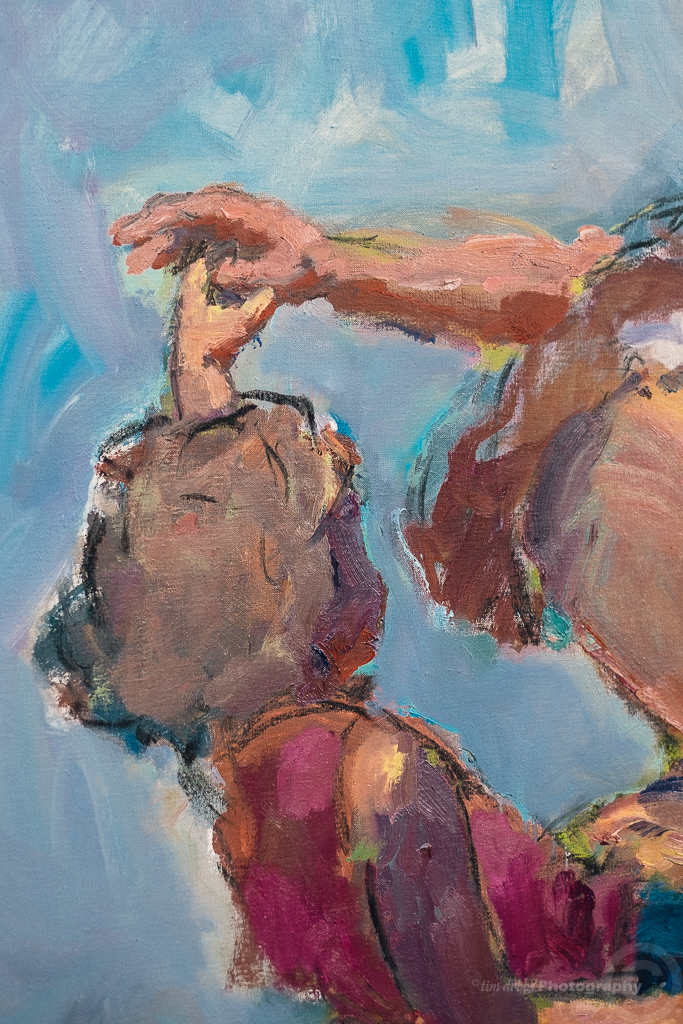
I was privileged to watch him work and then re work the painting “SuperMam” which will feature in most of the following images, please excuse the slight colour variations as obviously they are a mix of Film & Digital.
The paintings need to be seen in life to appreciate them 🙂
The images were shot on a mixture of Kodak Portra 400, Fuji Pro 400H for the colour and ilford HP5+ and Kodak T-Max for the B&W.
Cameras used were Nikon F100, Mamiya 645, Mamiya C330 and Leica M2.
Digital were Nikon D600, Fuji XT-1 and Fuji X-Pro1
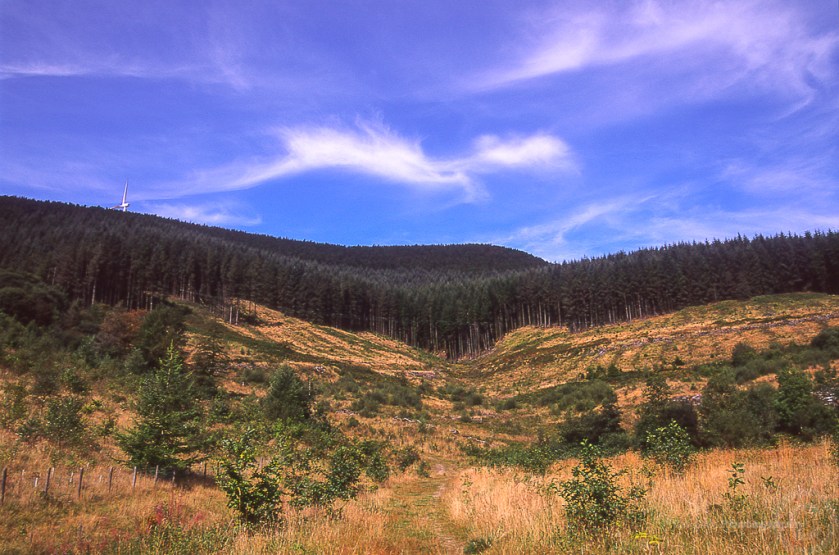
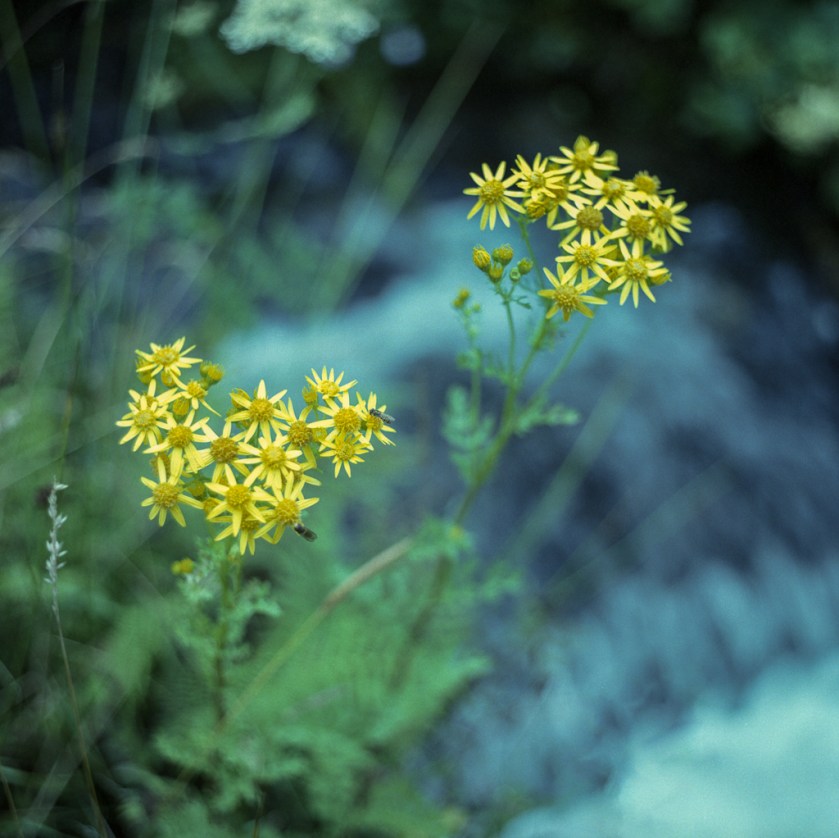
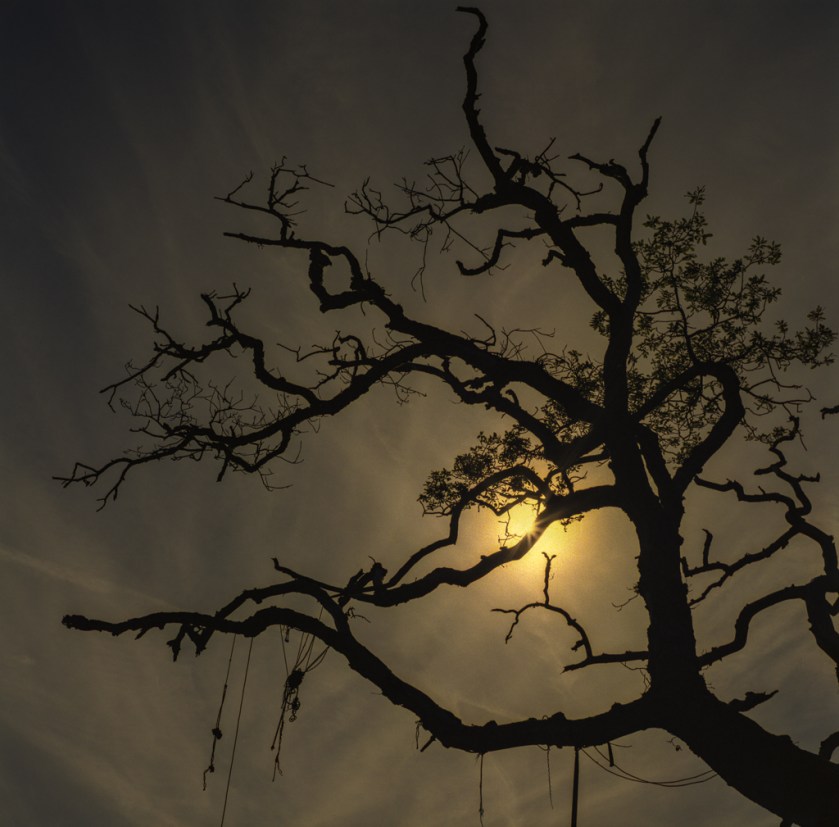
Last week I did my good deed of the month by giving away a camera to a twitter photographer friend who was happy to pay the postage but also gave me a lovely surprise by also sending me a little Lomo camera along with a selection of films one of which was some Fuji Velvia RVP50 which I have not had a great deal of experience with.I have shot plenty of Fuji Velvia RVP100 in both 35mm and 120 with lovely results but the RVP50 was quite a new experience.
I loaded up the Nikon F100 as I find the metering to be the most accurate and rated the film at 25 iso as it had expired back in 2006 and processed it using the Tetenal E6 kit.When opening the developing drum the colours were popping even before holding up to the light and once I got the scans into Lightroom I began to understand why photographers rave about this iconic film stock.The day that I shot the film was bright and sunny which obviously aided the look of the images with the Reds and greens almost aglow.
Obviously I will have to add a few rolls of this to my film fridge very soon and I will look forward to loading it up the next time we get any sun here in the South Wales Valleys.
Thanks for looking ….
Click on an image to view larger
All images are available as prints just drop me an email
As I said in a previous post I have been taking part in a Twitter competition called #SummerFilmParty … only using certain film types then posting the results and if chosen the participating photographers get to vote for the winner.
Last month I managed to get 2 images shortlisted (didn’t win) which was well pleasing given the calibre of the other entries.
I shot 2 films .. ilford Pan F in my Nikon F4s and some expired Fuji Sensia 400 in my Nikon F100.
Here are the entries plus a couple that didnt make my cut ….. in no particular order
This was the last #SummerFilmParty but other parties have been planned so watch this space.
Thanks for looking ….
Click on an image to view larger
All images are available as prints just drop me an email
Quite a while back I was gifted some film by a Twitter friend which I have steadily been trying out … all of which have been film stock that I have never used before.
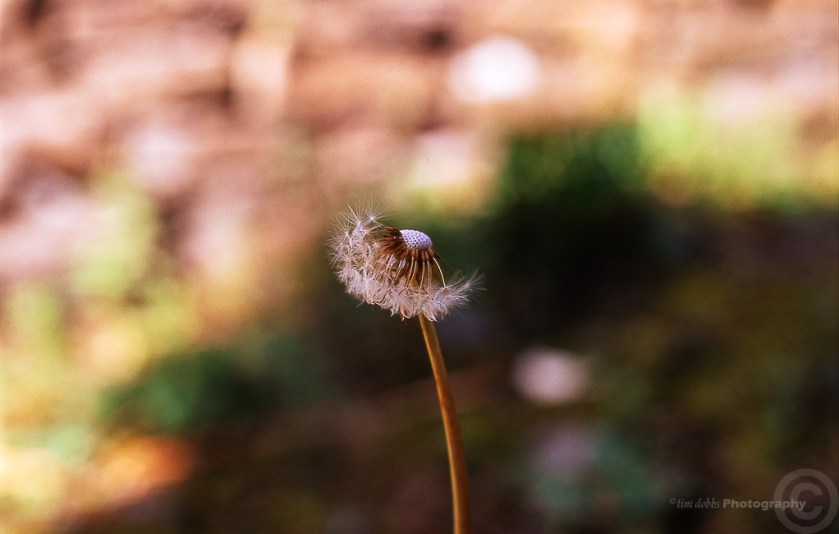
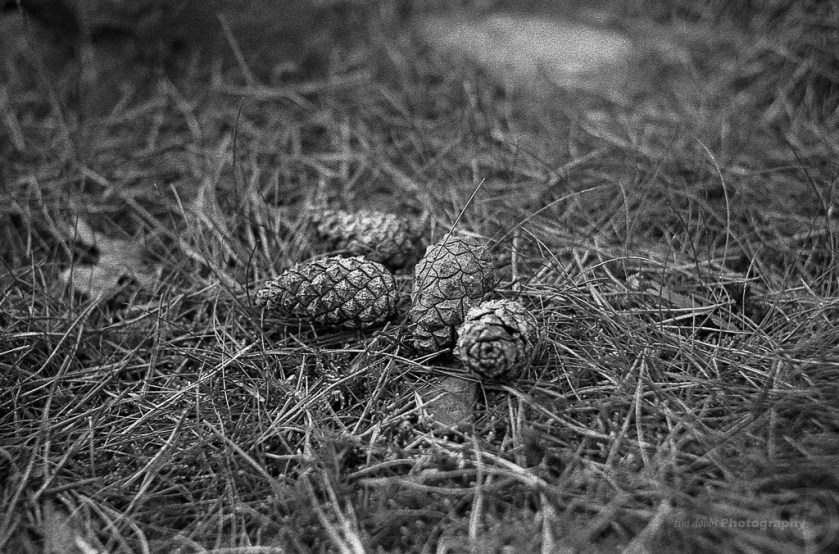
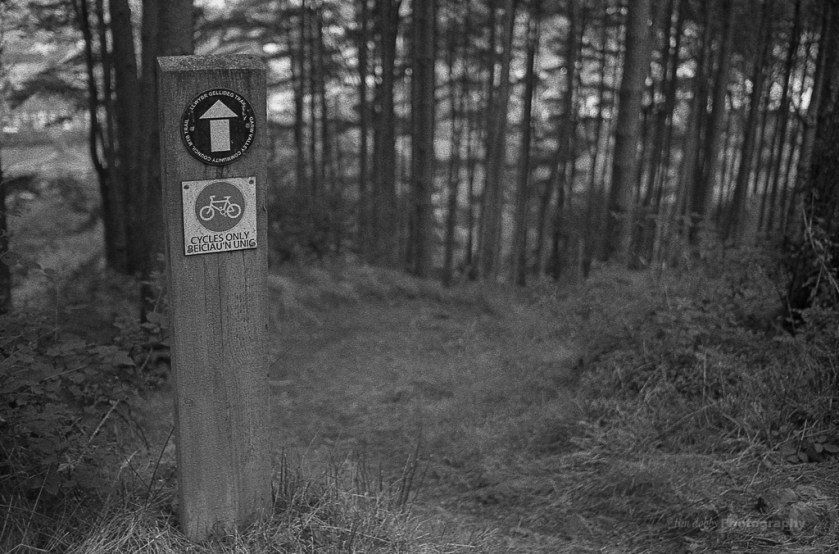
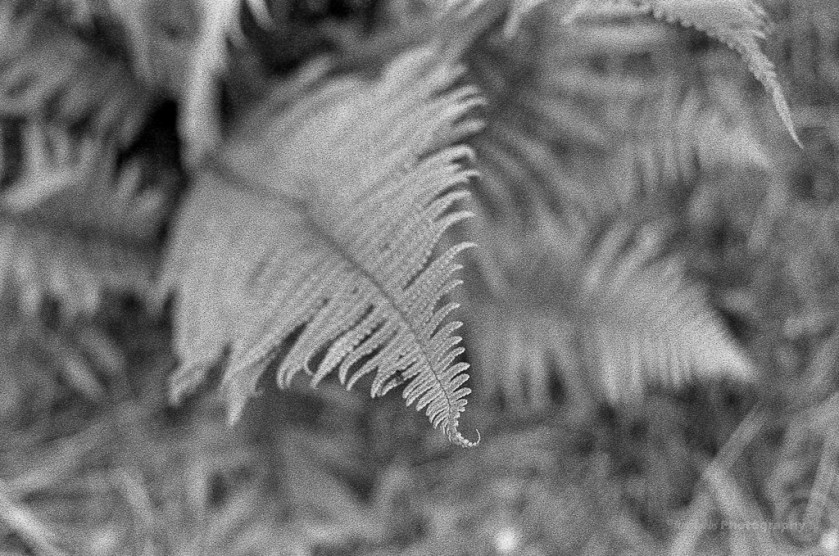
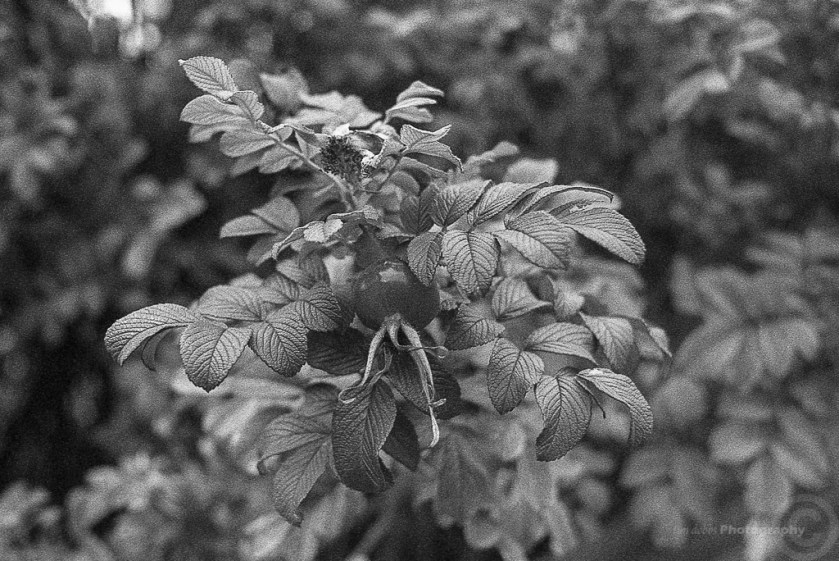
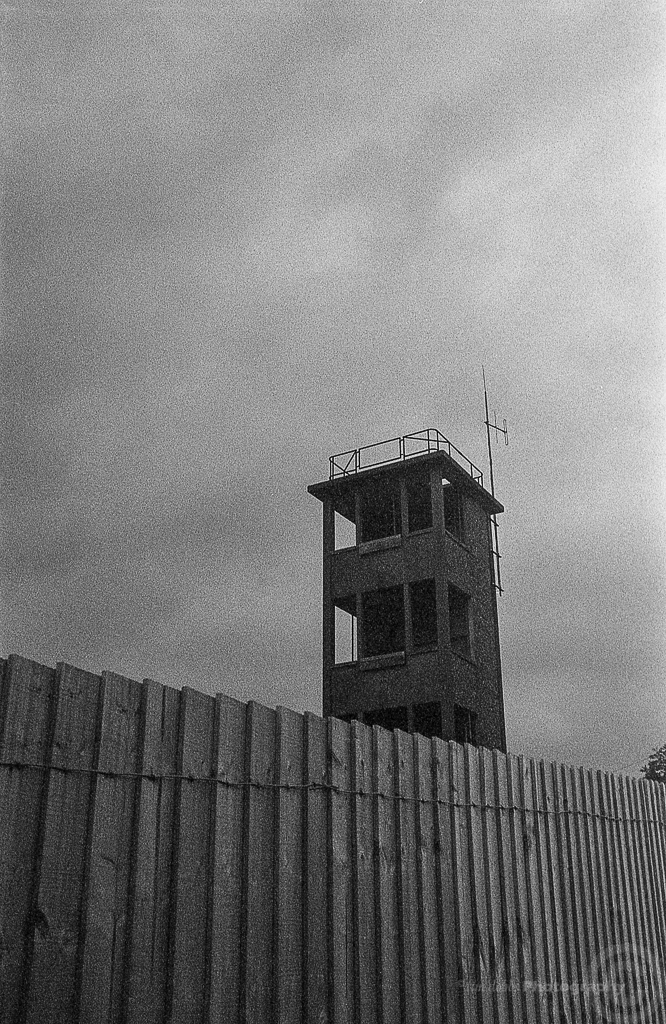
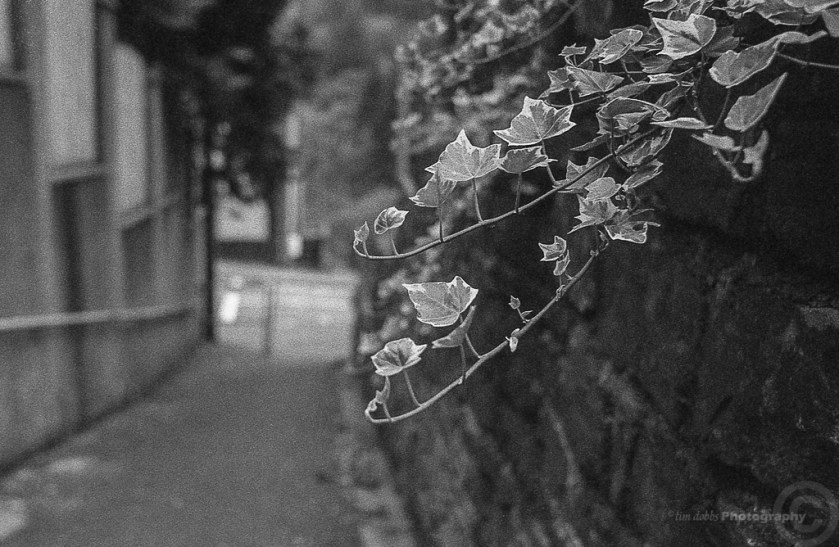
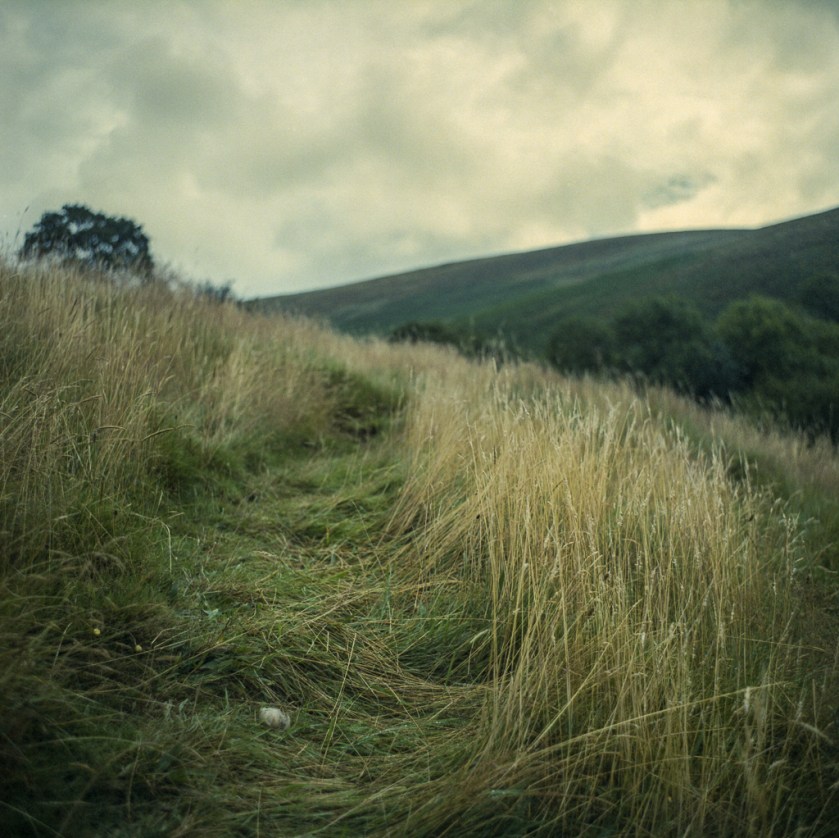
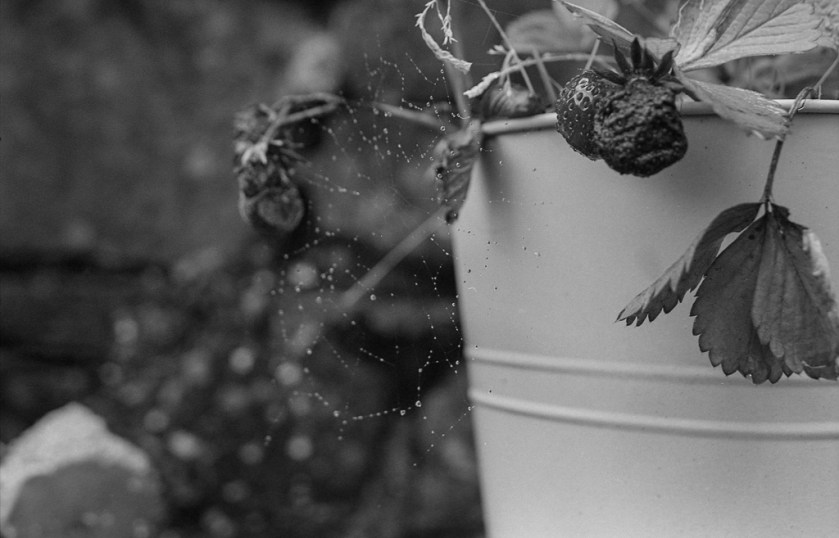
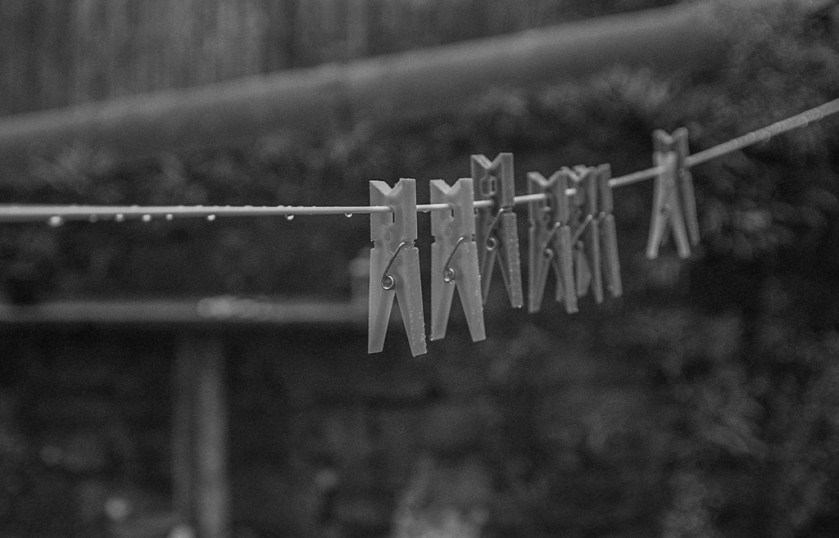
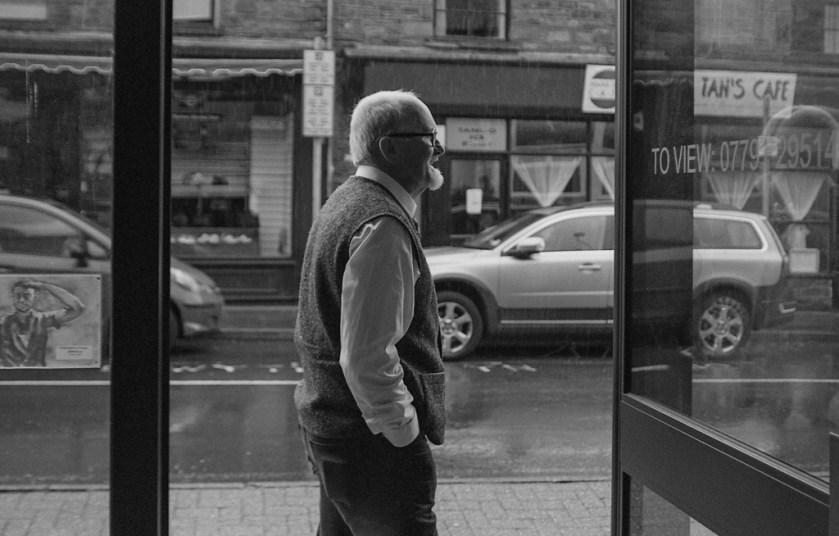
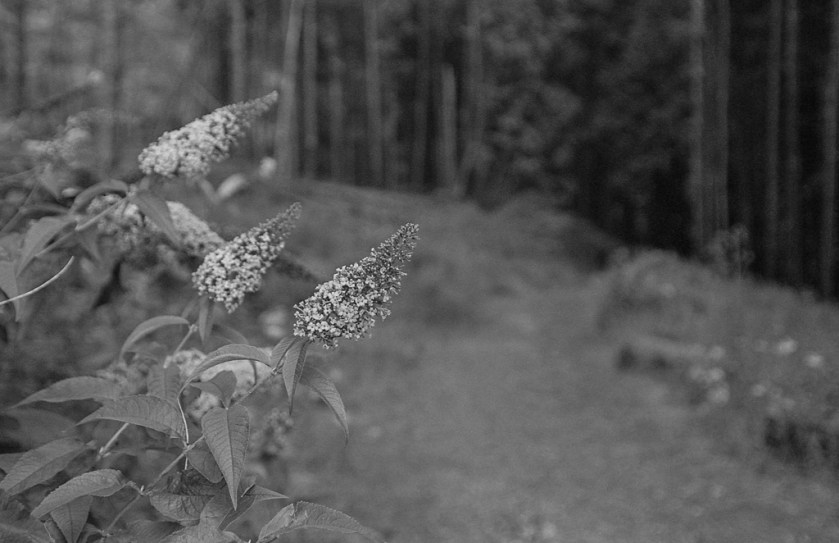
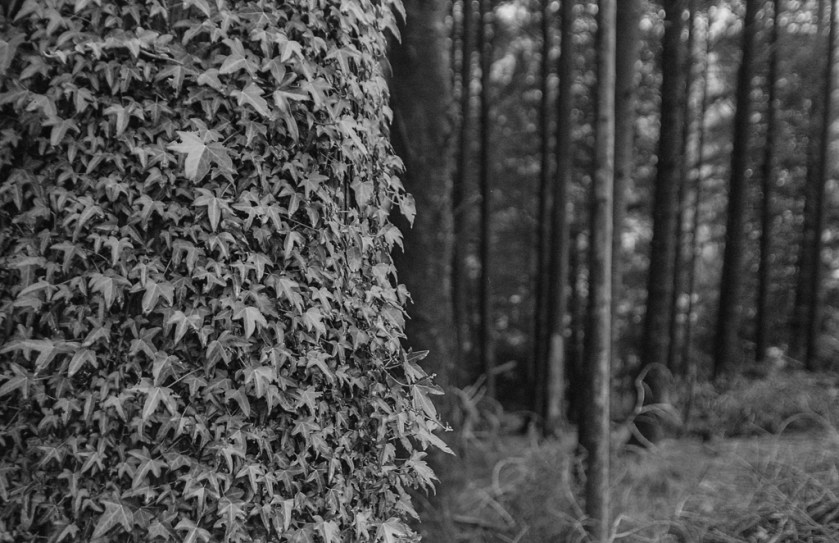
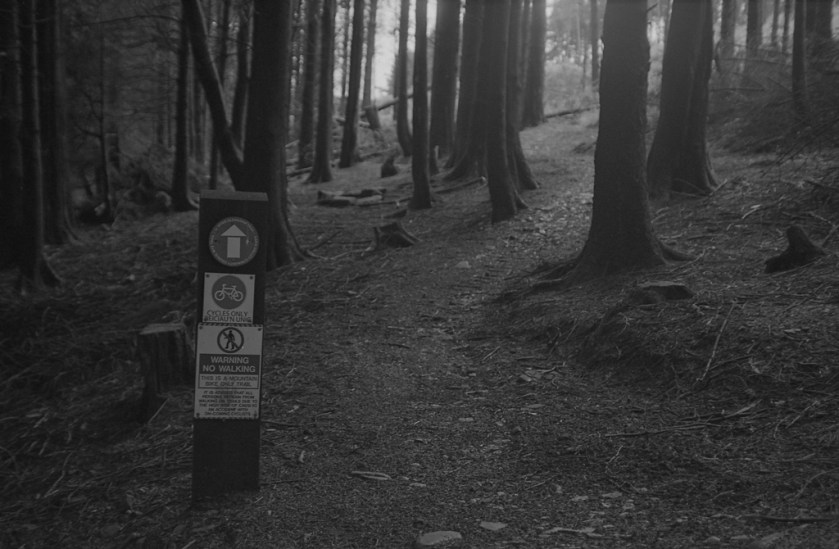
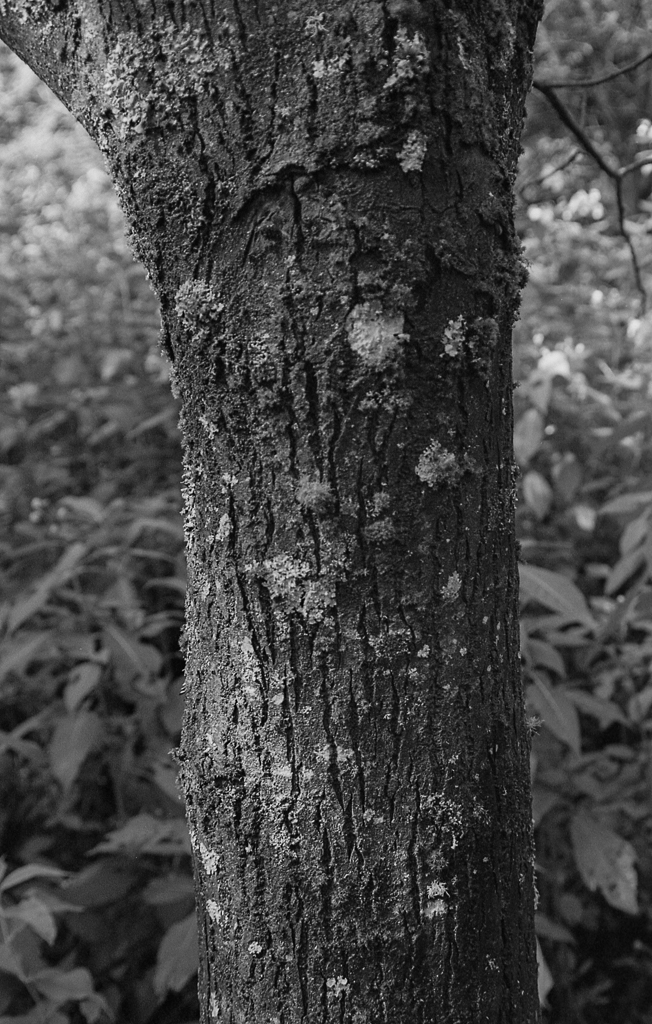
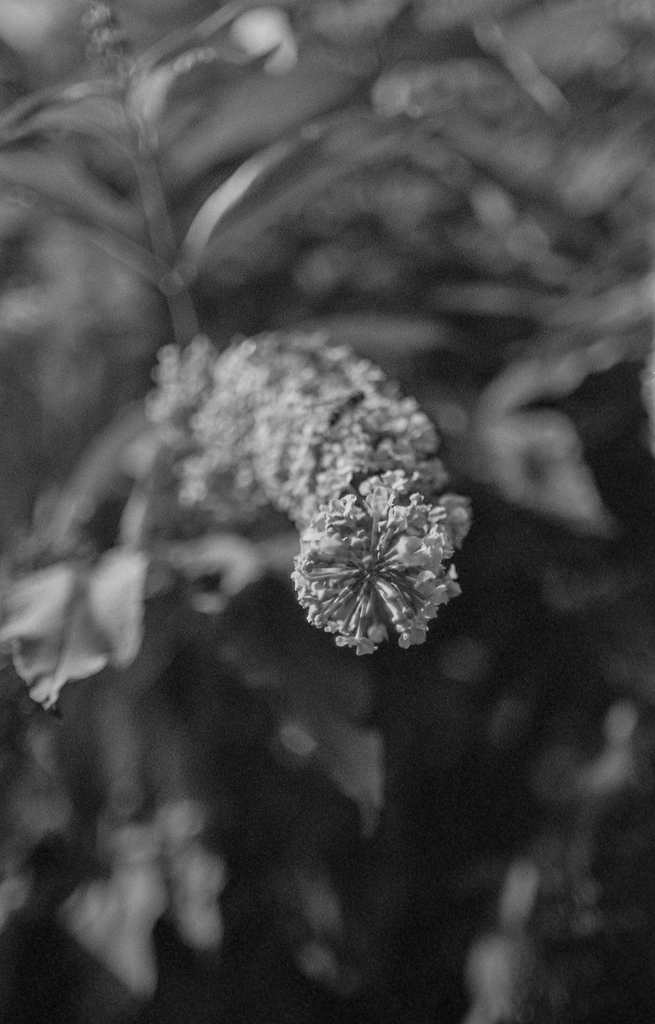
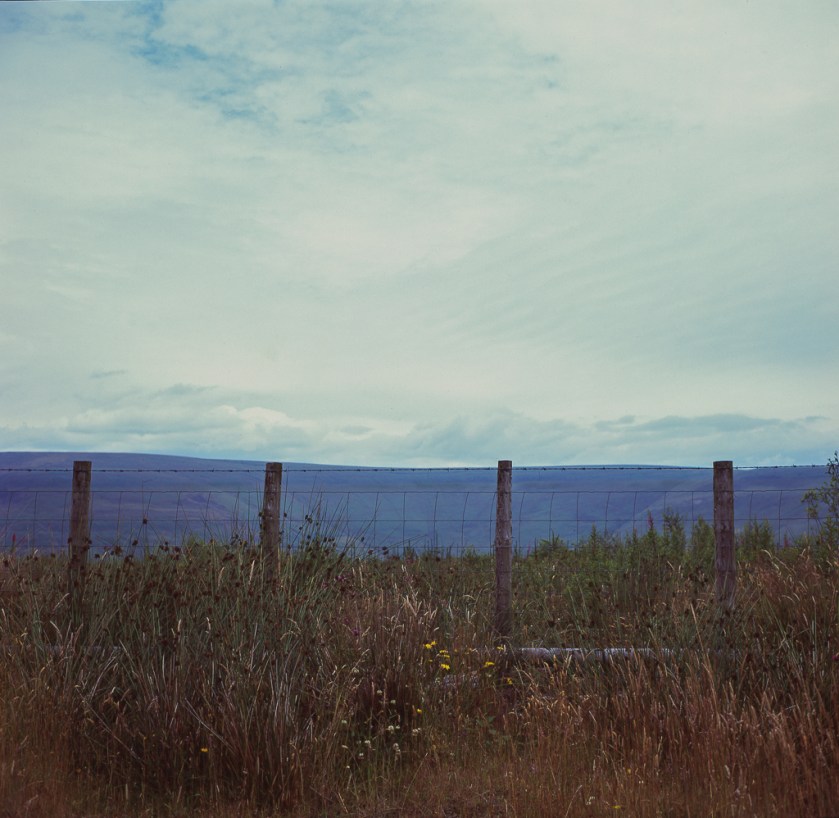
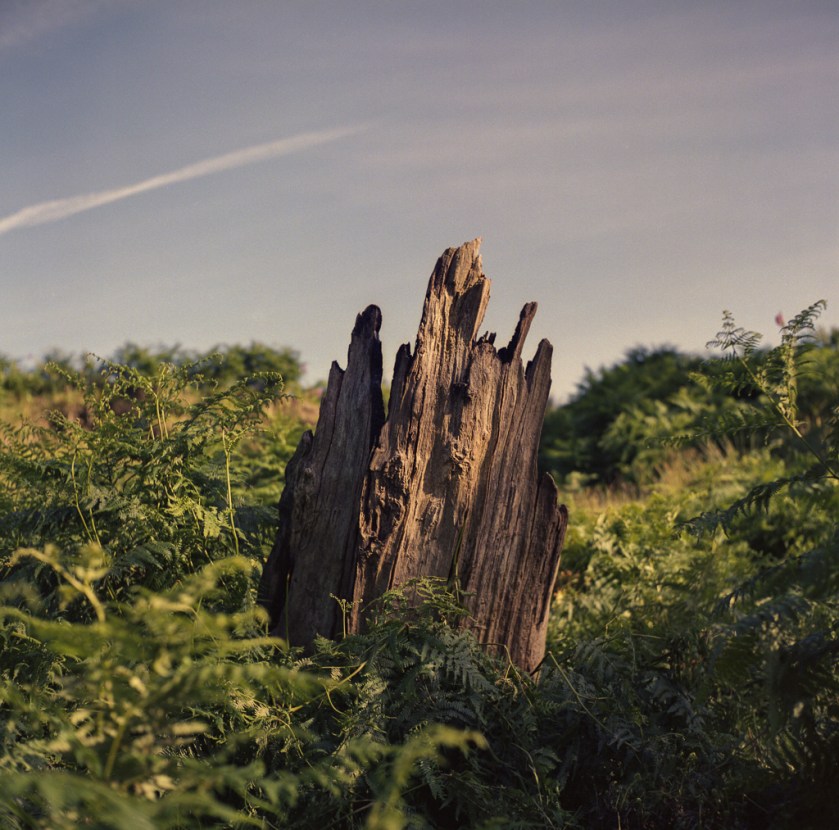
This week was the turn of some Orwo N74 which is a 400 iso motion picture stock and after looking it up online it was described as having an excellent tonal range and great contrast which sounded right up my street for a B&W film look.
I rated it at box speed and decided on using my Nikkormat FTN and Nikon 35mm f2.5 as the trial camera, as I don’t have a lens with the aperture coupler prong so I used the stop down metering way of setting my exposures which seemed to have worked out well.
The film has a good exposure latitude and I didn’t get much shadow blocking or highlight blowout given that I was not 100% sure that the metering method was totally accurate.
I developed the roll in Rodinal 1+50 dilution for 13 minutes inverting twice every minute.
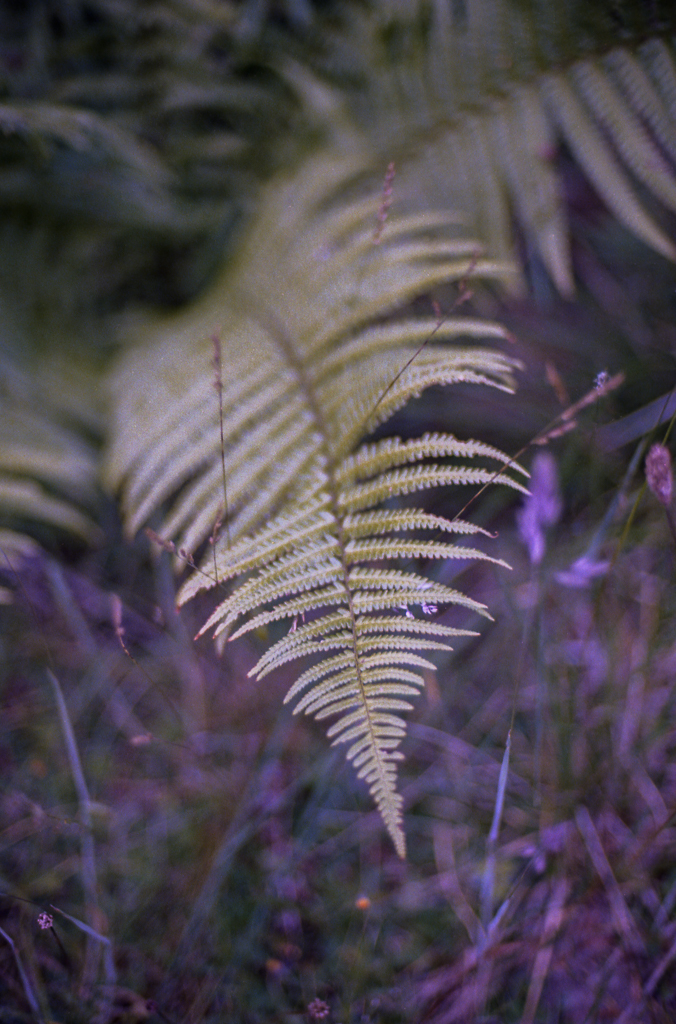
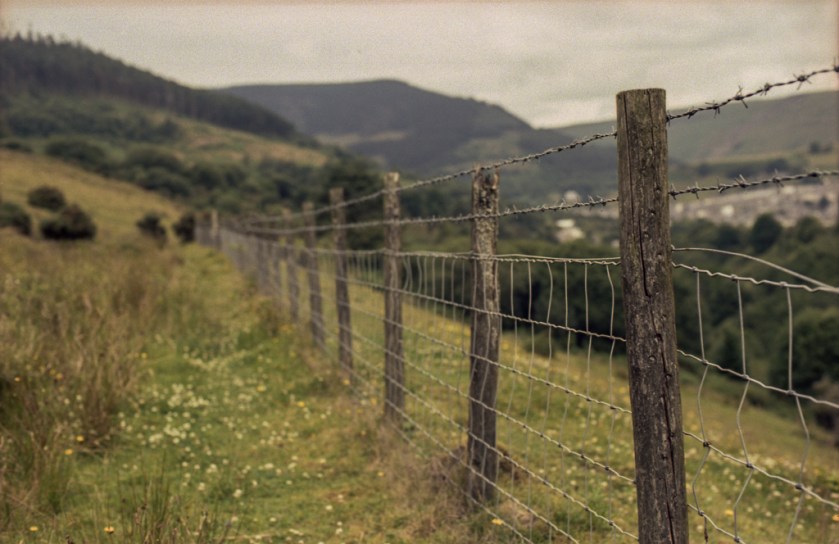
Overall I was pleased with the results more so with the closeup/shallow DOF shots than the Landscape type shots.
The grain didn’t lend itself to sweeping skies to my eye in fact it was a little distracting while the sharpness and contrast was great.
I may buy some more and either try stand development in Rodinal or use some IDII/D76
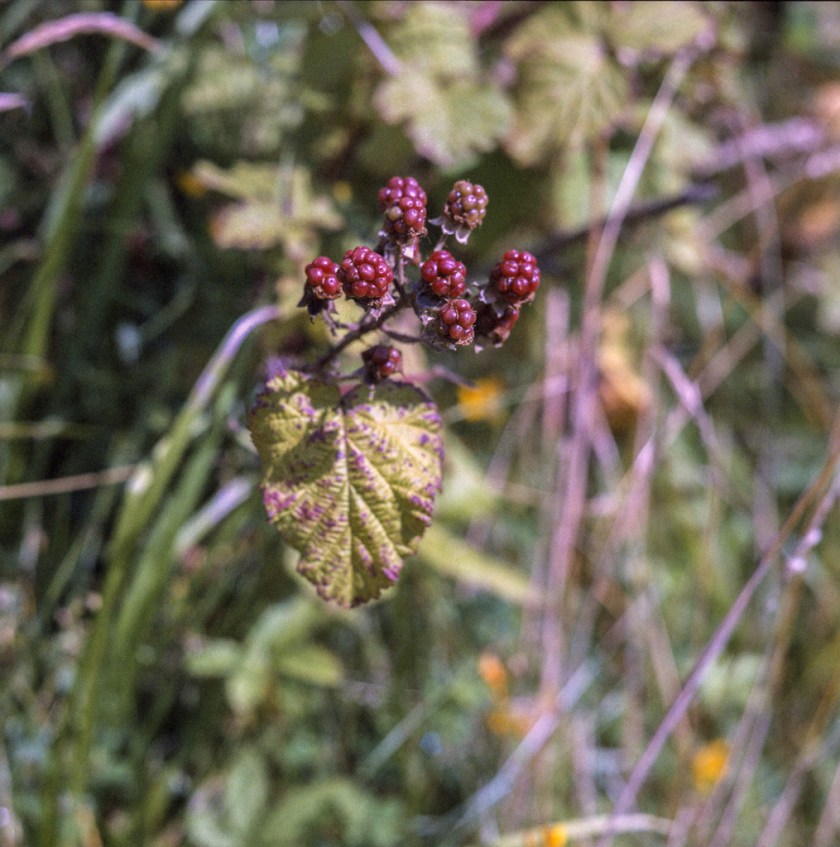
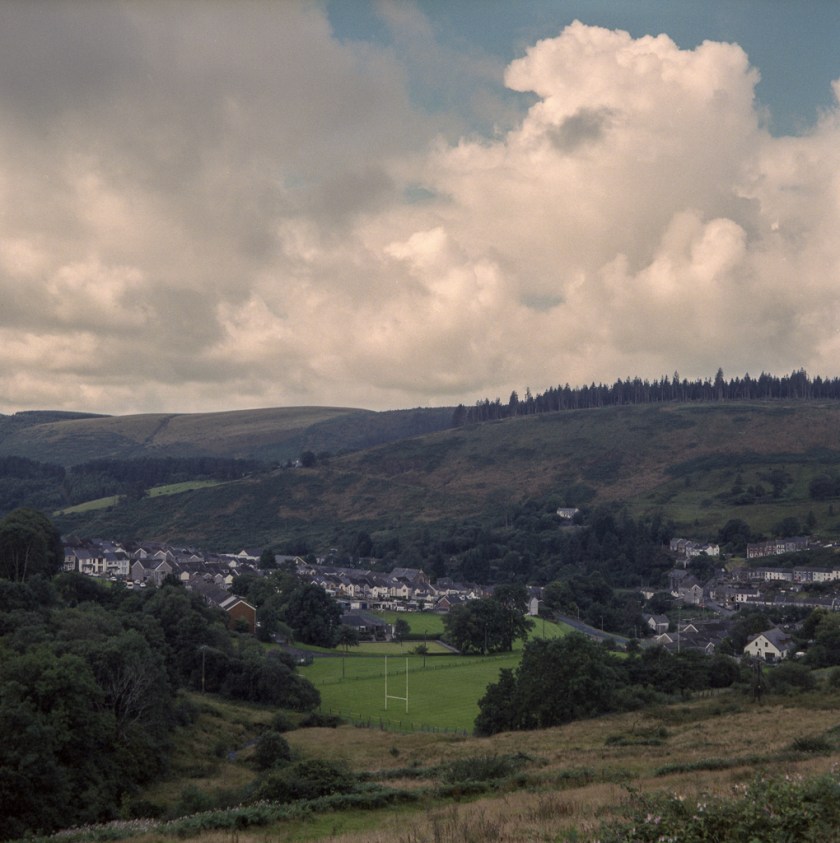
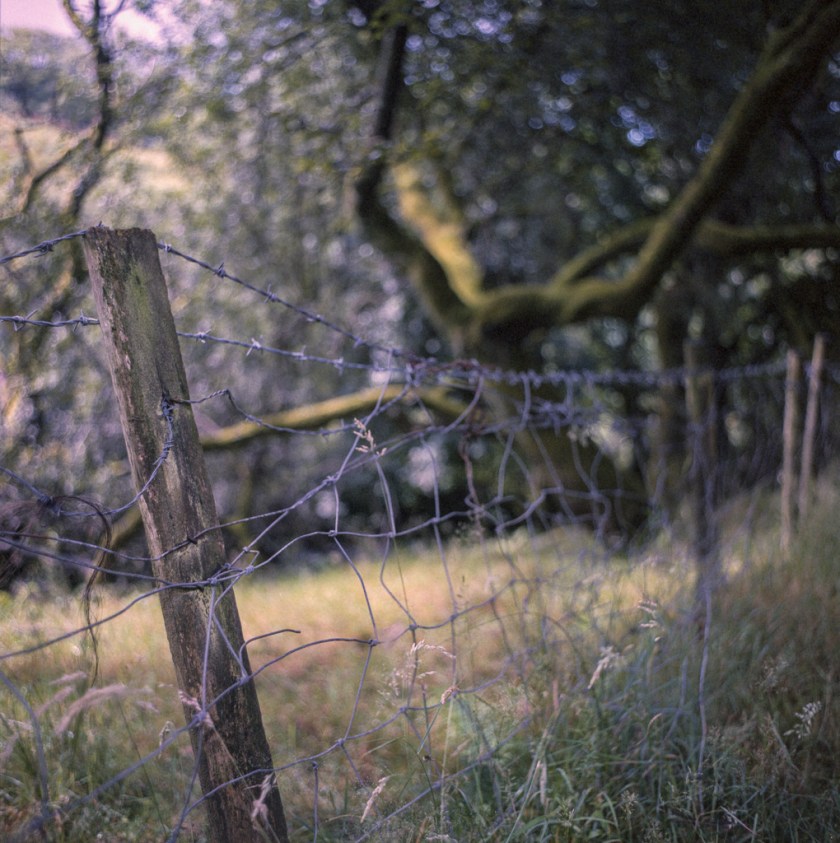
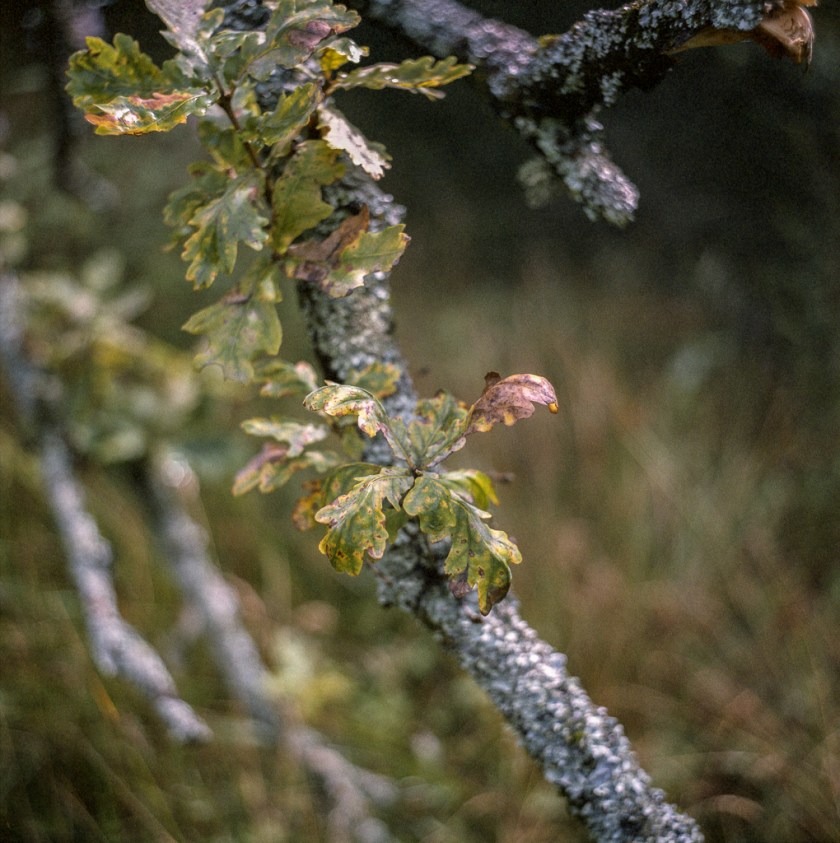
Last week I managed to source some of my favorite colour negative film Fuji Reala from ebay and along side of the Reala the vendor also had some Kodak Vericolor II which I also bought to give it a try.
I have previously shot a roll of Vericolor III that I had been given and really liked the muted tone that I gave so I was hoping that this gave similar results.
I decided to take the Mamiya C330 for a run out as I had been neglecting it over the Yashica Mat 124G recently, I used both the 80mm f2.8 and 65mm f3.5.
Here are the images, only 9 as the other 3 were bracketed shots …. It was an overcast day with glimpses of sunshine now and again.
I rated the roll at 80 iso with my Sekonic meter which was pretty much spot on.
If I shoot the next roll in brighter conditions I could probably rate the film at 100 or even box speed as it didn’t seem to have lost a lot of sensitivity even though the 2 boxes had expired back in 1994 🙂
Thanks for looking ….
Click on an image to view larger
All images are available as prints just drop me an email
I was very lucky a few months back to be gifted a bunch of old camera stuff from a friend, most of which sadly was pretty far gone but mounted to an old Praktica that had died was this beauty … Carl Zeiss Jena Flektogon 35mm f2.4
Funny thing was I was reading a random blog post only days before extolling the virtues of this particular lens.
I have a couple of M42 mount cameras so mounted it on my working Praktica MTL 5B and shot a roll of expired Kodak Colorplus just to test the performance.
I was very pleased with how the lens performed so I decided to get an M42 adapter for Nikon F mount so that I could use it with some of my older Nikon Slr’s.
I made sure that I got one with the glass element that let the camera focus to infinity and mounted it on my FM2n loaded with some ilford XP2 and went out to test it.
I found that if I switched the lens to manual diaphragm mode then the FM2n metered correctly for me.
Here are some sample images mostly shot wide open at 2.4 through 5.6 with the bench landscape at f11.
The viewfinder dimmed quite a bit the more that I stopped down making it quite hard to focus but if you switch back to auto diaphragm mode to focus if you are using f8+ then back to manual to meter then all is good.All in all I am very pleased with this little lens and it has the added benefit of being able to close focus down to 19cm.
Considering I got this for nothing is a bonus but I wouldn’t hesitate to recommend this as a purchase as you will not be disappointed
Thanks for looking ….
Click on an image to view larger
All images are available as prints just drop me an email
I have been taking part in a Twitter competition #SummerFilmParty where the photographers have to use certain types of film during shoot week then over the following 2 weeks develop and then post the results.
Today was the last posting day so I decided to also post all my entries her together.
I used 2 cameras … Nikon F90 with a 50mm f1.4 & Sigma 105mm f2.8 with some Kodak Ektar.
and Yashica Mat 124G with Fuji Reala 100 both rolls developed and scanned at home.
Here they are in no particular order … Obviously the Square images are from the Yashica Mat 🙂As usual it was fun to be a part of …. here is the link to Emulsive where you can see the info about this and future competitions .. Summer Film Party also here is the Twitter link @summerfilmparty
Thanks for looking ….
Click on an image to view larger
All images are available as prints just drop me an email
I suppose the answer to this question depends on what you are doing.
I mean if you are a photographer who just posts the odd image on the web then maybe the answer is no as most of the time people will view your image on a smartphone or on a monitor that is also un-calibrated so you have no control over how the colours in your image may look to them.
If on the other hand you want print out your images or post them on a blog or website and have some control on how the colours will be seen (assuming the end viewer also has a calibrated monitor to) then calibrating your system is a must.
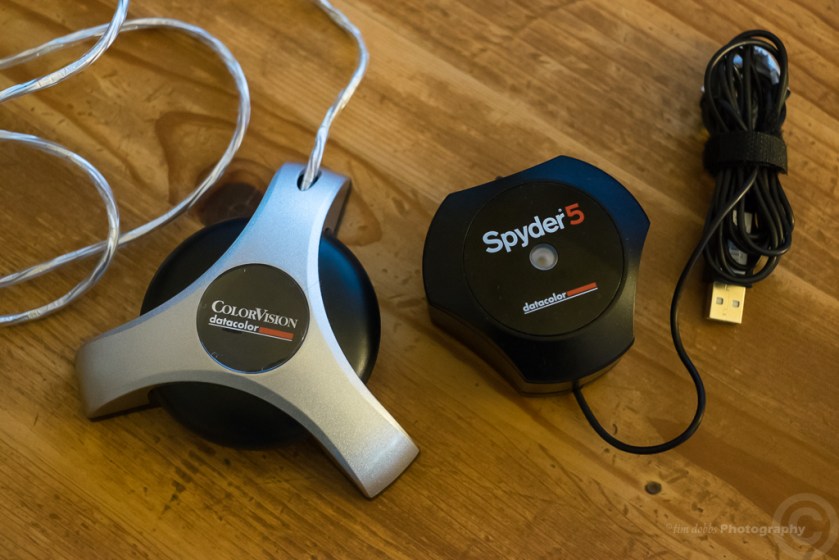
I have been calibrating my system for years using one of the original Datacolor Spyder express 2 which has served me well all this time but I recently managed to get hold of the new Spyder 5 to compare between the old and the new thanks to @digitalglueuk and datacolor.com
Firstly I was pleased with the size difference, the new Spyder 5 was a much neater compact unit that split open to reveal the sensor and the cover was then used as a counter weight over the top of the monitor.
Also after installing the software I was especially pleased to find that I was able to calibrate multiple monitors where as with my Spyder 2 I was limited to just the single monitor ( I use a 2 monitor set up ).
The sensor also monitors the ambient room light to optimally tune the screen to your environment.
Quite a few people ask me if calibrating your monitor is hard to do?
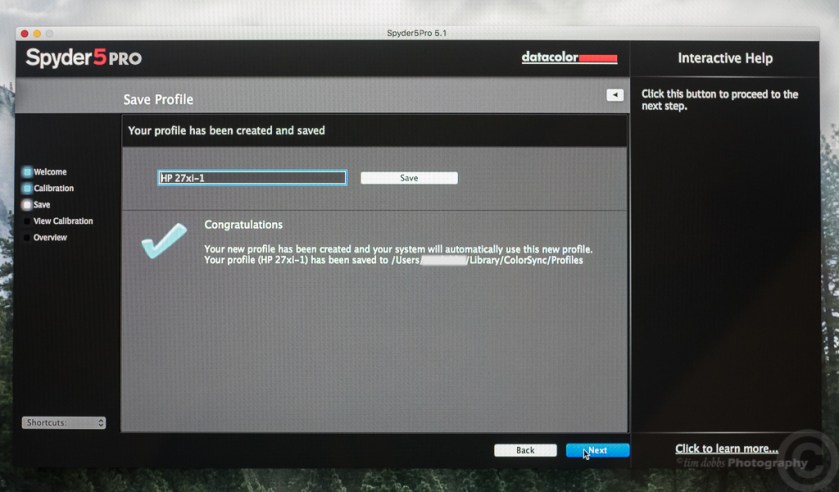
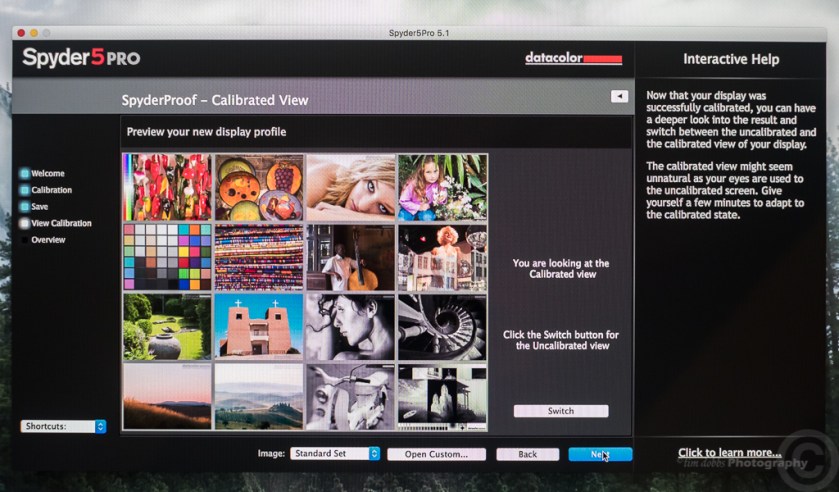
Well I have taken a few screen shots just to show you how easy it is as it is a step by step process that anyone can do .
The software guides you every step of the way…All you have to do is follow along and change a few monitor settings and you are done in a matter of minutes…You then save the new profile and the final screens will show you the before and after views …The best thing is if you have multiple computers when you calibrate each one you know that when you are editing/viewing the same picture on each computer you will get the same look and then when you save the image with the embedded profile and send it to the printer or out to a lab you know that the image will be reproduced pretty damn close to how it appeared on your screen (obviously it depends on the output device matching the colour gamut of the profile you used).
Since getting the new Spyder 5 I have printed loads of images and had a few done in a lab and the results have been perfect that’s not to say that my old Spyder 2 did not do the same but the ease of use and the newer software with the Spyder 5 made the whole process so much easier.
I cannot recommend this product highly enough, It is so easy to use with such huge benefits to a photographer that I personally think everyone should get one.
I have only ever used the Datacolor calibrators so I can’t speak of any others out there on the market but I imagine that they may be just as good/easy to use too but they would have to go a long way to beat this little gem.

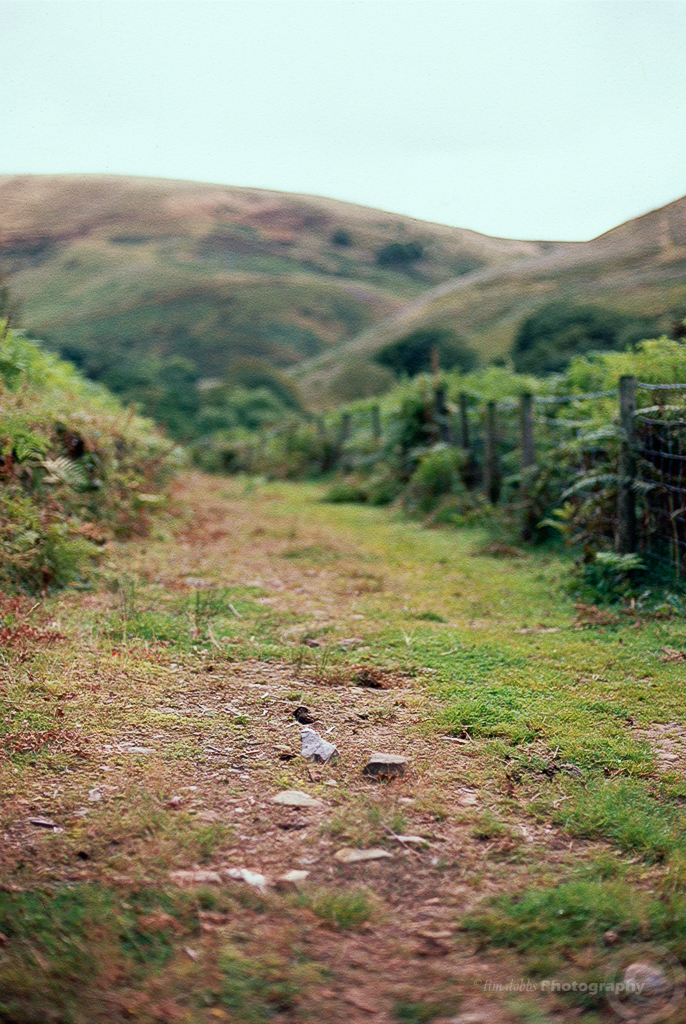
 I love trying new/old film stocks, usually its some old expired stuff I find on eBay but for a change I picked up a 3 roll box of Lomography Colour Negative 400 35mm last week and was interested in seeing what the film was like compared to some of my favorite films like Portra 400 vc or Fuji Reala.
 Luckily for me it was a nice bright day which after viewing the scan really showed the best side of this film.
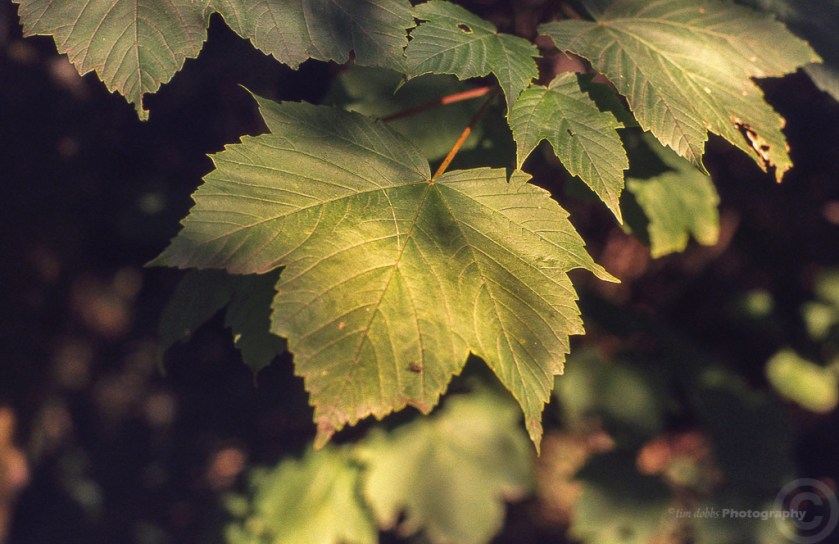
 The sharpness of the film was quite impressive as so were the colours.
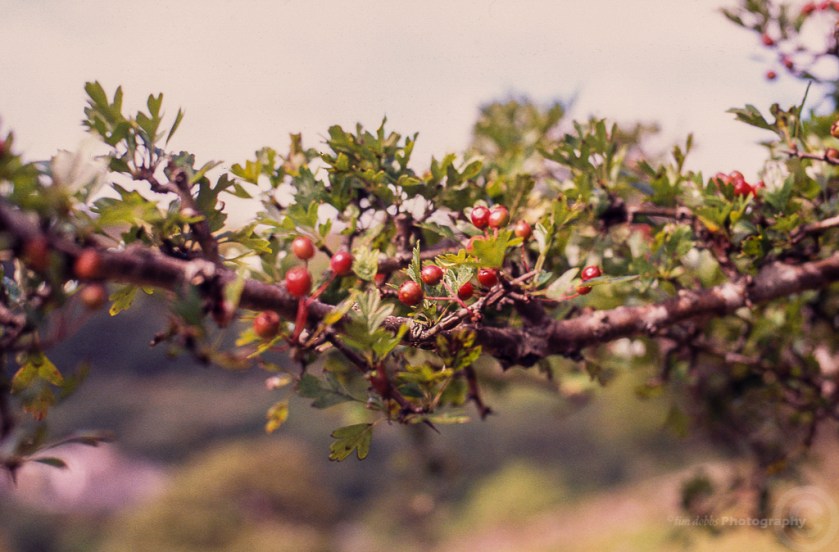
 The brighter the light the more saturation I seemed to get which was great.


 I loaded up my Nikon FE2 & 35mm f2.5 and we popped down to the beach at Porthcawl, the weather started quite bright but by the time I was half way through the roll the clouds darkened which gave me two different looks to the images.
 Once I started scanning the roll I was taken aback with how the images looked, pretty normal colours while shooting in the partial sunshine but when it clouded over the images had quite a pronounced colour shift which for me were the better looking frames if I am honest.
 Overall I was very happy with how many keepers that I managed to get from this roll.


 Over the last few weeks I have had the pleasure of spending time with world renowned artist Kevin Sinnott who lucky for me lives here in Pontycymmer where he also has his studio and his most excellent gallery “Studio 18”.
 Hopefully this will be the start of an ongoing project where I hope to spend time with artists in their studio or place of work where I can document the process of their discipline whether they are a painters, photographers, illustrators, musicians, sculptors etc


 Last week I did my good deed of the month by giving away a camera to a twitter photographer friend who was happy to pay the postage but also gave me a lovely surprise by also sending me a little Lomo camera along with a selection of films one of which was some Fuji Velvia RVP50 which I have not had a great deal of experience with.
 I have shot plenty of Fuji Velvia RVP100 in both 35mm and 120 with lovely results but the RVP50 was quite a new experience.

 When opening the developing drum the colours were popping even before holding up to the light and once I got the scans into Lightroom I began to understand why photographers rave about this iconic film stock.
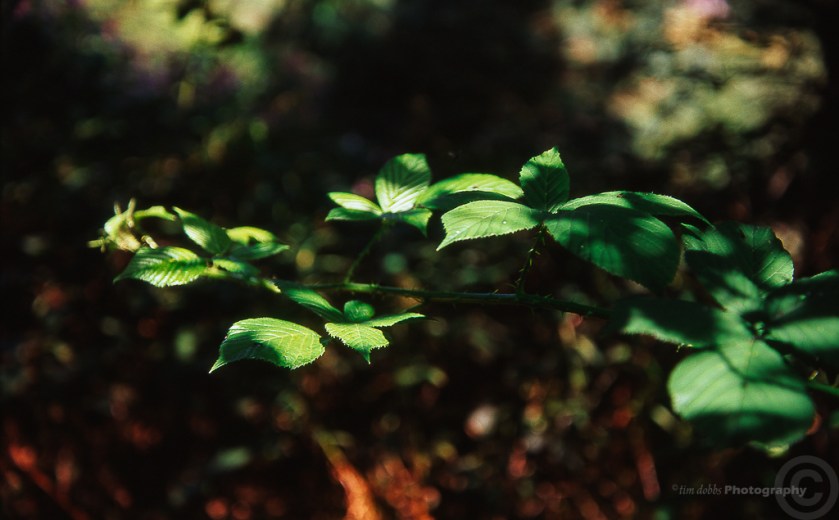


 The day that I shot the film was bright and sunny which obviously aided the look of the images with the Reds and greens almost aglow.

 As I said in a previous post I have been taking part in a Twitter competition called #SummerFilmParty … only using certain film types then posting the results and if chosen the participating photographers get to vote for the winner.
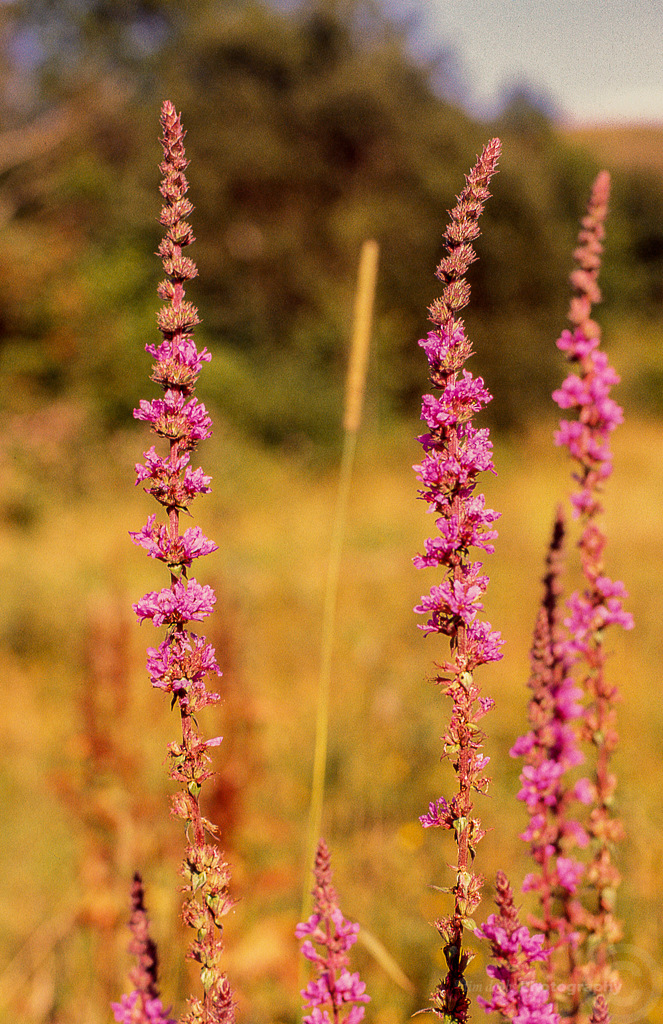


 This was the last #SummerFilmParty but other parties have been planned so watch this space.


 Last week I managed to source some of my favorite colour negative film Fuji Reala from ebay and along side of the Reala the vendor also had some Kodak Vericolor II which I also bought to give it a try.


 It was an overcast day with glimpses of sunshine now and again.


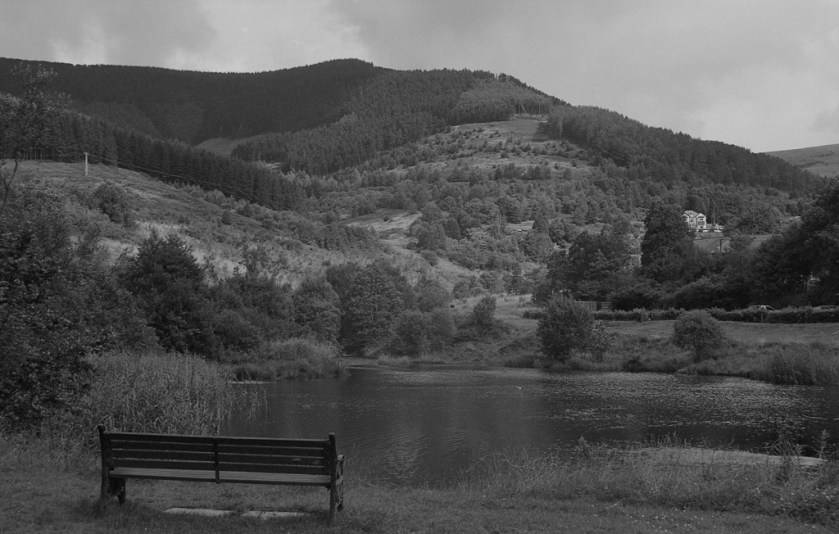


 All in all I am very pleased with this little lens and it has the added benefit of being able to close focus down to 19cm.


 As usual it was fun to be a part of …. here is the link to Emulsive where you can see the info about this and future competitions ..