Shooting expired Kodak EliteChrome 400 ….

Quite a while ago I was gifted a bag full of expired slide film from a photographer friend.

The bag contained plenty of film stocks that I had never shot before mainly Kodak Elitechrome 100/400 and Ektachrome 160 Tungsten.

I have shot the 100 iso previously and it was fine even though it all had a dubious history of storage.

I was expecting the 400 iso to be slightly more more grainy and I was unsure what iso to shoot it at, I only went 1 stop with the 100 and shot that at 50.

I decided to do the same with the 400 and shot it at 200 iso using my Nikon F100 and 50mm f1.4.

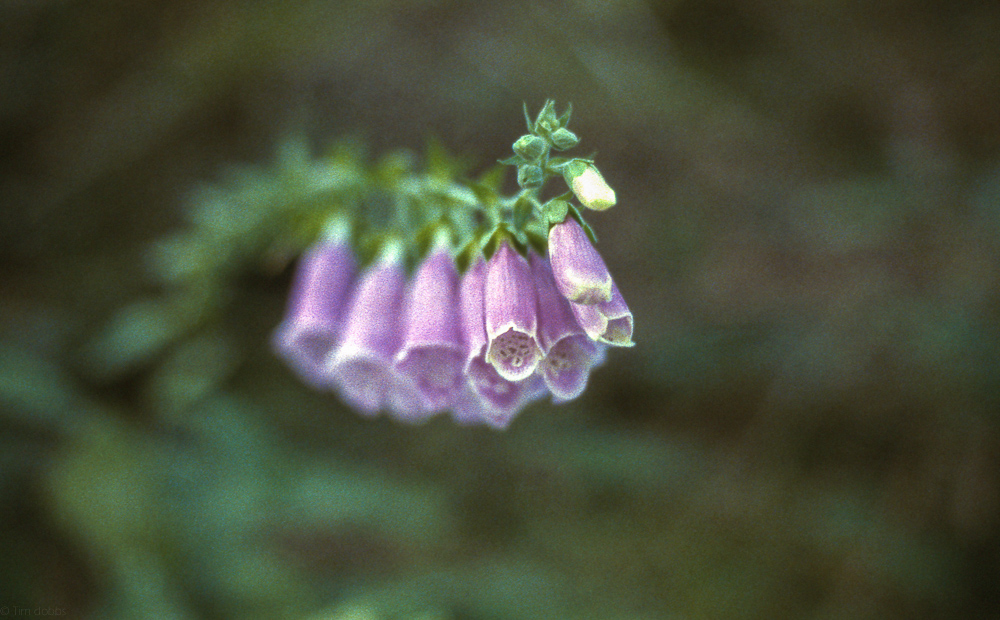
The problem was that when I developed it using the Tetenal E6 kit and then scanned it was that the whole roll was slightly underexposed but also blew out some of the highlights so I was glad that I didn’t push it any more as I managed to get some pretty decent images when processing in Lightroom.

Compared to the previous 100 iso this roll faired a little worse showing much more grain and not as sharp overall but I was happy with the slightly muted colours.

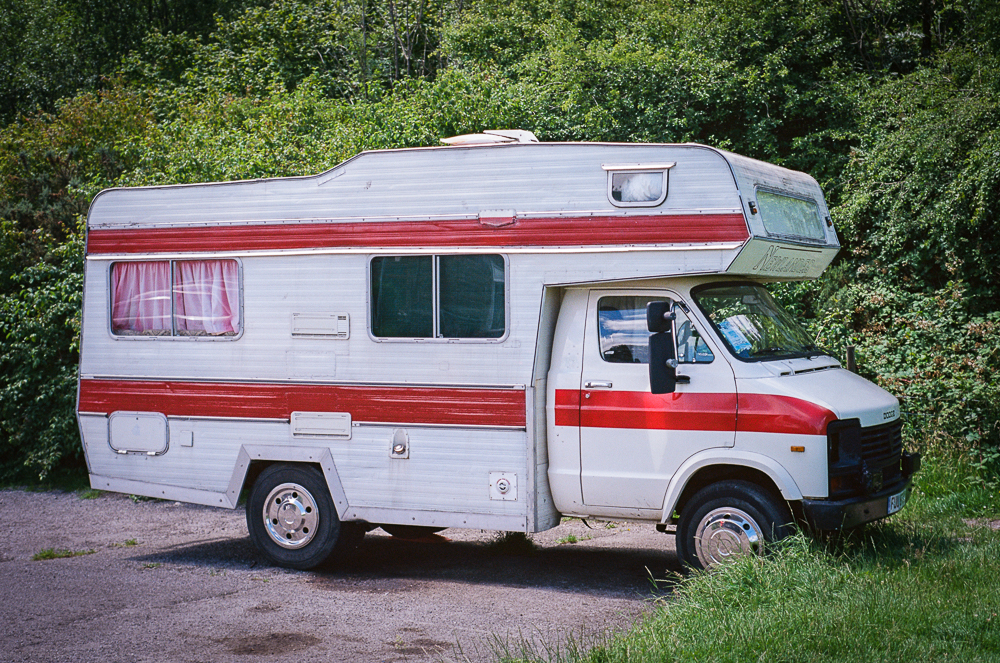
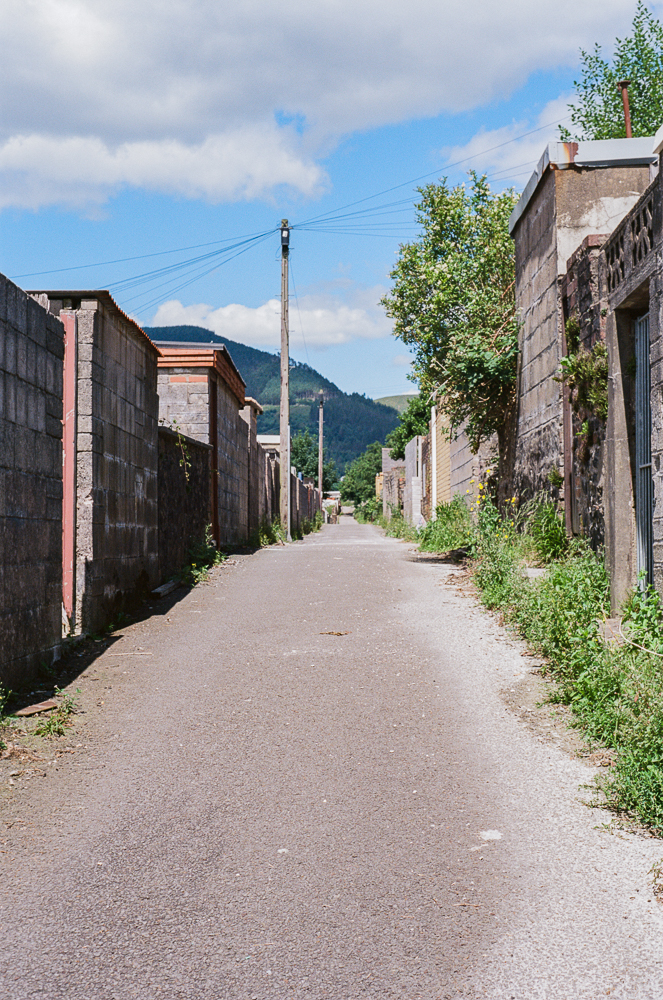
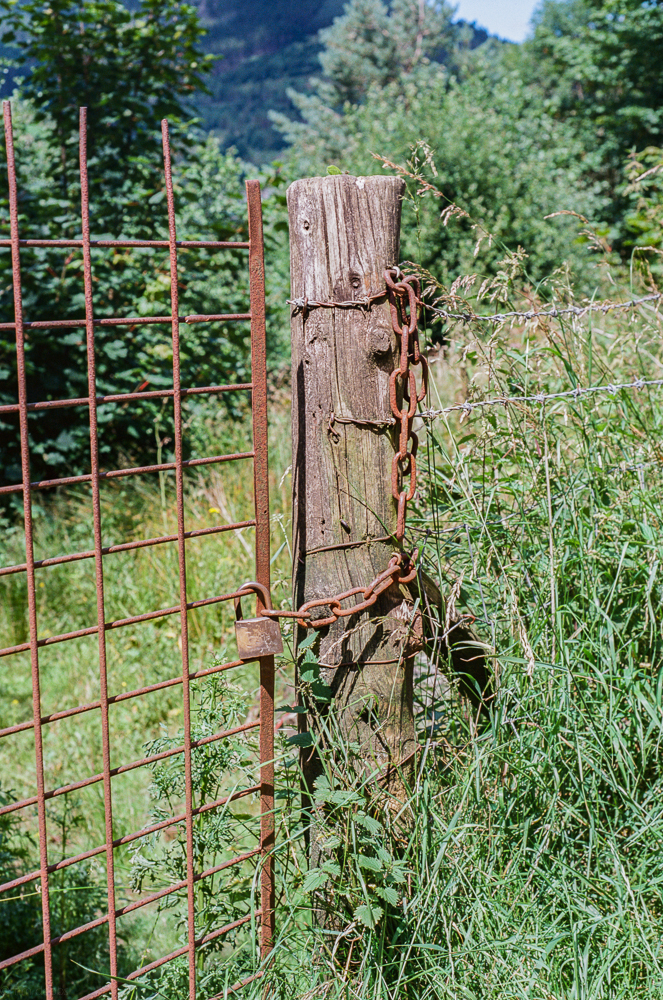
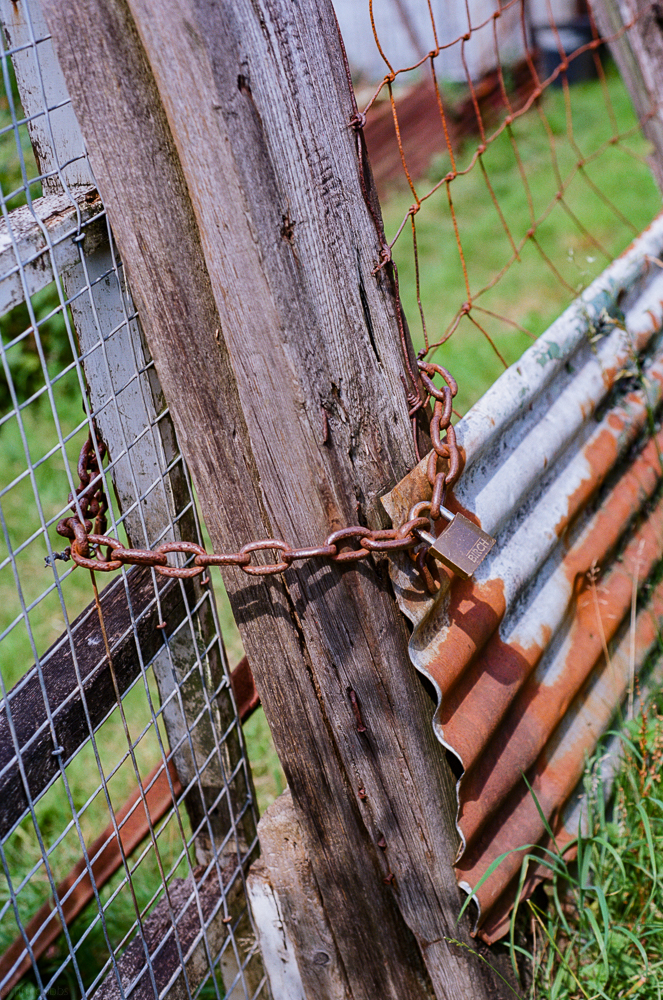
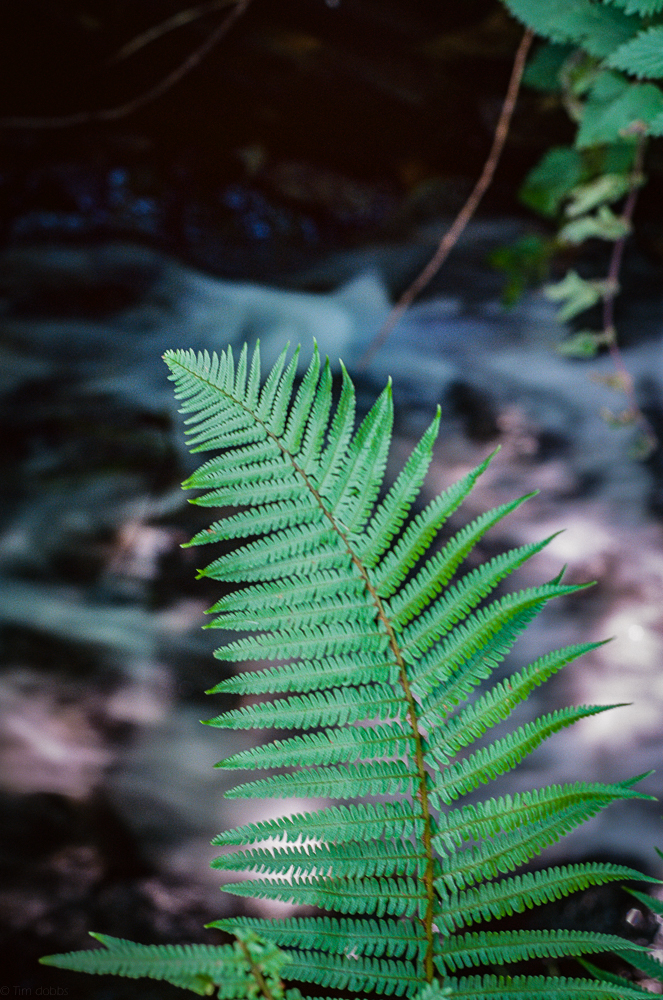
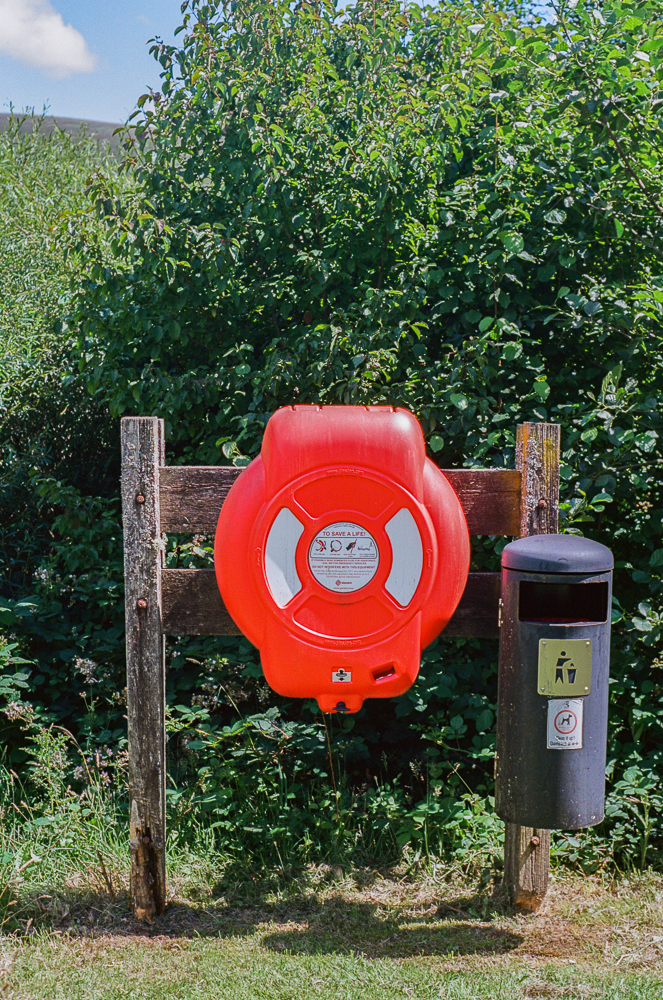
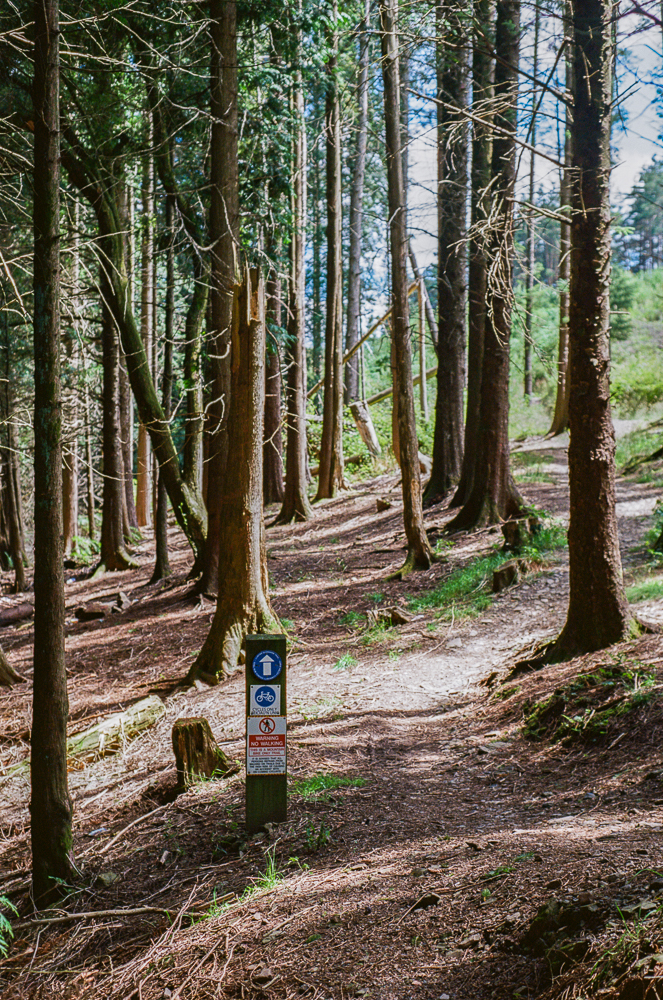
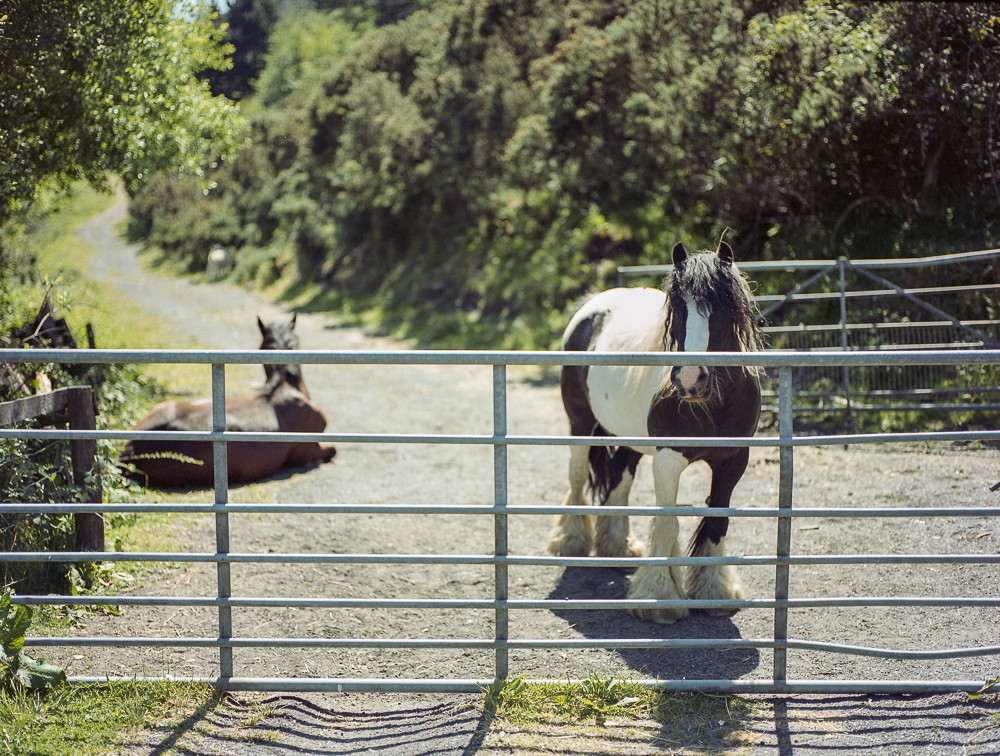
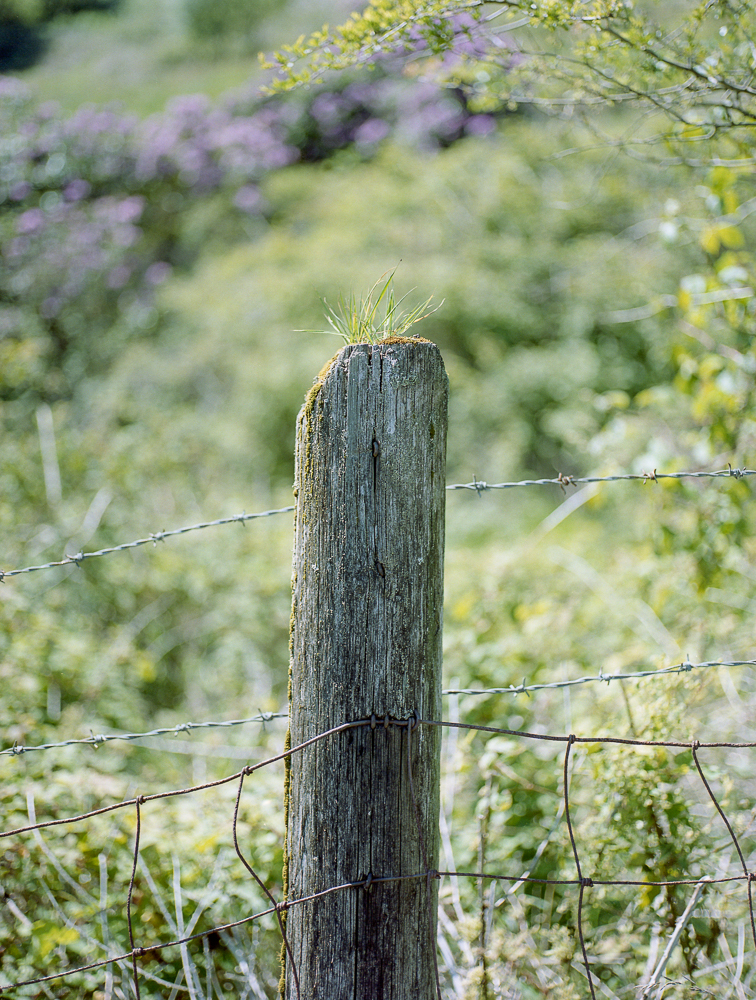
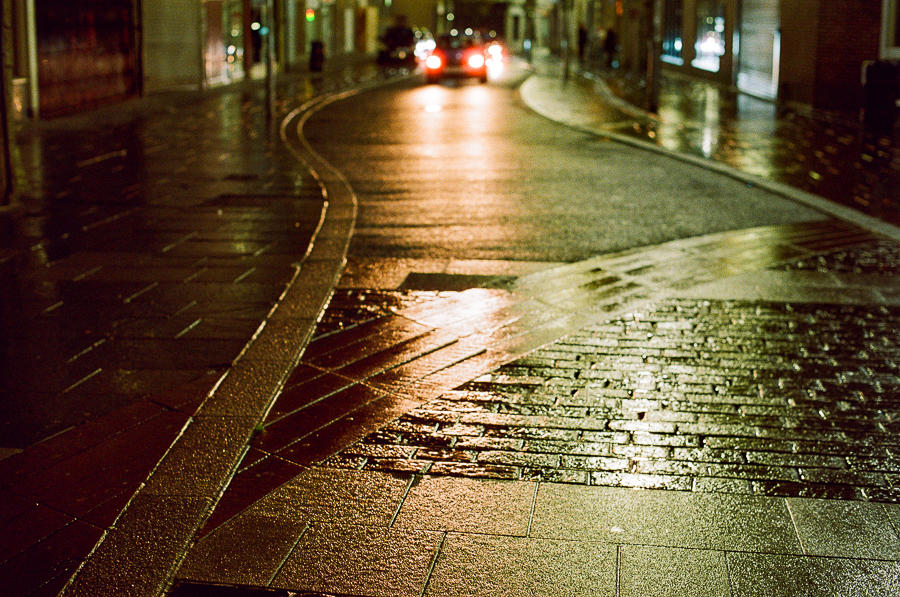
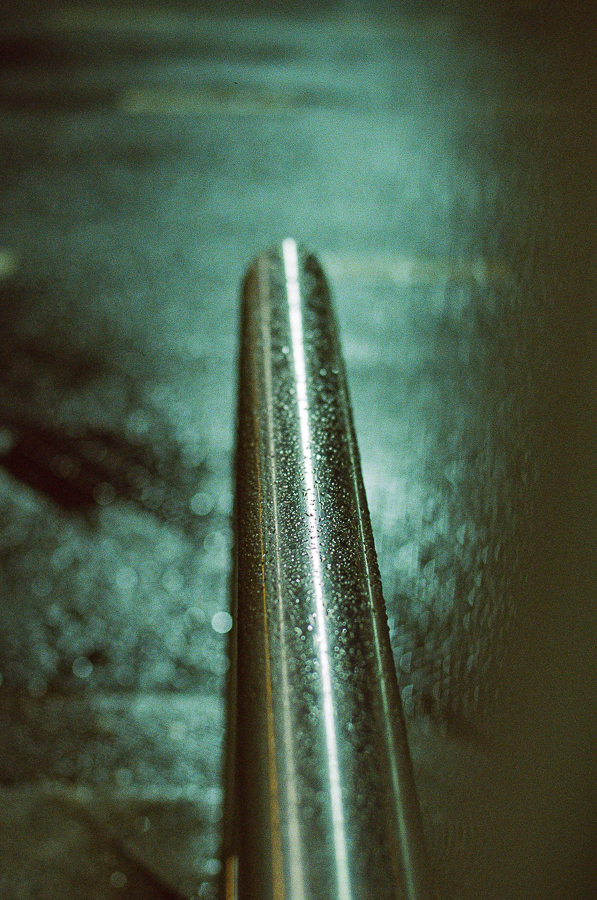
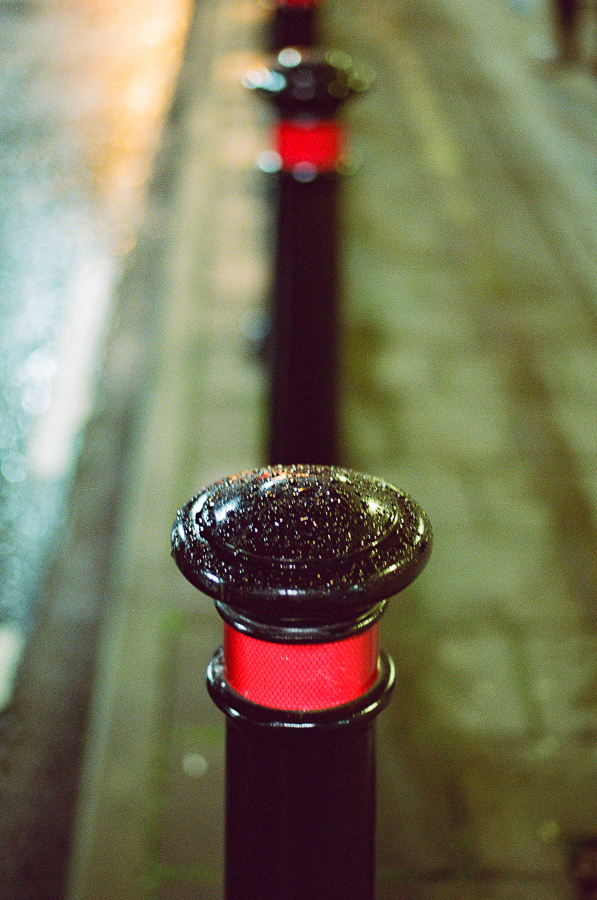
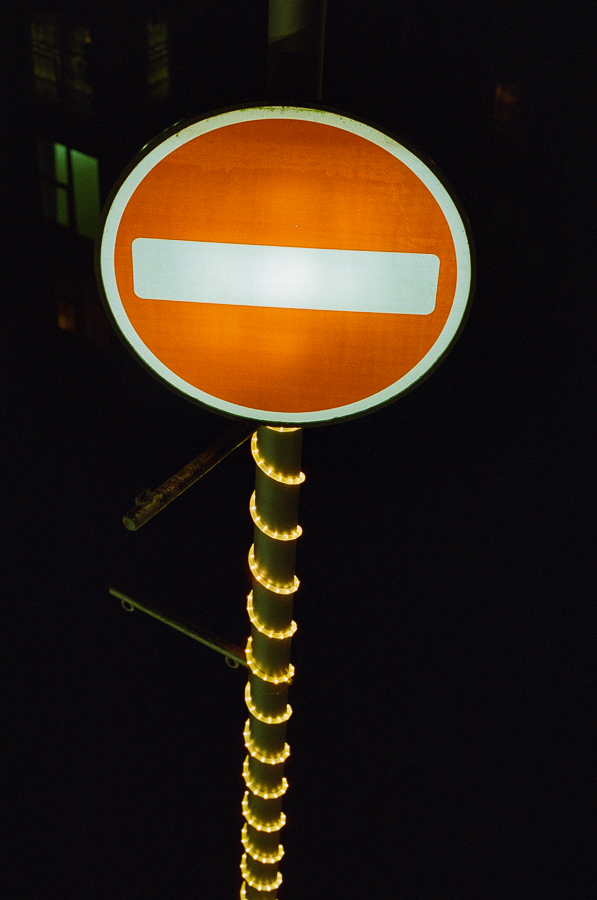
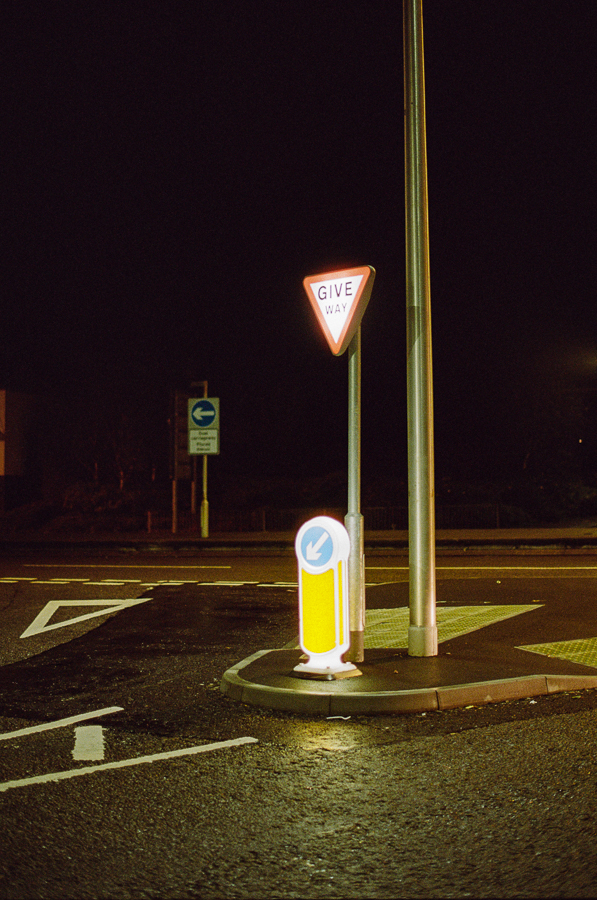
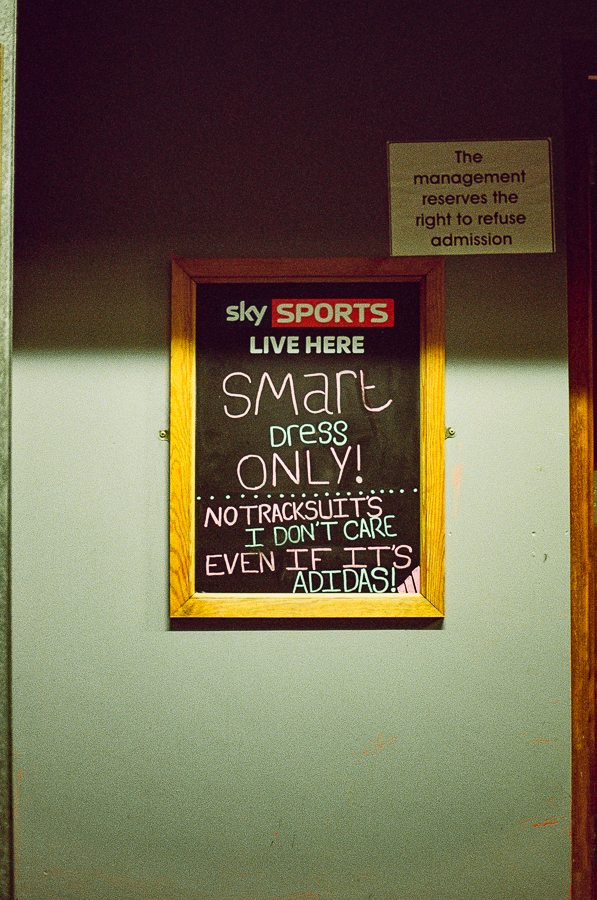
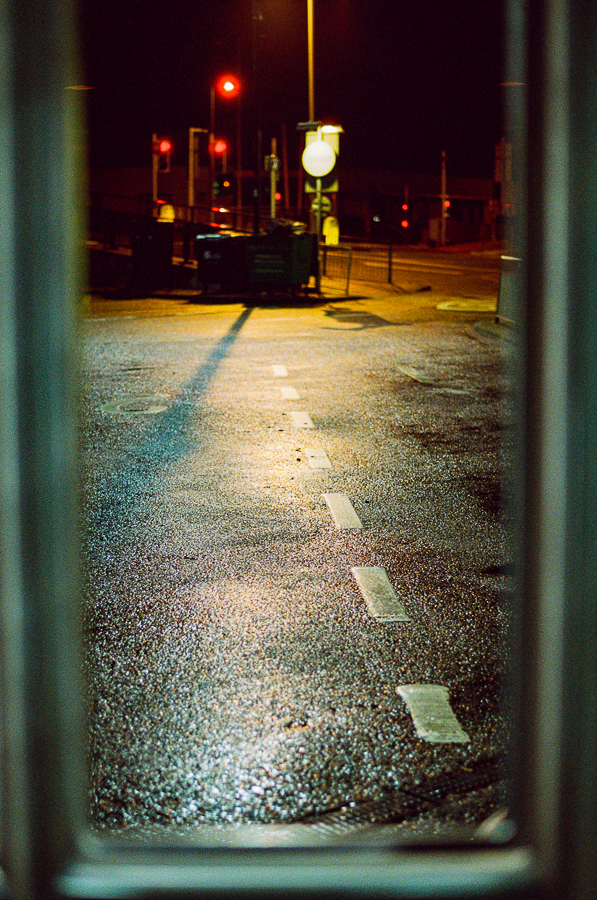
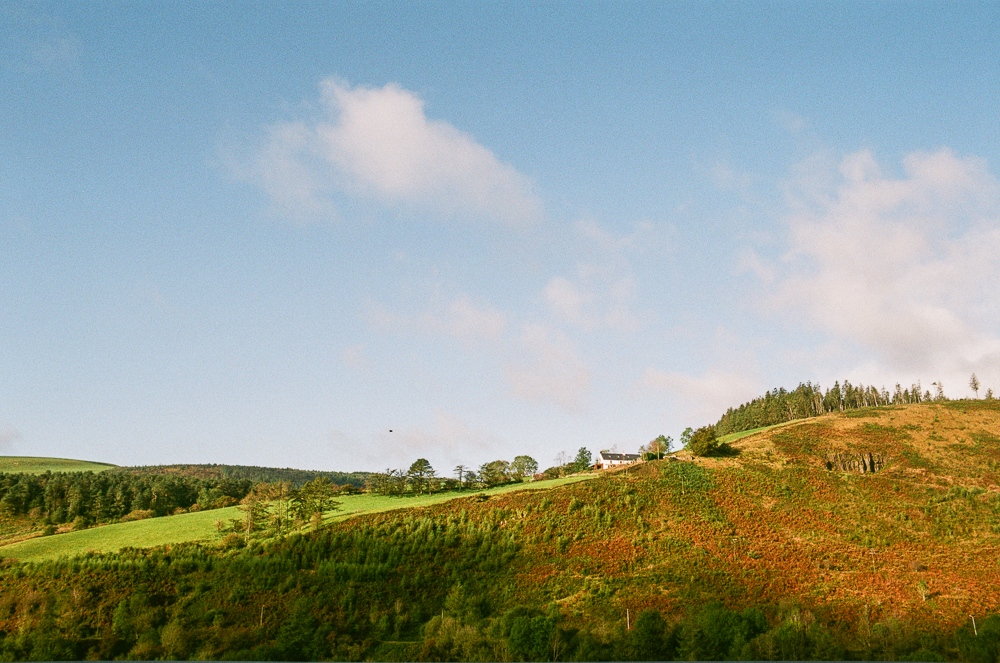
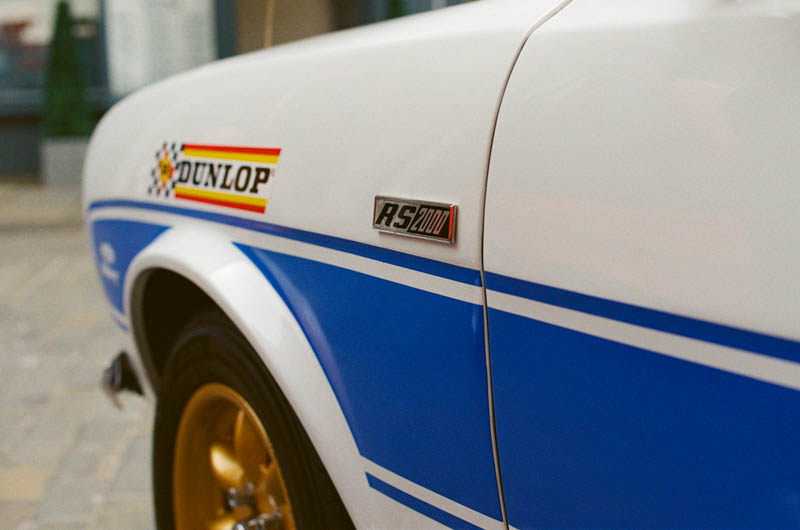
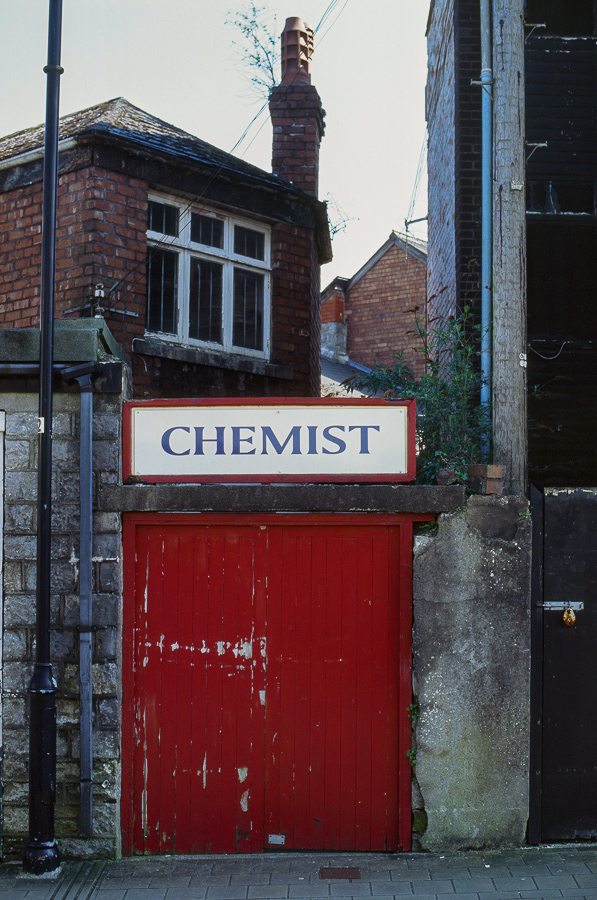
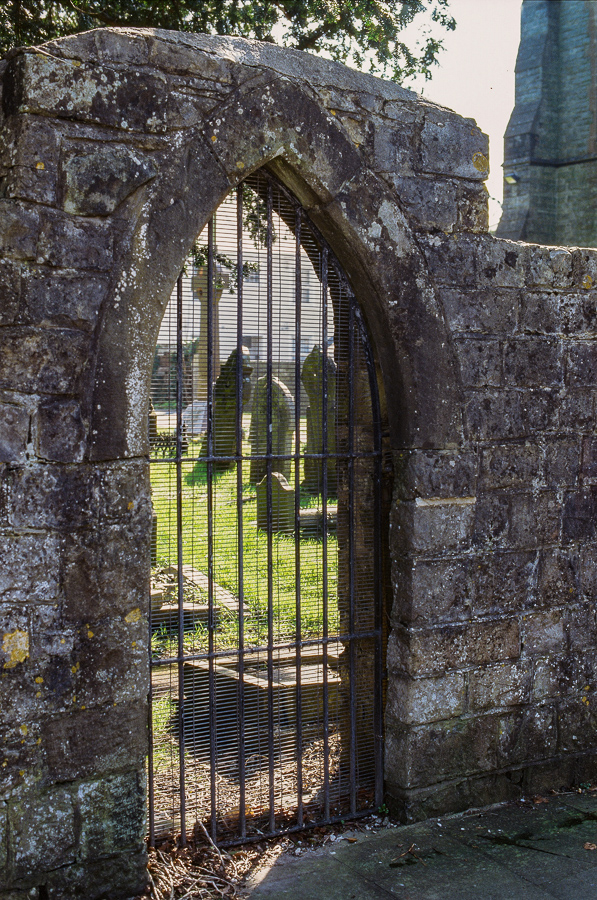
Here is a selection of images from the roll .. click to view larger


All images on my blog are available as prints just drop me an email

I also have a film only blog over at  usingfilm.wordpress.com if you want a peek 🙂

Shot my 1st roll of Kodak Ektar in ages … Here is the whole roll

For the first time in a while we had a lovely sunny Saturday the other week so I wanted to shoot colour on one of my mountain hikes.

I considered shooting some slide as I have quite a few rolls of expired film in my fridge as well as a couple of rolls of new Kodak Ektachrome but as I was going through my film stash I came across a roll of Ektar that expired back in 2015.

I am pretty sure that I bought it new and it has been lost in my fridge since then.

I don’t really shoot Ektar that often, in fact I probably have only shot 5 or 6 rolls in the past so I decided to use that for a change.

I do like how Ektar looks when I have used it and also there are loads of gorgeous images on the internet so instead of developing it myself I sent it to the awesome filmdev to get the scans right rather than me having to mess around trying to get the “Ektar Look”.

I shot the roll with my Nikon FE2 and the Nikkor 50mm f1.8 pancake lens that looks and works great with the FE2.

So here is the whole roll including the 1st test shot while loading the film (not very good but as it’s the whole roll I left it in) also the last 2 frames were shot indoors just to finish the roll.

I tried to look for subjects that would lend themselves to the Ektar look namely punchy Reds & Greens.

At the time of writing this blog Analogue Wonderland are running a competition to shoot Ektar along with a super discount on purchasing 120 and 35mm Ektar if anyone wants to take a look  (I am not affiliated to them I just love the service they supply) just click the link to visit the website for details.

Comments most welcome, click on an image to view larger

All images on my blog are available as prints just drop me an email

I also have a film only blog over at  usingfilm.wordpress.com if you want a peek 🙂

Fuji Reala 500D developed in C41 Chemistry …. Something went wrong but I think I like it

I have shot Reala 500D quite a few times and love the subdued colours when developed in C41 chemistry.

This weekend was quite drab and rainy here in Wales so I wanted to shoot colour film stock on my walk and at 1st I was going to shoot either Lomo 400 or 800 but I have been using both of those stock quite a bit recently so I remembered I still had a few rolls of Reala 500D in the fridge so I went with that for a change.

I shot it at iso 250 using my Minolta X700 with the 50mm f1.4 with the hope of getting less grain as I have seen plenty of images on the internet shot at least 1 or even 2 stops over that have looked lovely.

I have processed remjet backed film before so I mixed up a big jug of soda crystals with warm water and proceeded to fill/shake/discard the solution a few times before development to remove the remjet.

The 1st fill came out black as normal and got lighter by the 3rd fill but to my surprise the 4th and subsequent fills were coming out greeny yellow.

I used all my solution and then developed the roll as normal.

Once out of the tank the film looked pretty normal to the naked eye, maybe a little on the dark side but it wasn’t until I went to scan the images I realised there was something wrong.

There were areas of magenta and green and quite a bit of grain.

At first I was well cheesed off but after tweaking the RGB channels individually on each frame in Epson scan I did get some reasonably even colours which I then managed to edit further in Lightroom.

After the initial depression of the 1st scans I really liked how most of the photos looked … Obviously the colours were pretty wrong but overall I feel that they all seem to work for the subject matter.

I am not really sure what went wrong but my assumption was that the remjet removal bit was at fault.

The C41 chemistry is only 8 rolls old so I think that was not the problem .. also the film itself was from a batch that I have shot before that was fine.

So here is the best selection … click on an image to view larger…

All images on my blog are available as prints just drop me an email

I also have a film only blog over at  usingfilm.wordpress.com if you want a peek 🙂

Sunny day walk with my Daughter & some Kodak Portra 400VC …

I have been working all the way through this pandemic lockdown which is a blessing as I think I would have gone nuts if I had to stay home so on the weekends I make the most of it by going on a long walk here in our lovely Garw Valley.

Most weekends if she isn’t working too I have been joined by my daughter who has been eager to explore the many different walks we have here in our vicinity.

I bought quite a few rolls of Portra 400VC from Mr Cad ages ago so I thought it was about time that I shot some of it so I loaded my trusty Mamiya 645 and went out on a hot Saturday morning to do a 8 mile trek around our valley.

After developing the roll I had some issues namely strange light leaks in different places and of different intensities so I immediately thought the camera was at fault even though I have never had a problem like this on any other rolls.

After posting on Twitter asking if anyone had any idea what it could be most people suggested the camera which would have been the obvious choice so I loaded up a roll of ilford SFX and shot that the following day under the same sunny conditions only to find they were all perfect … no leaks so on this occasion I think the problem was with the film itself.

I bought about 20 rolls and have shot 7 or 8 previously and all were fine except this one.

As most of the leaks occurred on the edges I managed to salvage quite a few frames with a little cropping which was pretty easy as it was a 6 x 4.5 frame.

See this original scan sample here


Anyway here are the final images … please click to view larger ….


All images on my blog are available as prints just drop me an email

I also have a film only blog over at  usingfilm.wordpress.com if you want a peek 🙂

Enjoying my Pentax Super A with some Lomo CN 800 …

I blogged a while back how I managed to stupidly lose my 1st Pentax Super A after only shooting a few rolls with it.

Since buying another  one I have been shooting it quite a bit and being extremely careful not to take it (or any other camera) out whilst partaking in some alcohol .. this isn’t a problem at the minute due to this worldwide Coronavirus lockdown.

I love the Lomo CN400 colour film stock and would go as far as to say it’s my favourite colour film by a country mile.

When I replenished my Lomo film stash a few weeks ago I also bought a few rolls of CN800 just to compare it to CN400.

I have shot CN800 at night before and blogged it here .. Lomo CN800 at night

I am pleased to say that when it’s shot in good light that it gives excellent results too.

The colours are lovely and very comparable to CN400, the grain is definitely more pronounced but not so much as to be distracting and to be honest you have to zoom in to really notice.

I would be happy to shoot this film any time as it gives you the added bonus of using it when the light is less than good without having to push the film.

Here are a selection of the best frames ….


Please click a photo to view larger

All images on my blog are available as prints just drop me an email

I also have a film only blog over at  usingfilm.wordpress.com if you want a peek 🙂


Minolta X700 & Some JCH Streetpan 400….

Over the last few months I have been adding to my Minolta SLR collection and one of the cameras I have been looking for since I began was an X700 that was in good condition as well as a reasonable price and I eventually found one.

It appeared in excellent condition so I loaded it with some JCH Streetpan 400 and popped out to give it a test.

I shot the whole roll using aperture priority using the Minolta MD 50mm f1.7 and developed in Rodinal 1+25 dilution for 10 1/2 minutes.

As you would expect the images were lovely and contrasty/sharp and the camera exposures were pretty much spot on.

The camera was lovely to shoot with handling great and is probably going to be one of the Minolta SLR’s that I will shoot regularly.

Here is a selection of images … comments most welcome

Please click a photo to view larger

All images on my blog are available as prints just drop me an email

I also have a film only blog over at  usingfilm.wordpress.com if you want a peek 🙂

Lomography CN800 at night … 1st blog of 2020 …..

My goto colour negative film over the last 18 months has been Lomo CN400 … I love the colours and the grain/sharpness.

I have also tried some CN100 which is almost as nice but not as versatile being a 100 iso film especially here in South Wales during winter.

So I thought it was about time to try out the CN800 as I really like how the images look when researching the colours on the web.

As it happens the day I loaded up my Nikon F100 we had a night out on the town which was perfect to see how it performed in pretty low light.

The roll was developed and scanned by the brilliant FilmDev ….

Here is a selection from the roll … I really love how the colours pop, so much so I have bought a few more packs and also some in 120 format.


Please click a photo to view larger

All images on my blog are available as prints just drop me an email

I also have a film only blog over at  usingfilm.wordpress.com if you want a peek 🙂

My 1st roll of Fuji Industrial 100 …..

There are not too many 35mm film stocks that I have not had experience of shooting but Fuji Industrial 100 has escaped me until now.

Normally from what I have read on the web only available in Japan but a few online uk vendors have been stocking it at reasonable prices.

As described by Analogue Wonderland

“Fujifilm Industrial 100 is a gorgeous colour negative film with exceptional sharpness, natural skin tones, and faithful colour reproduction.”

I didn’t shoot any portraits so I cannot vouch for the natural skin tones but the colours were gorgeous and the sharpness is excellent.

The images were shot on my Pentax Program A & 50mm f1.7.

I had the film developed and scanned by Filmdev who as per usual did a wonderful job.

Here is a selection of the images …..


Please click a photo to view larger

All images on my blog are available as prints just drop me an email

I also have a film only blog over at  usingfilm.wordpress.com if you want a peek 🙂

Lomography Color Negative 400 at the car show ….

A couple of weeks ago there was a small classic car show here in Bridgend town centre and as we were blessed with a bit of sunshine I loaded the Nikon F100 with my favourite colour film stock .. Lomography Color Neg 400 along with the Nikkor 50mm f1.4 and went down with the intention of getting closeup and detail shots as well as the normal car shot.

This film always gives it’s best when shot in good light and didn’t disappoint this time with lovely popping colours along with excellent detail.

I had the roll developed and scanned by Filmdev which as usual gave great results.

If you have never tried this film before then get your hands on some and give it a go I am sure you will be happy.

Anyway here is a selection of images ….. well to be honest it is almost the whole roll 🙂

Please click a photo to view larger

All images on my blog are available as prints just drop me an email

I also have a film only blog over at  usingfilm.wordpress.com if you want a peek 🙂

My 1st roll of the New Kodak Ektachrome … all 36 frames

I have shot most of the available and discontinued slide films over the years and processed them in E6 and cross processed in C41 and it never fails to give you a great feeling holding up some slides to the light.

So obviously when Kodak announced that they were bringing back Ektachrome I couldn’t wait to get some to play with.

Once I bought a few rolls I decided to load the 1st roll into my Nikon F100 as it gives me pretty much spot on exposures when I shoot slide film.

As you can see from the 1st shot on the roll I began shooting on March 30th and I took about 4 months to complete the roll as I wanted to try it on a range of subjects and lighting conditions.

I had the film developed & scanned by AG Photographic as I didn’t want to mess up the developing and get unreliable results.

I have to say the film lived up to my expectations … colours and sharpness were great and even shooting into the sun worked, also portraits came out good too.

So here is the complete roll in the order that I shot them … comments welcomed.


Please click a photo to view larger

All images on my blog are available as prints just drop me an email

I also have a film only blog over at  usingfilm.wordpress.com if you want a peek 🙂