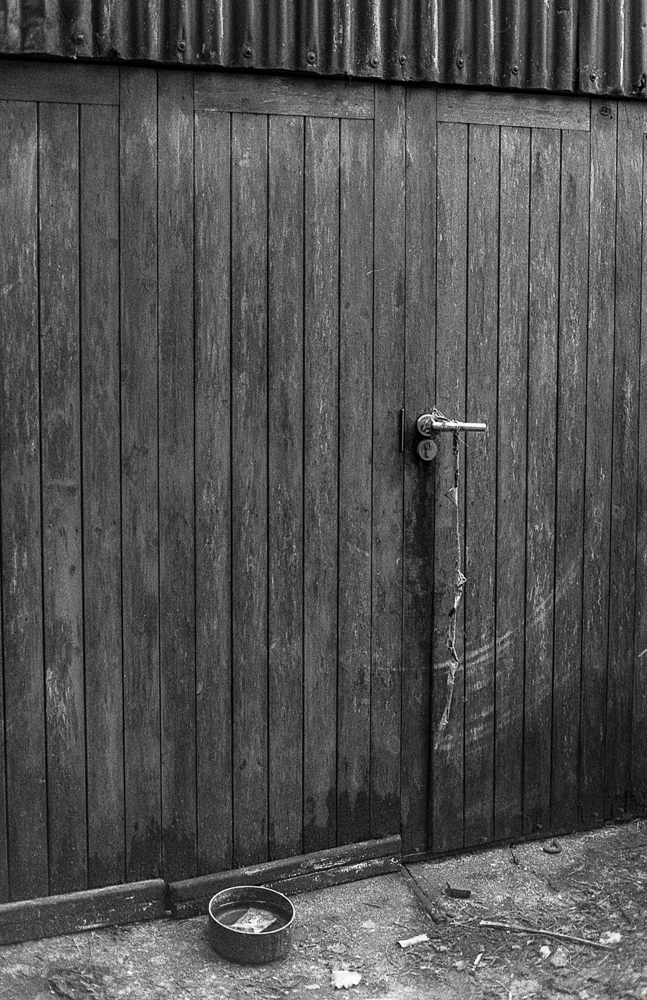
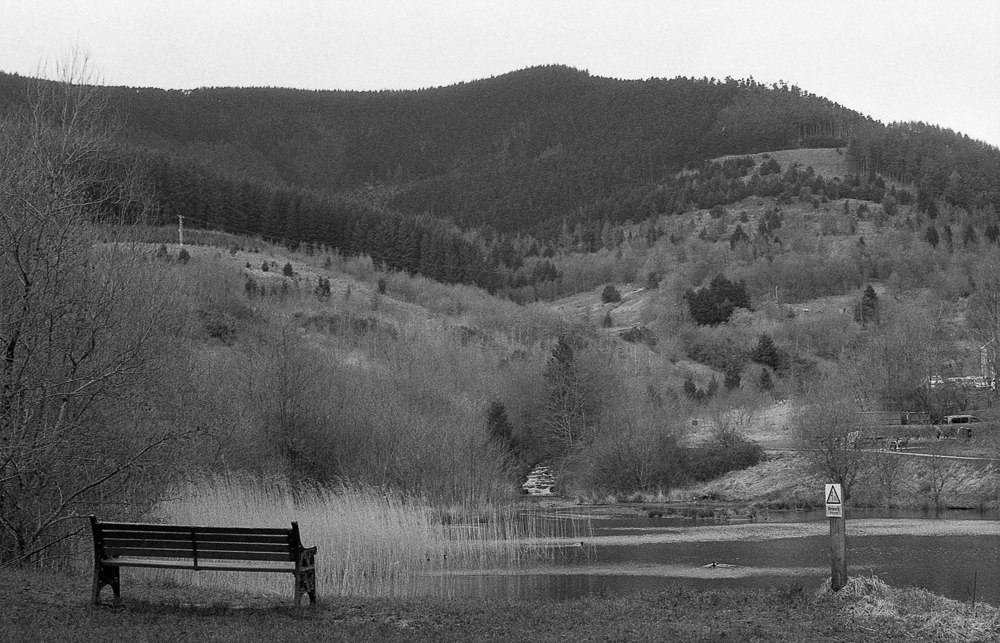
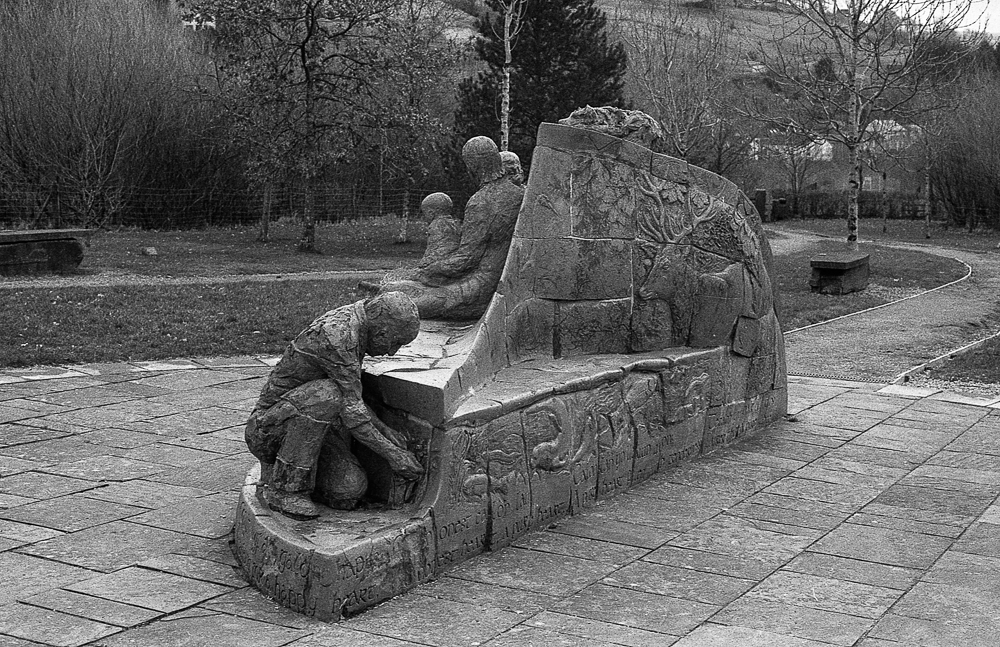
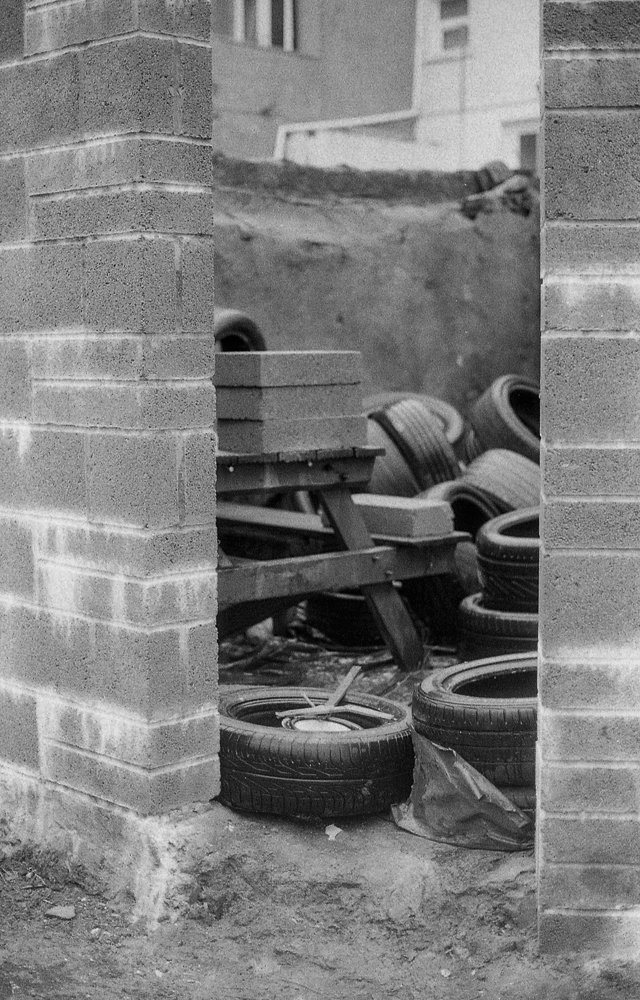
I have not blogged for ages for various reasons, mainly because I have not shot a lot of film recently so I am trying to motivate myself.
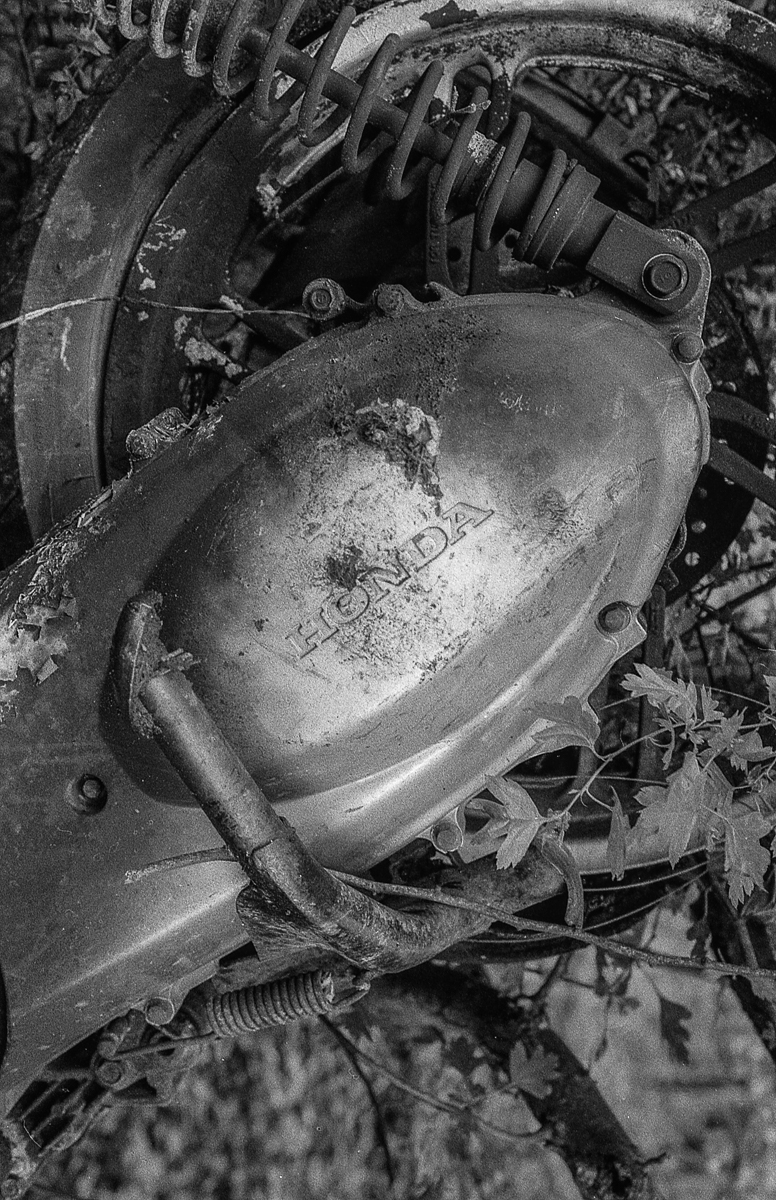
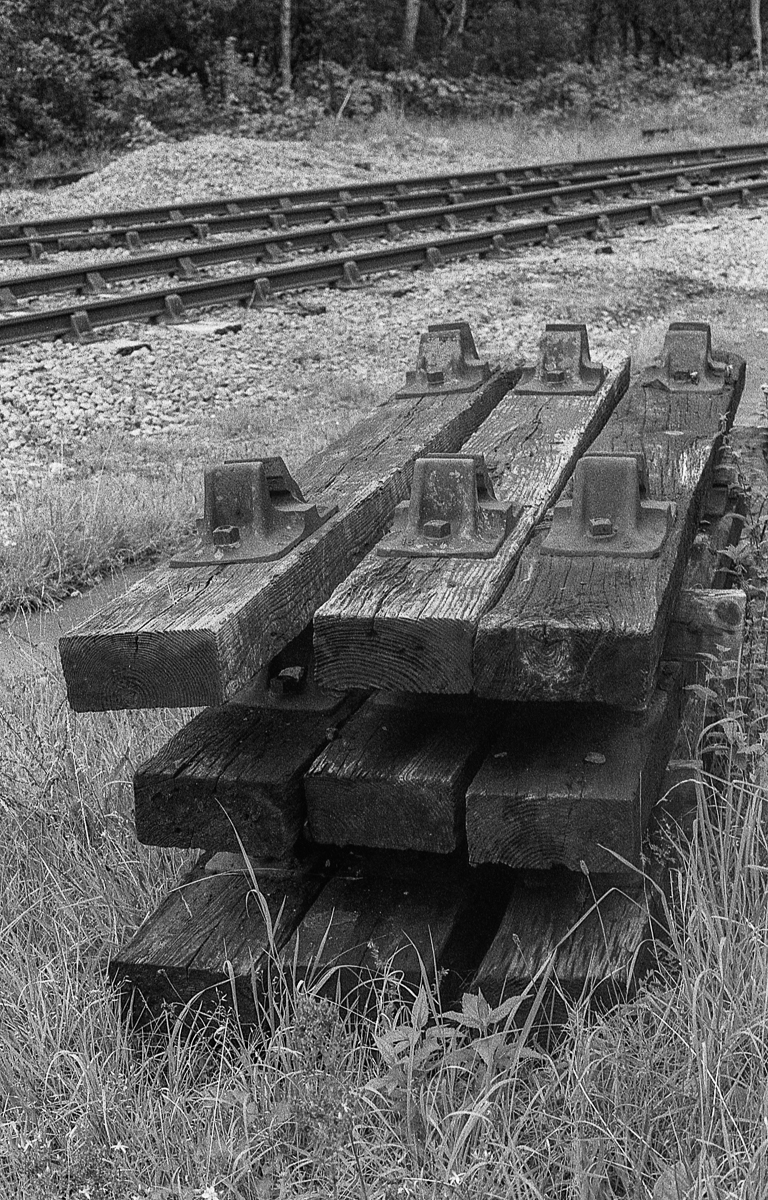
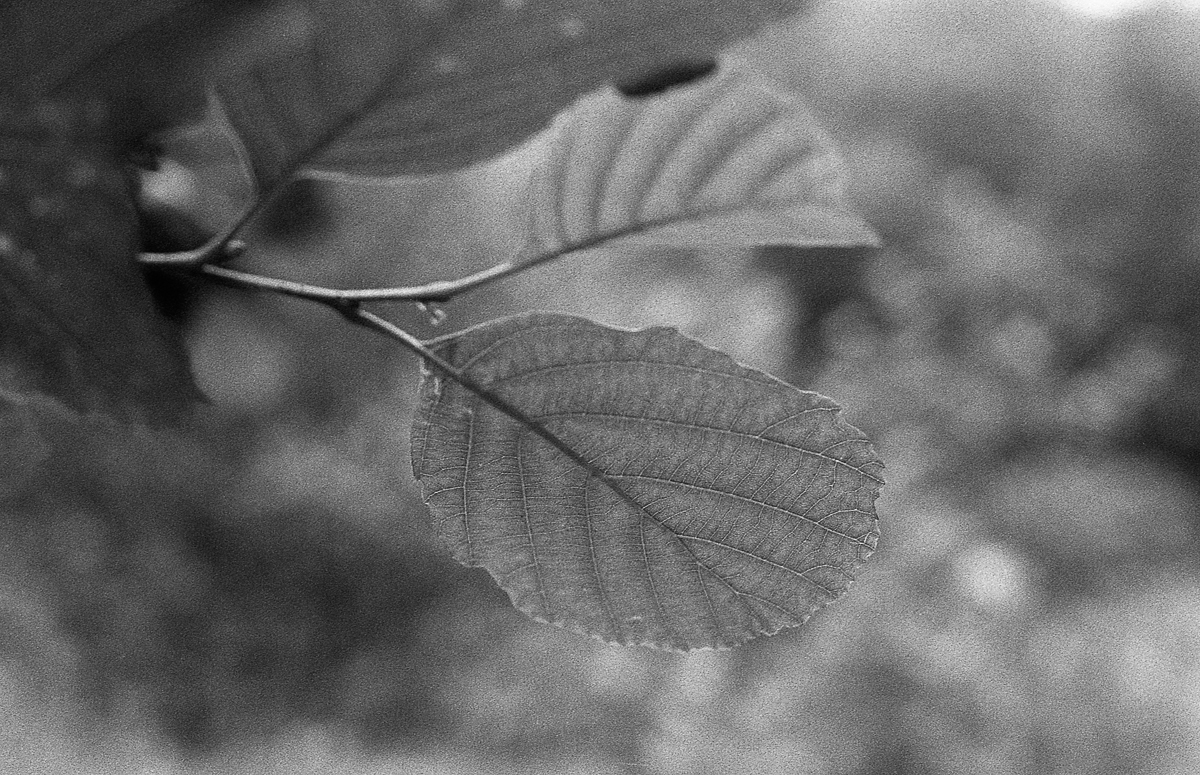
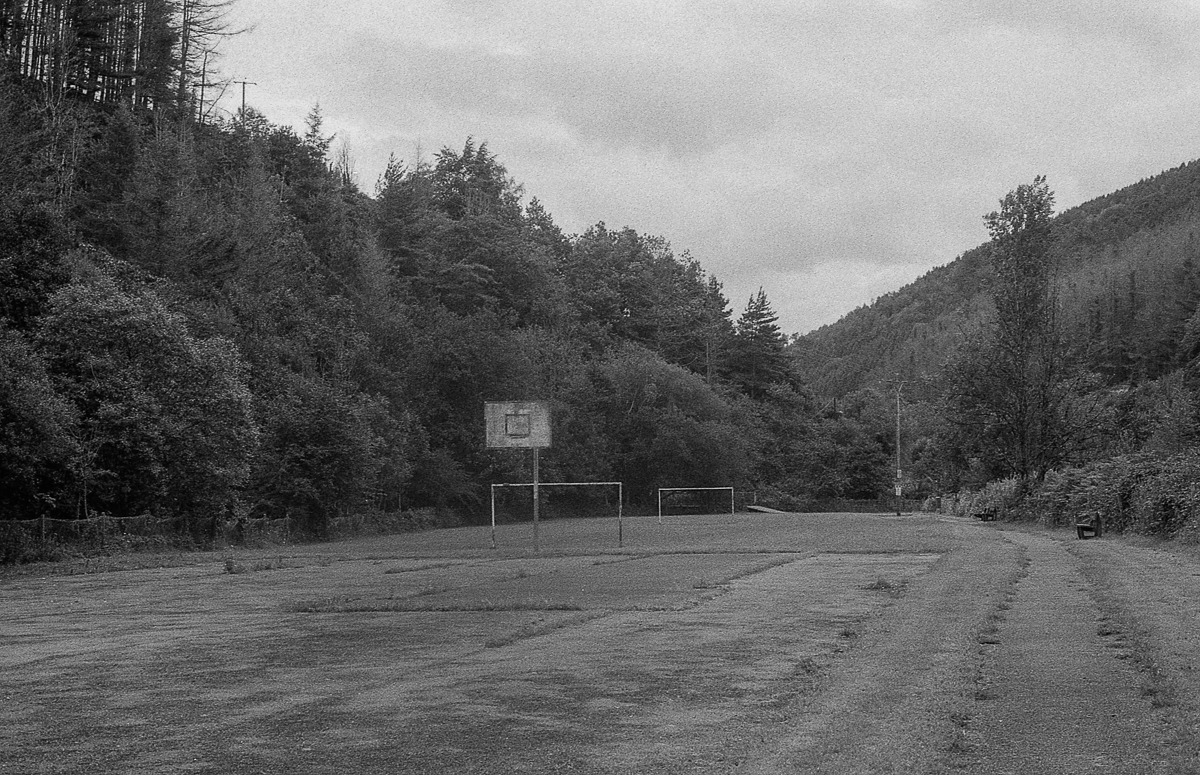
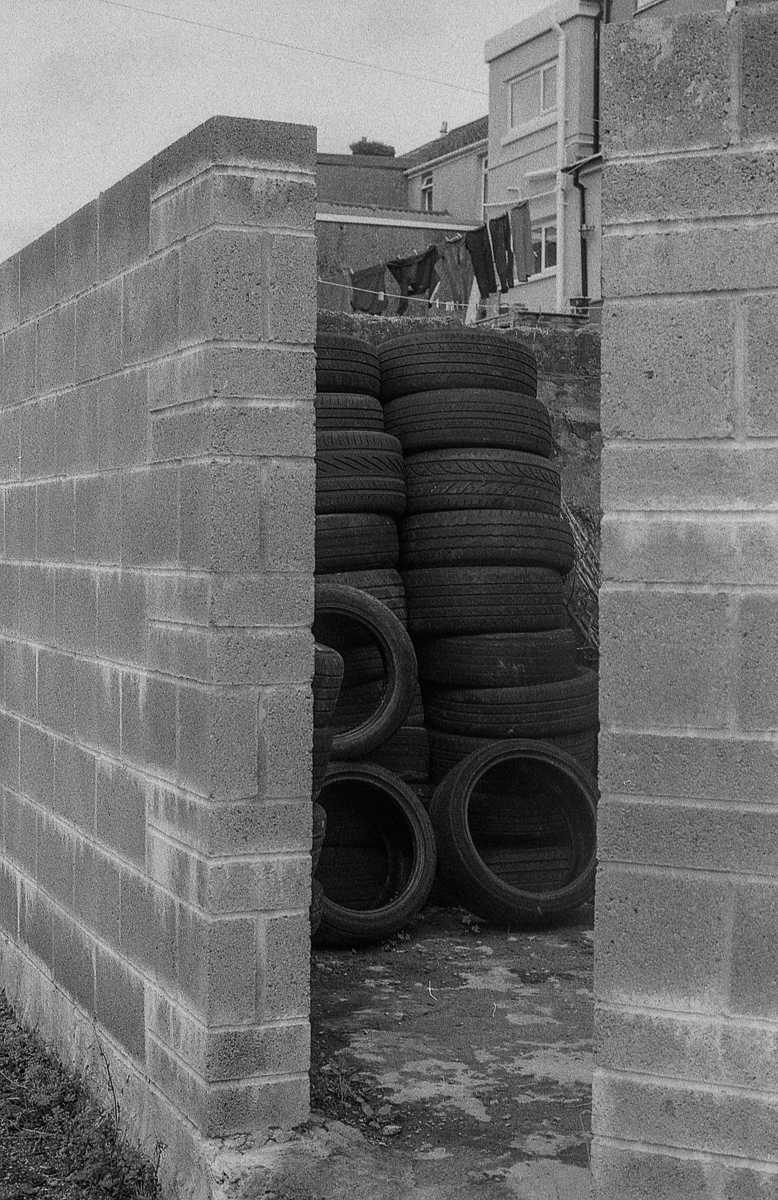
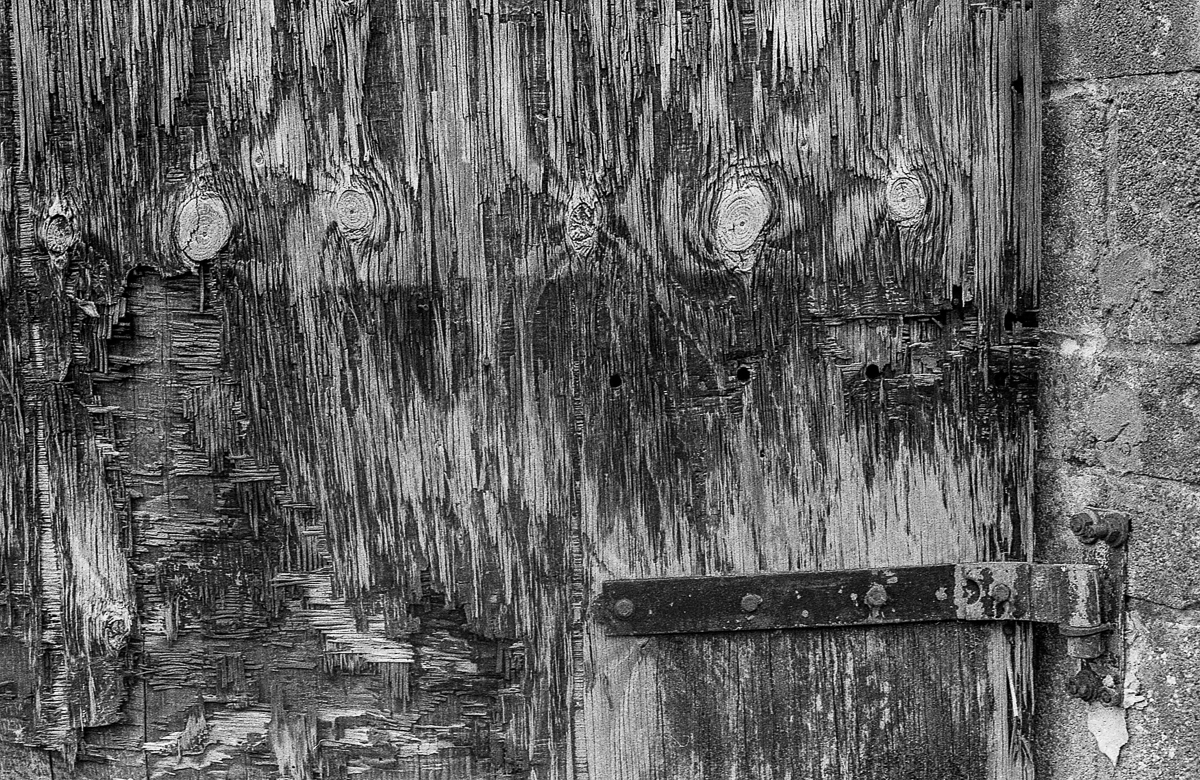
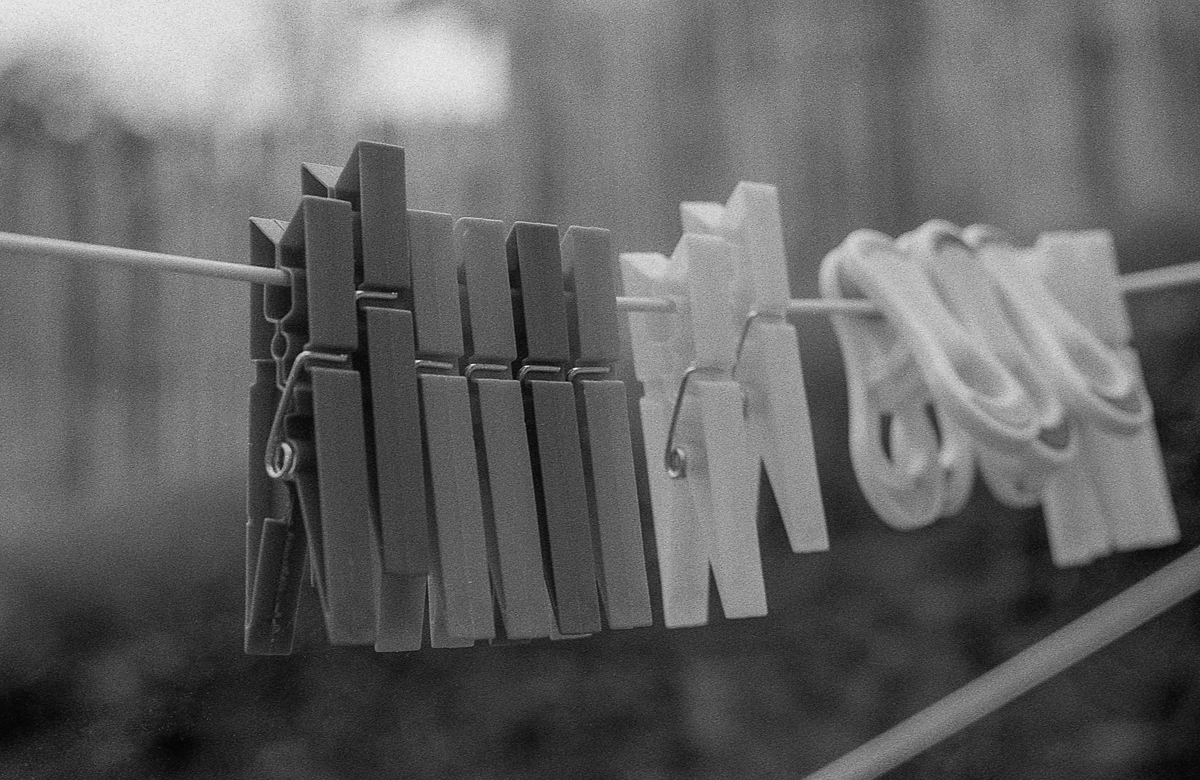
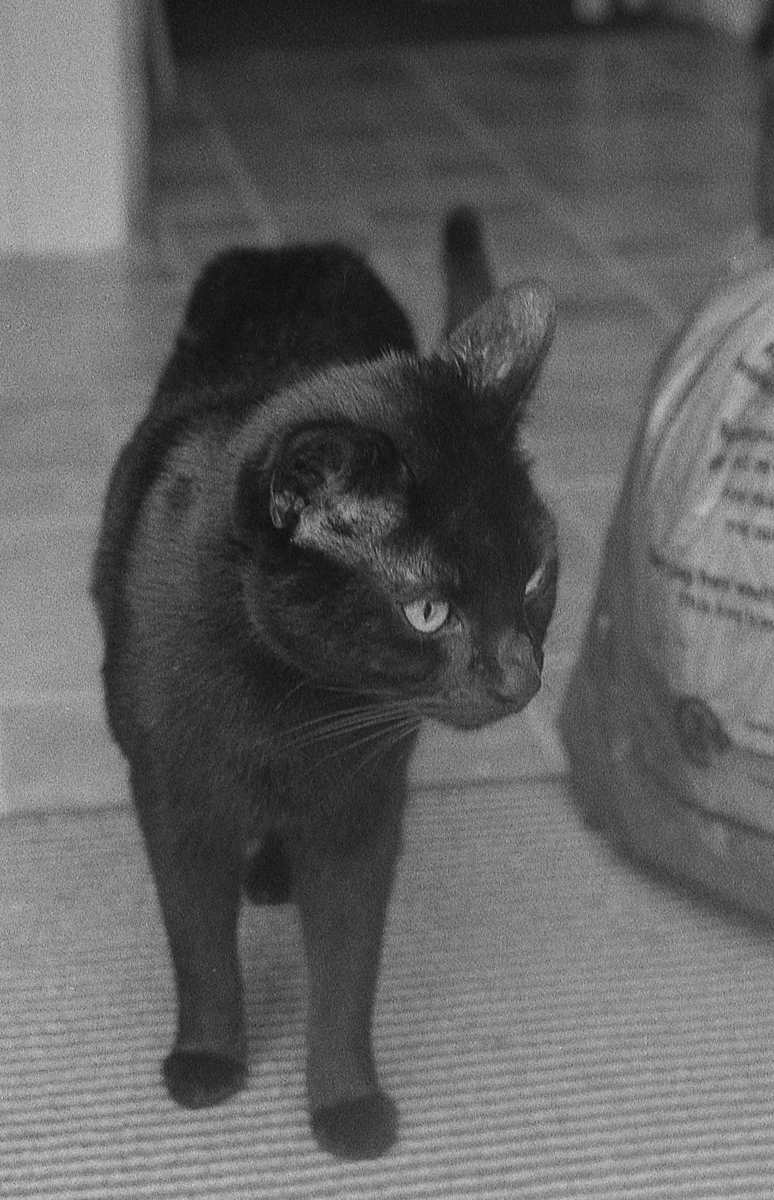
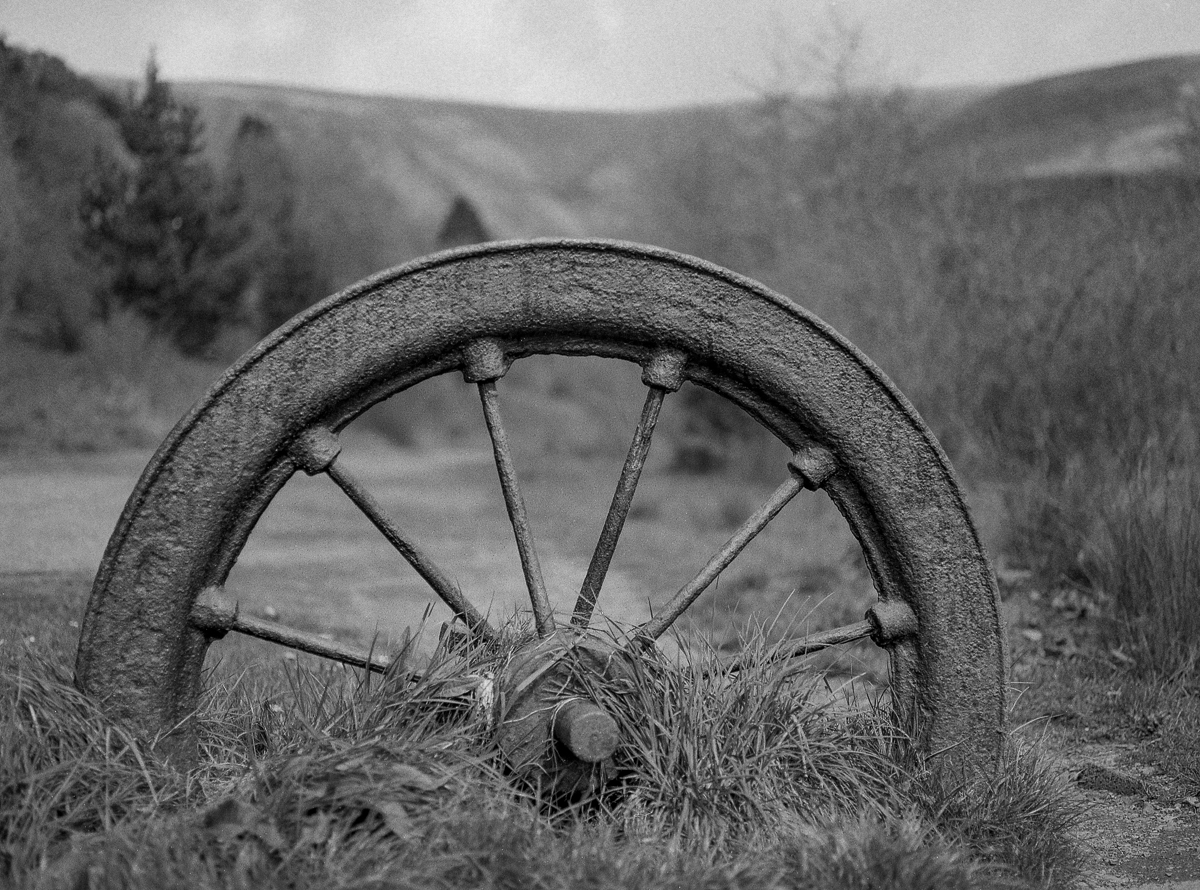
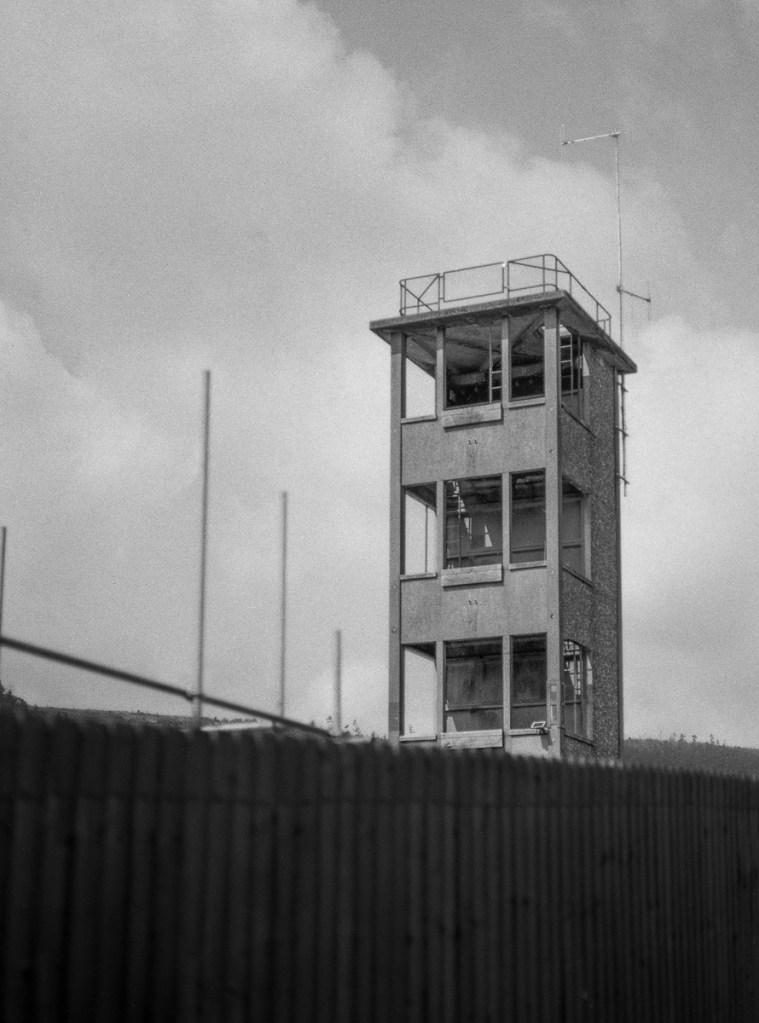
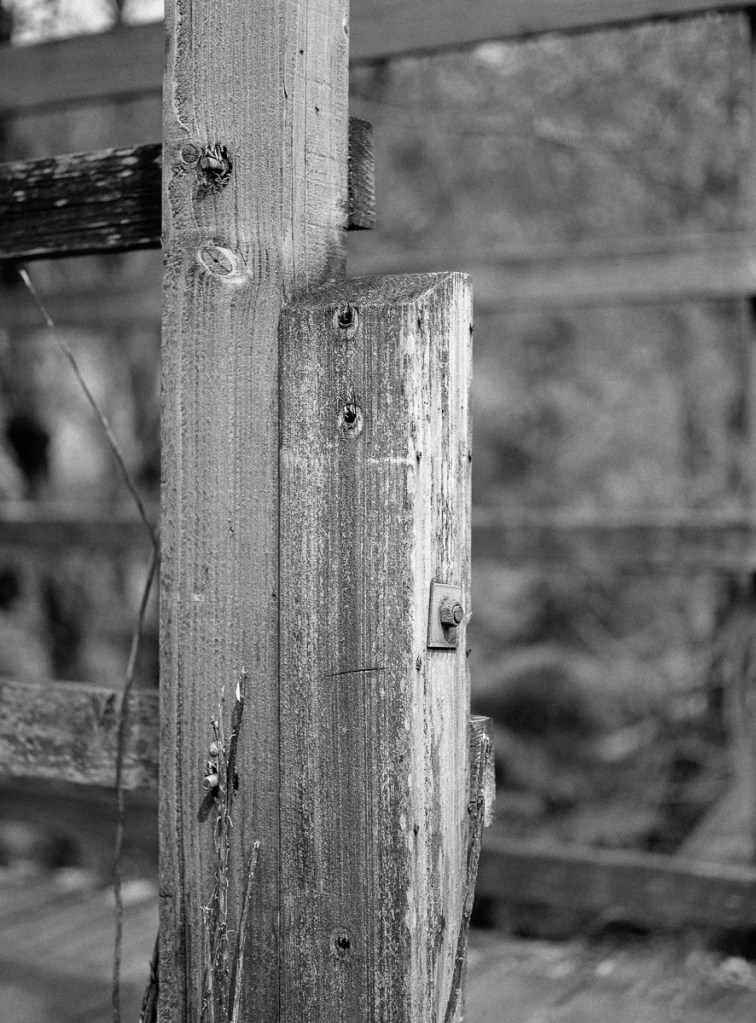
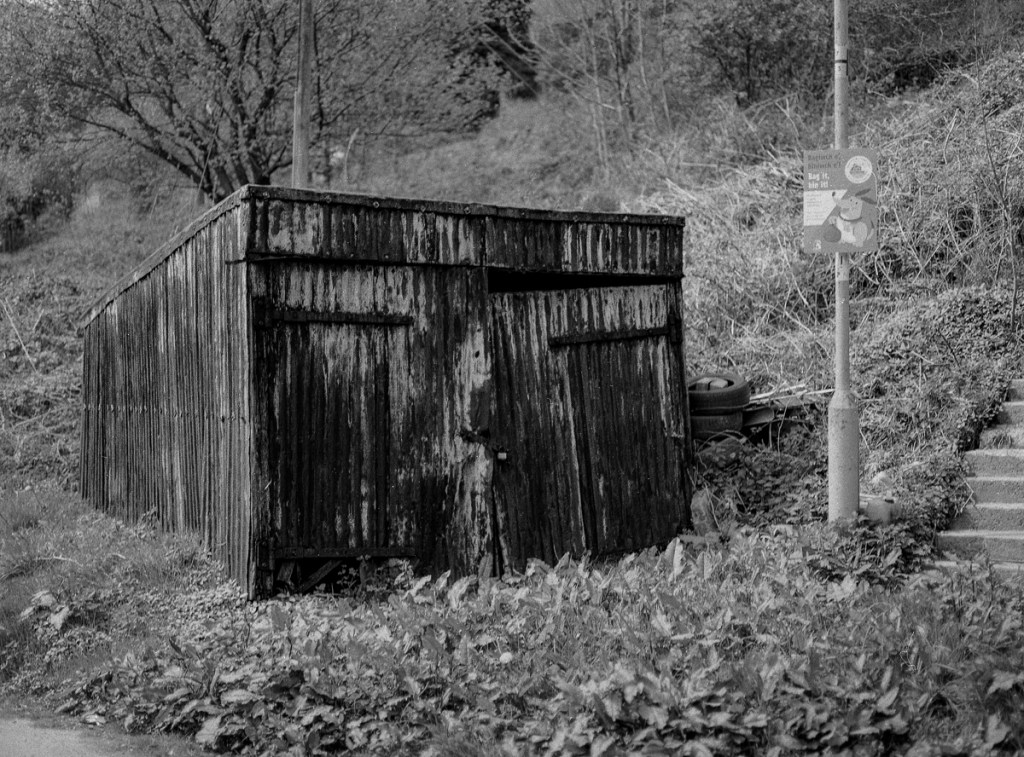
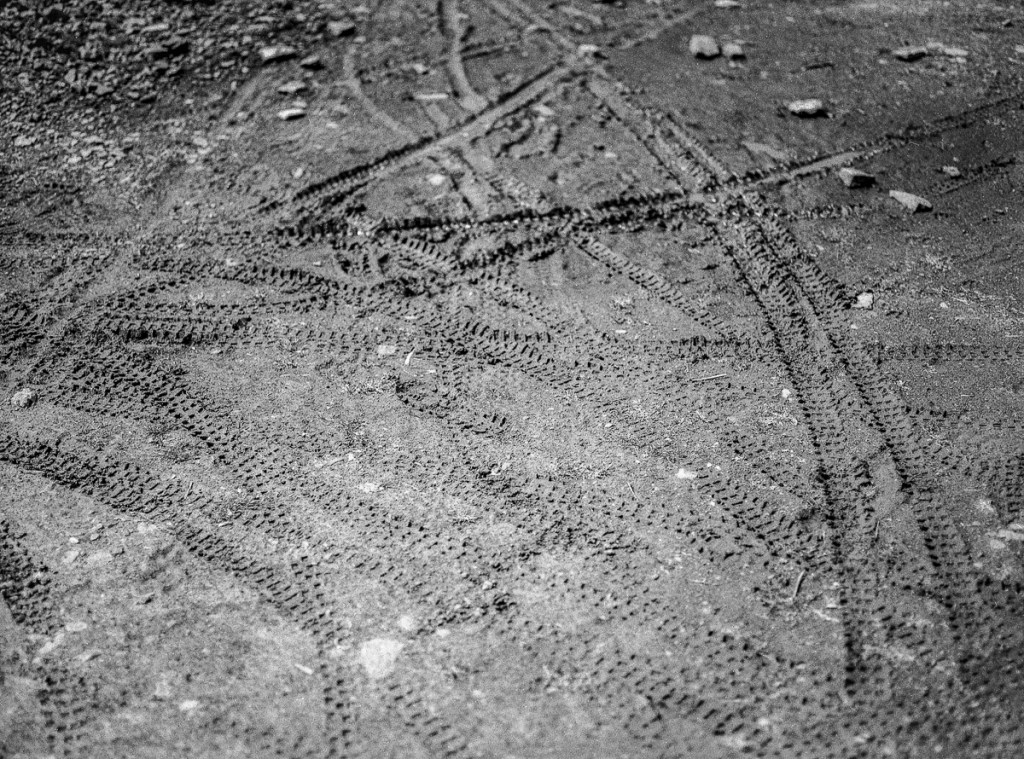
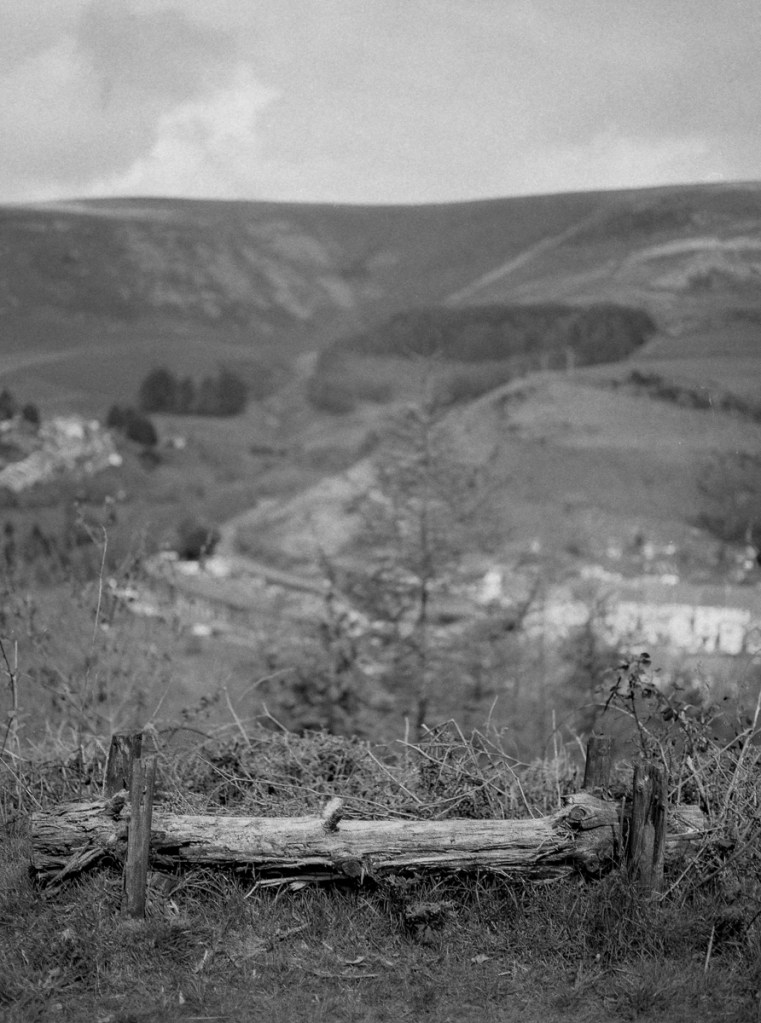
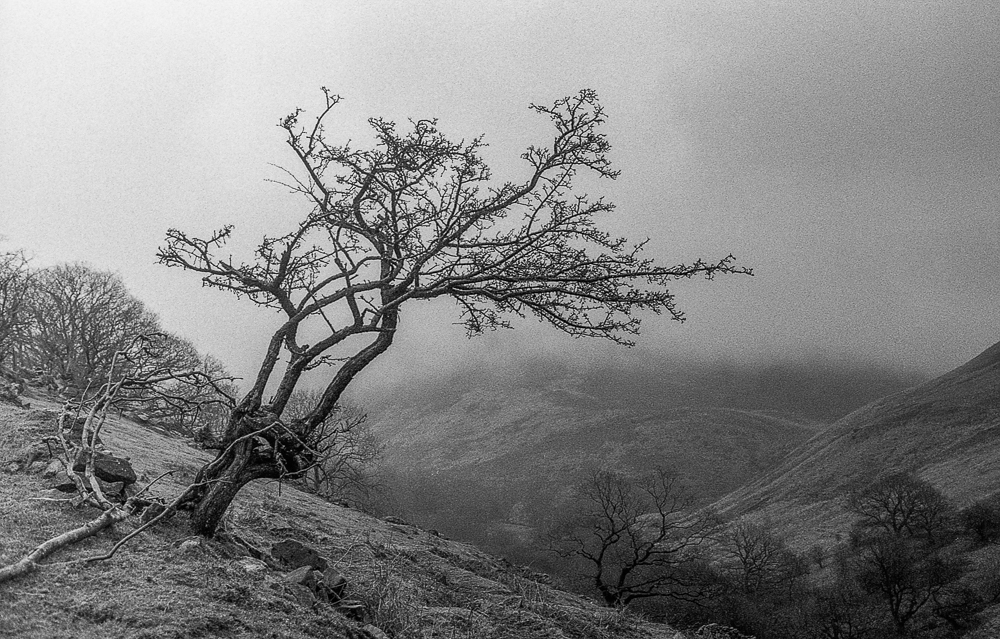
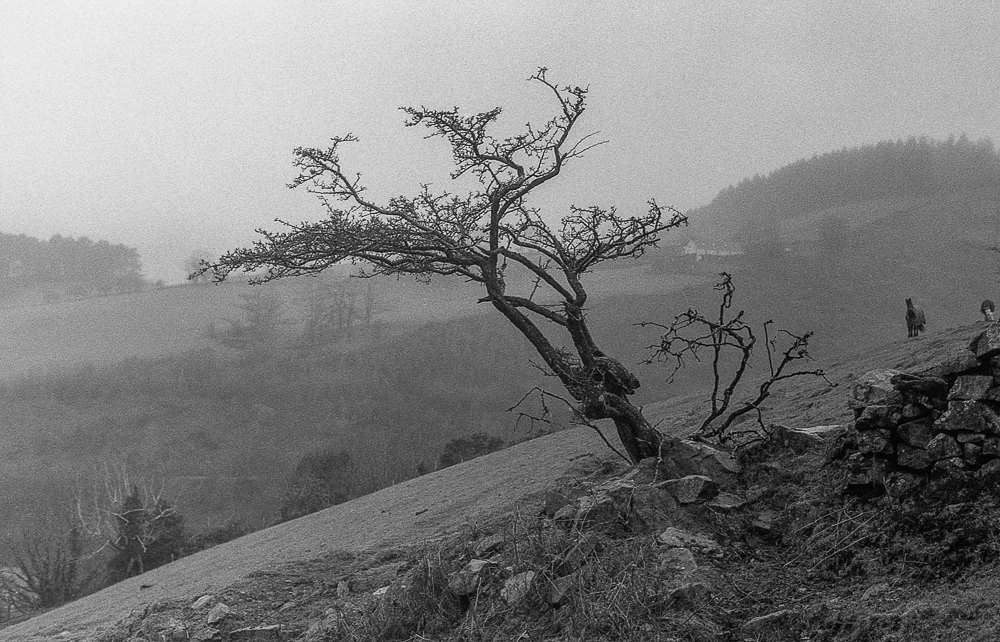
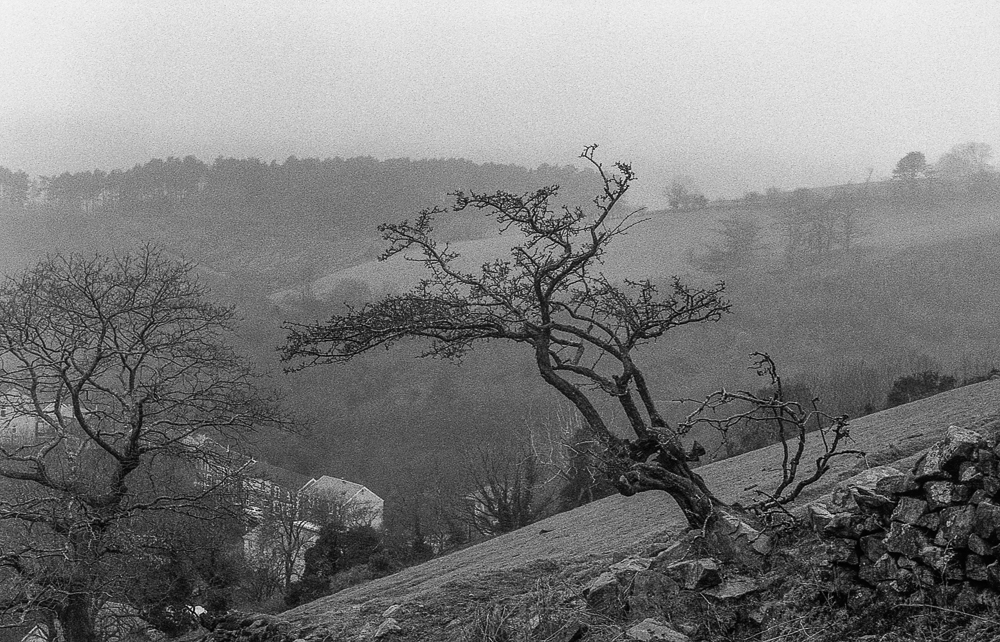
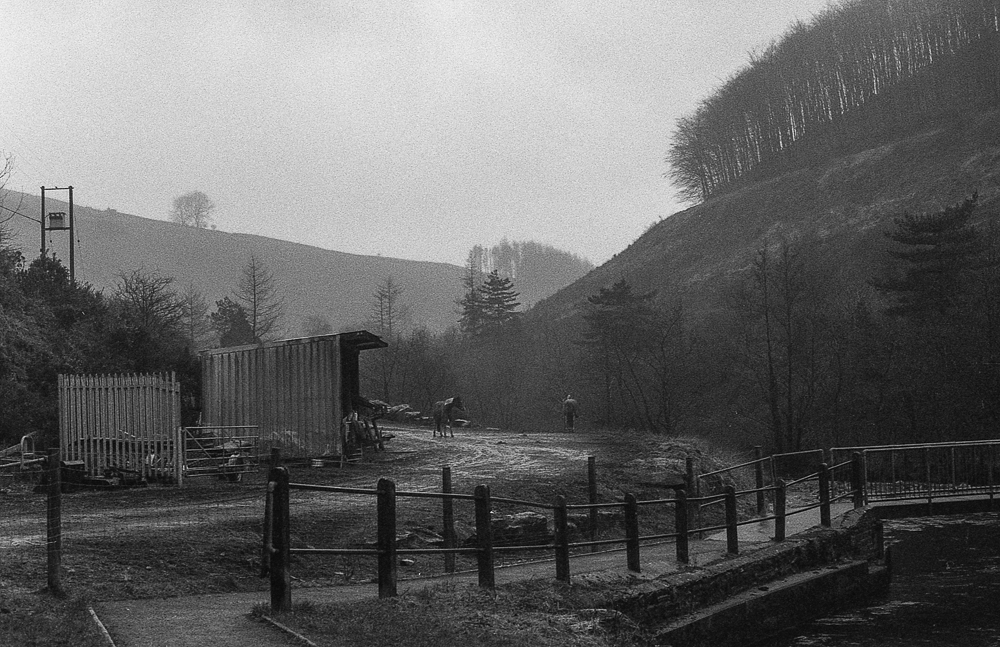
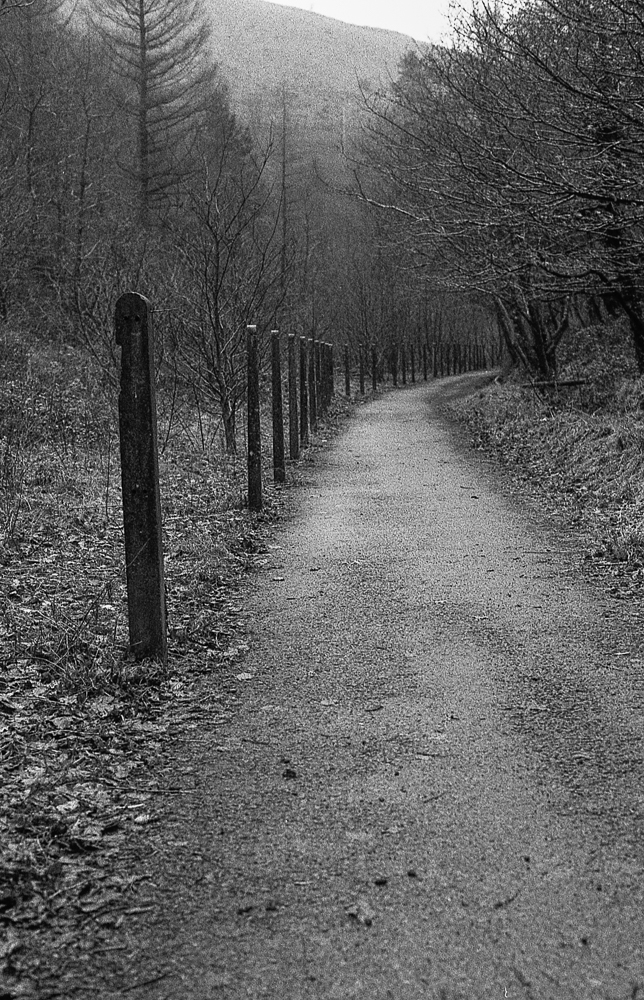
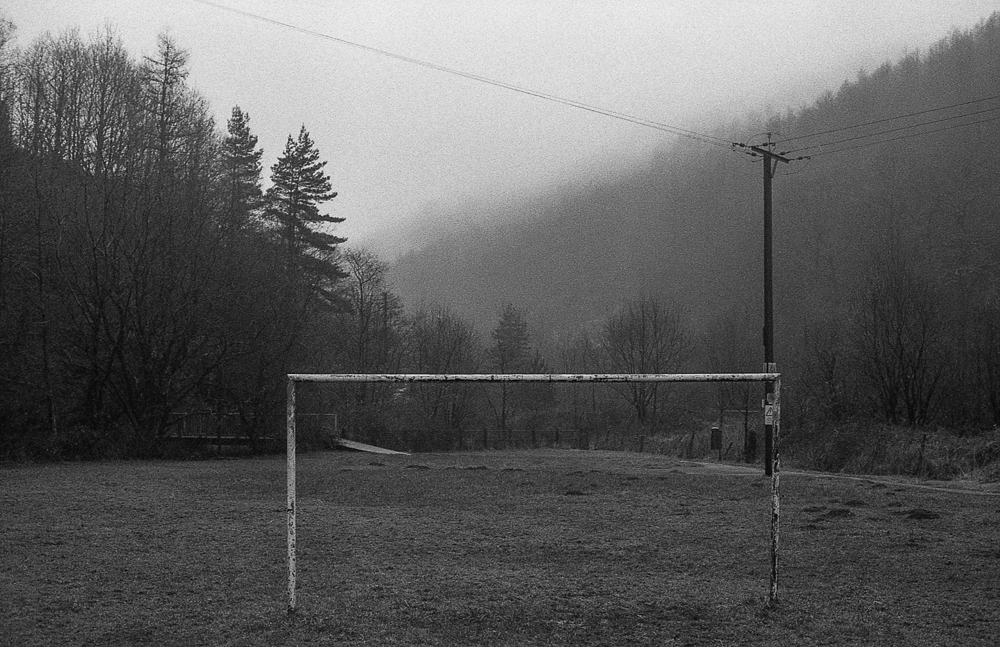
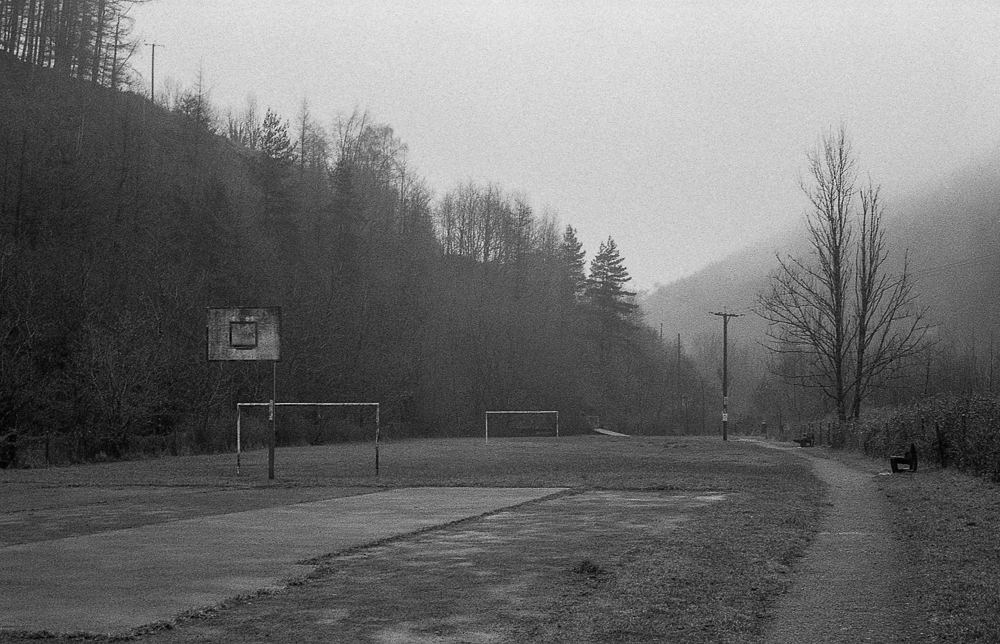
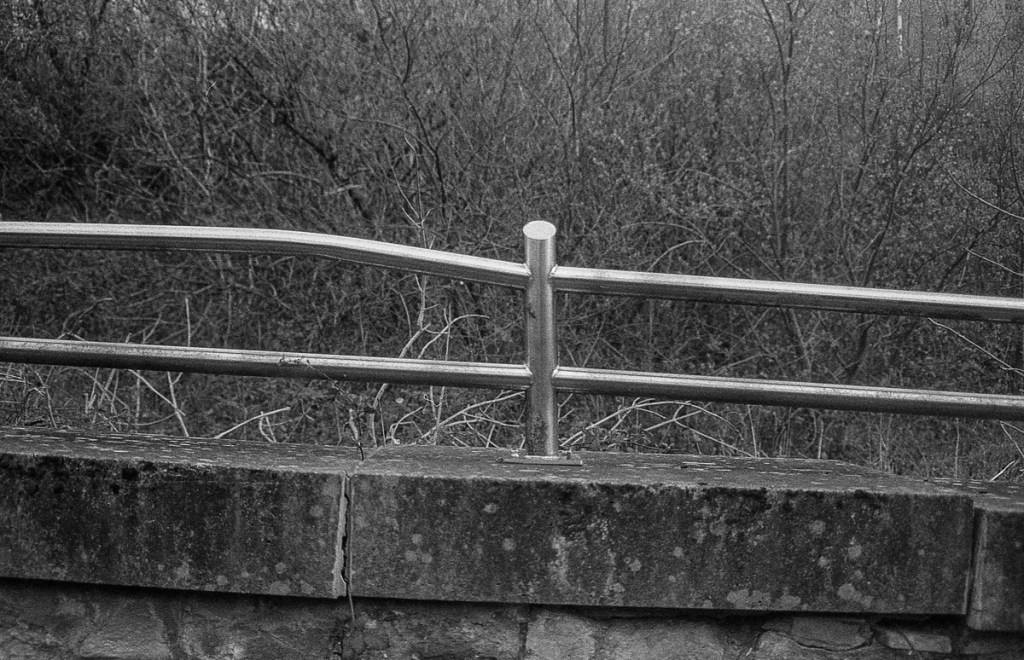
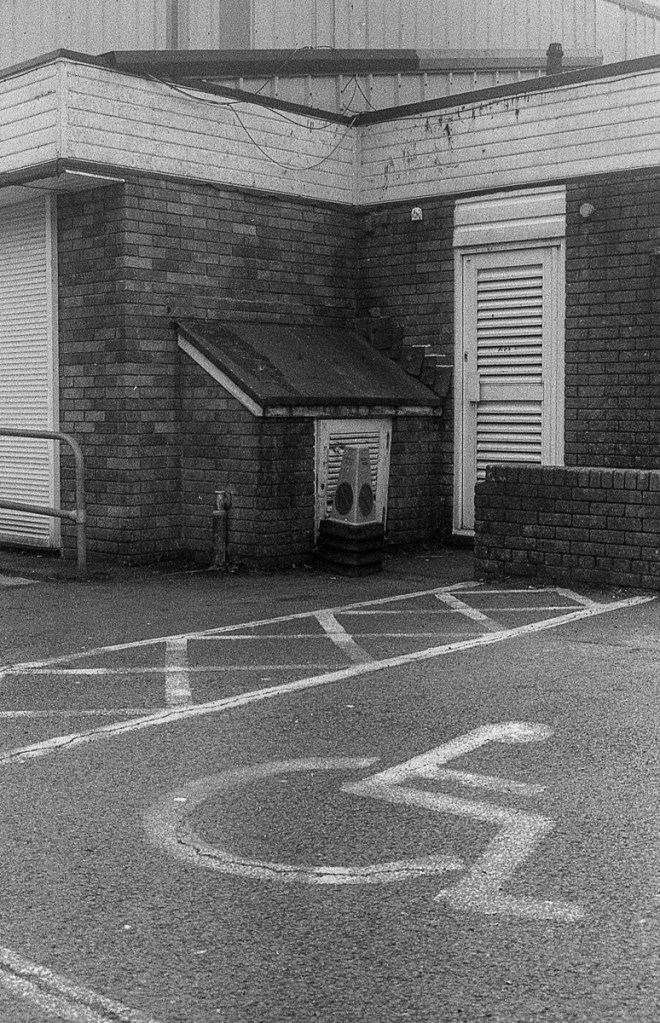
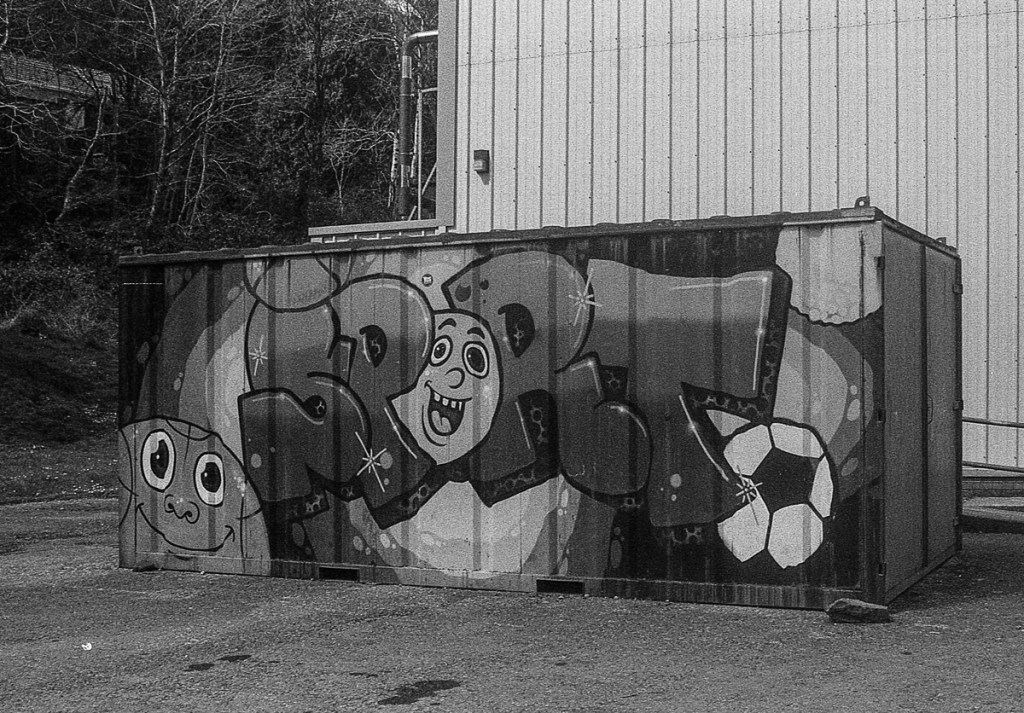
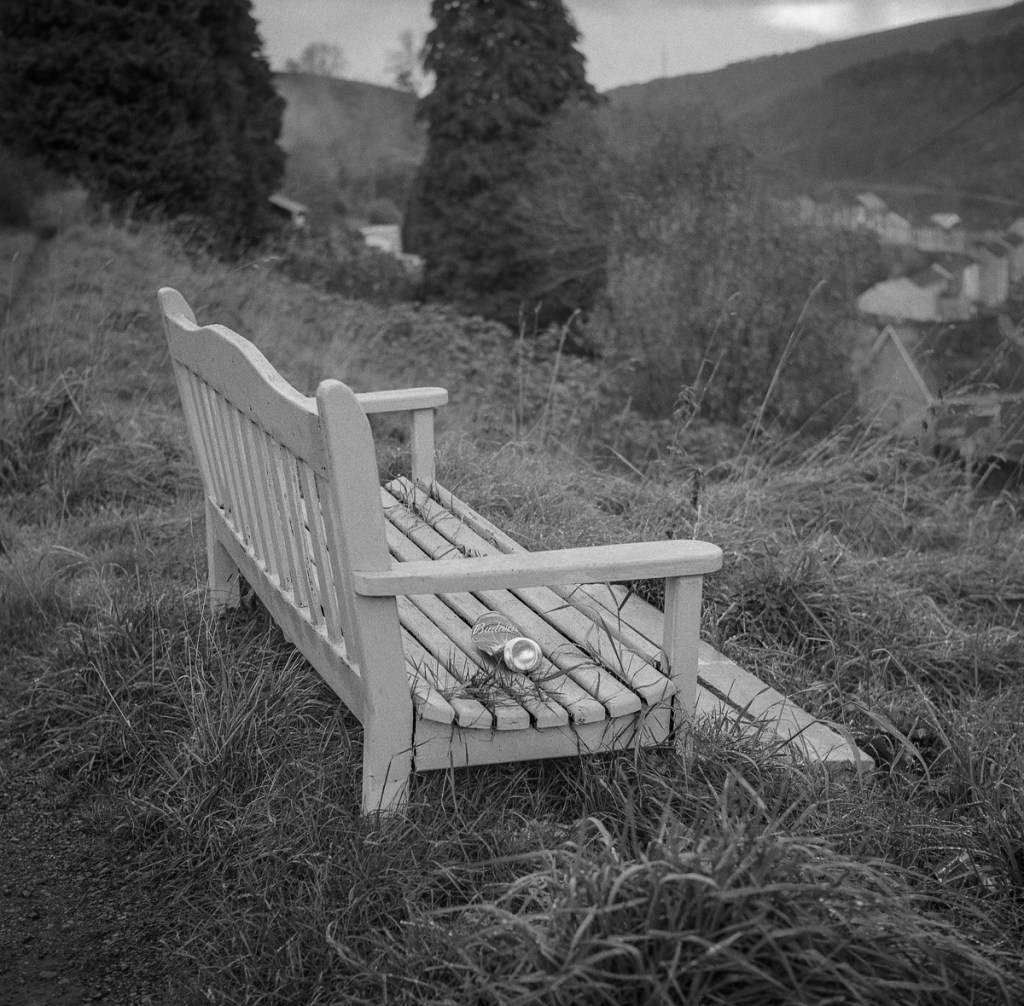
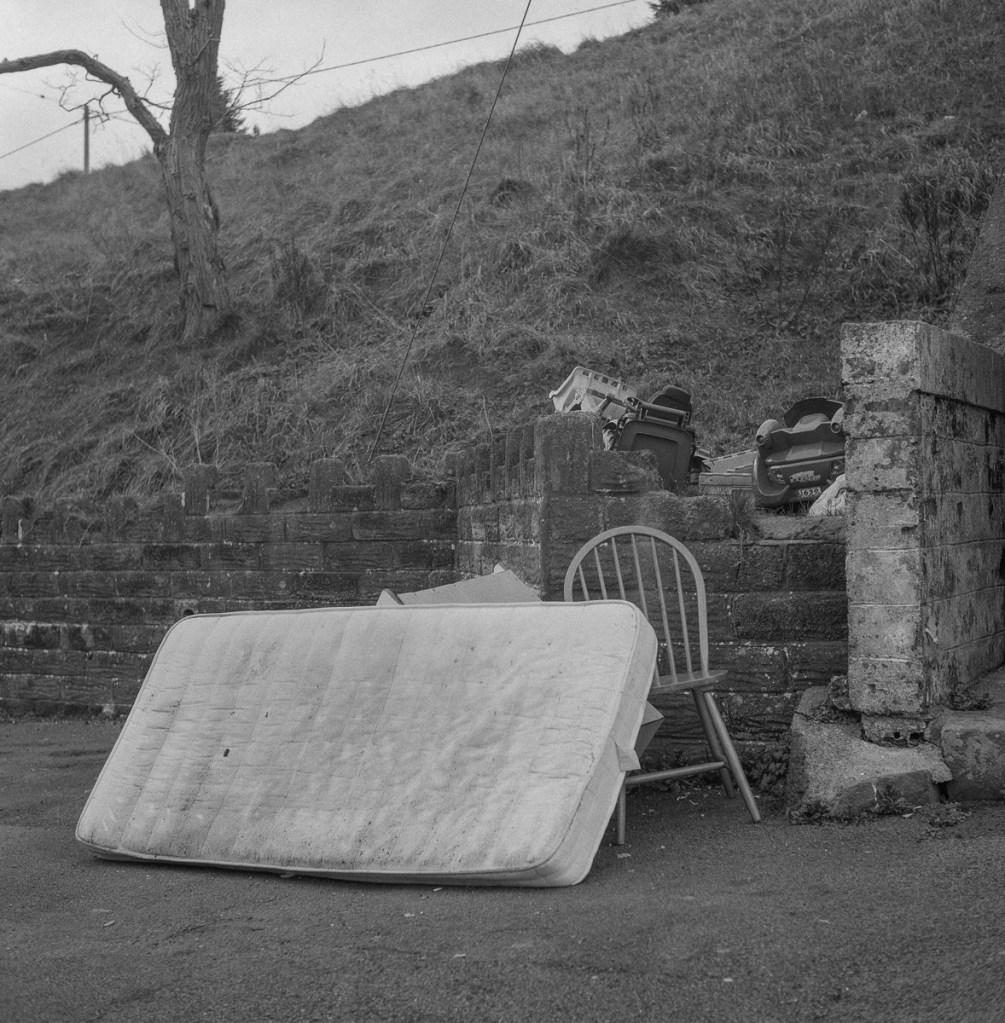
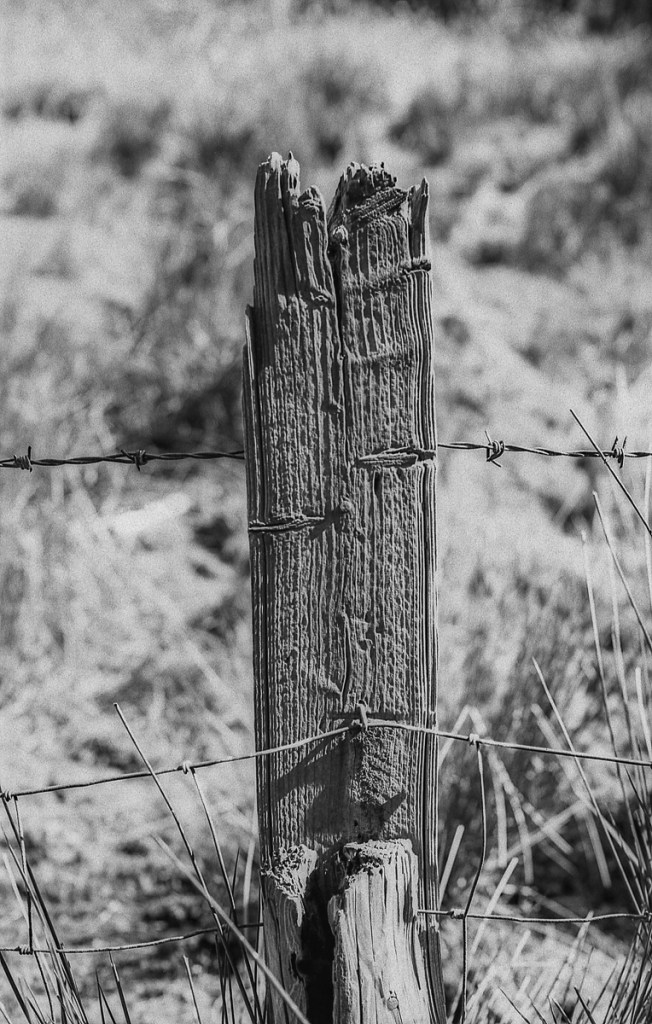
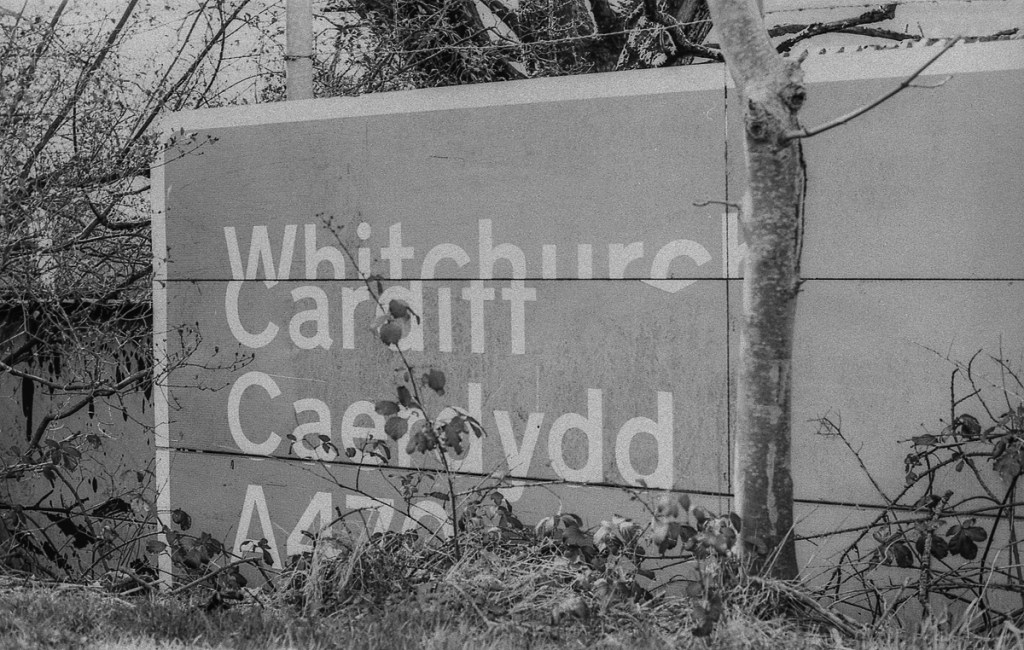
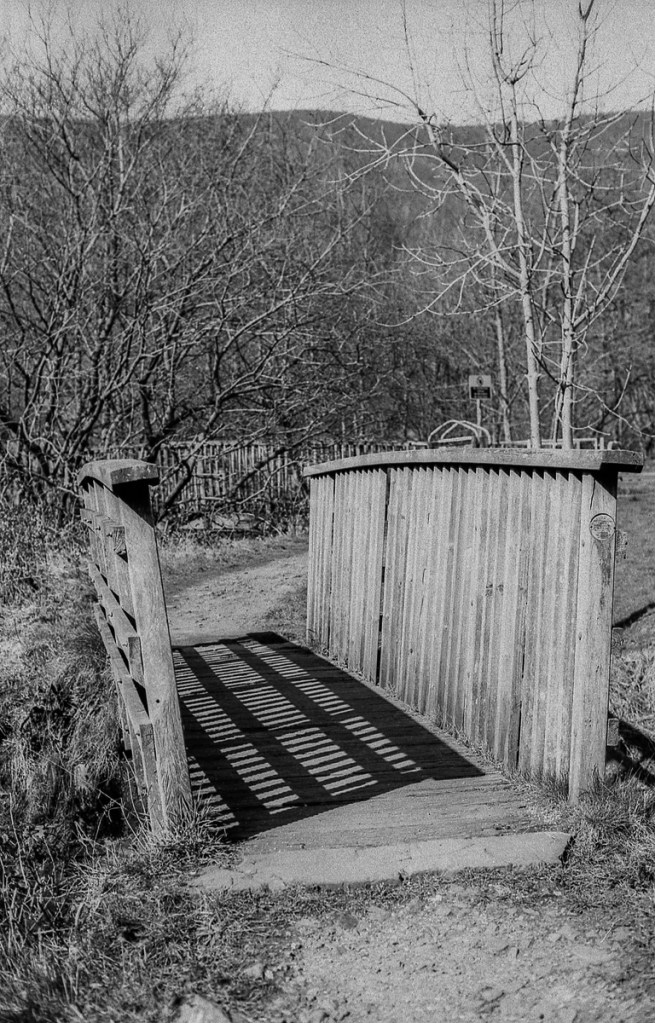
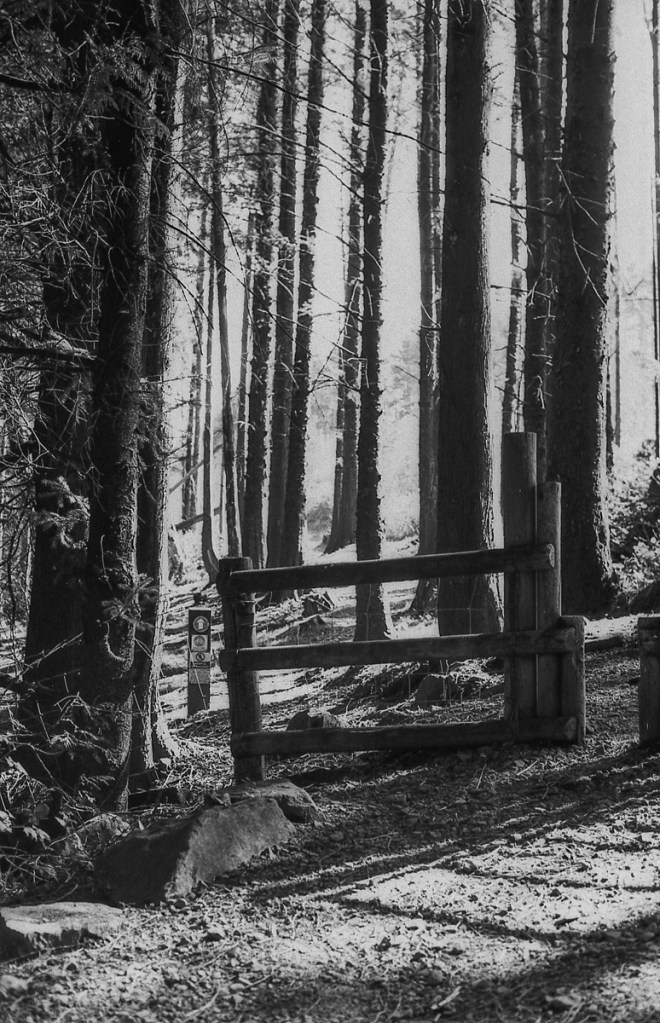
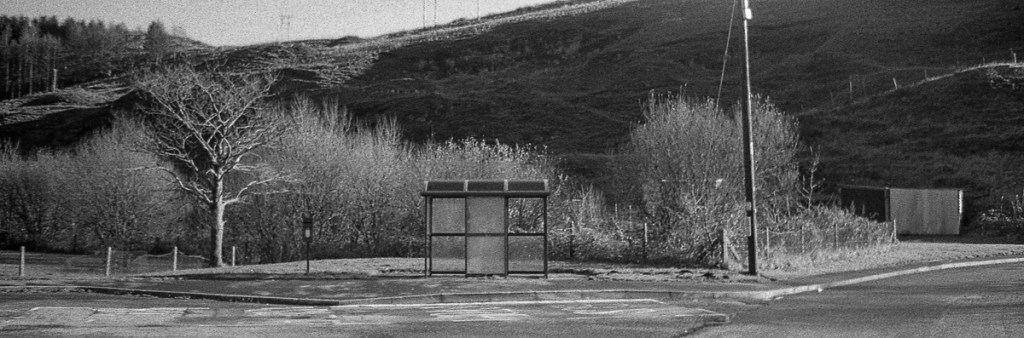
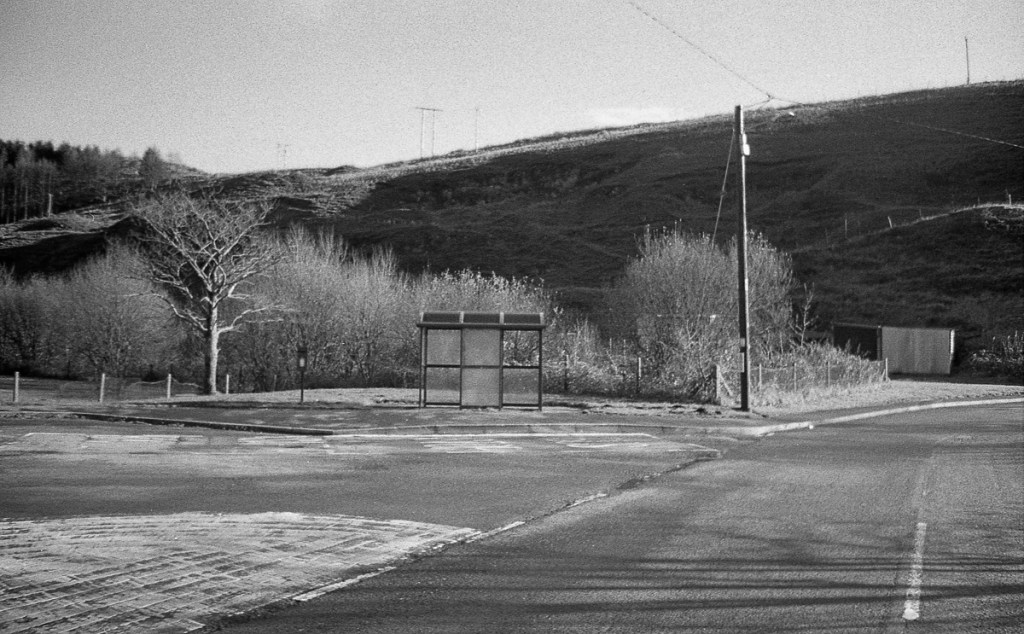
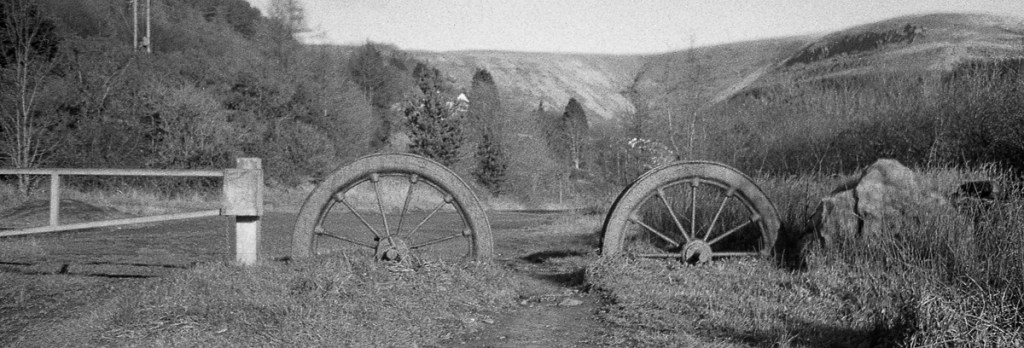
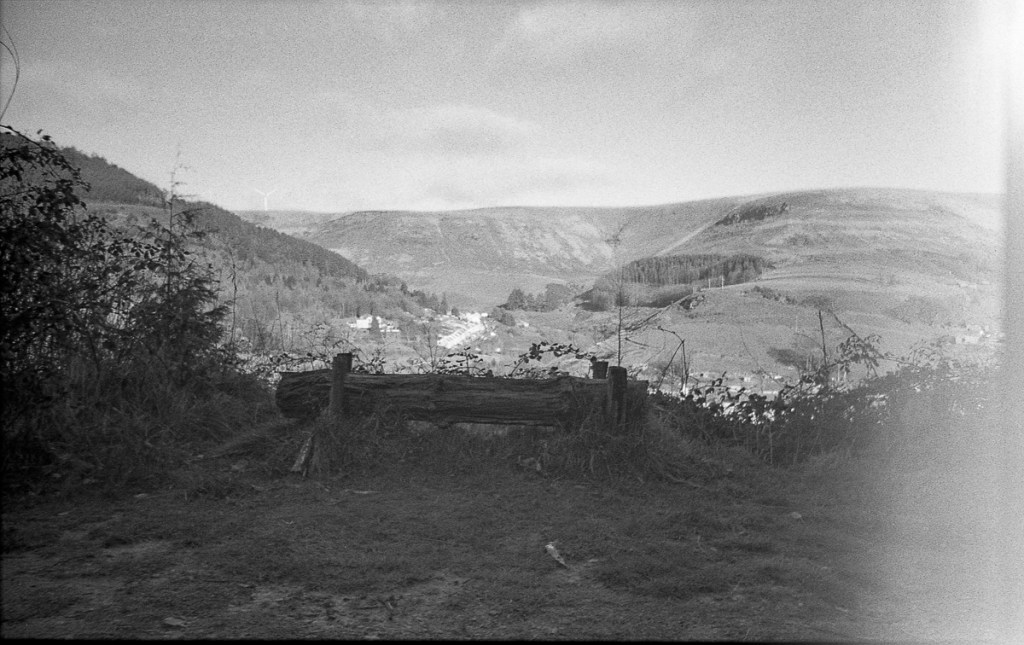
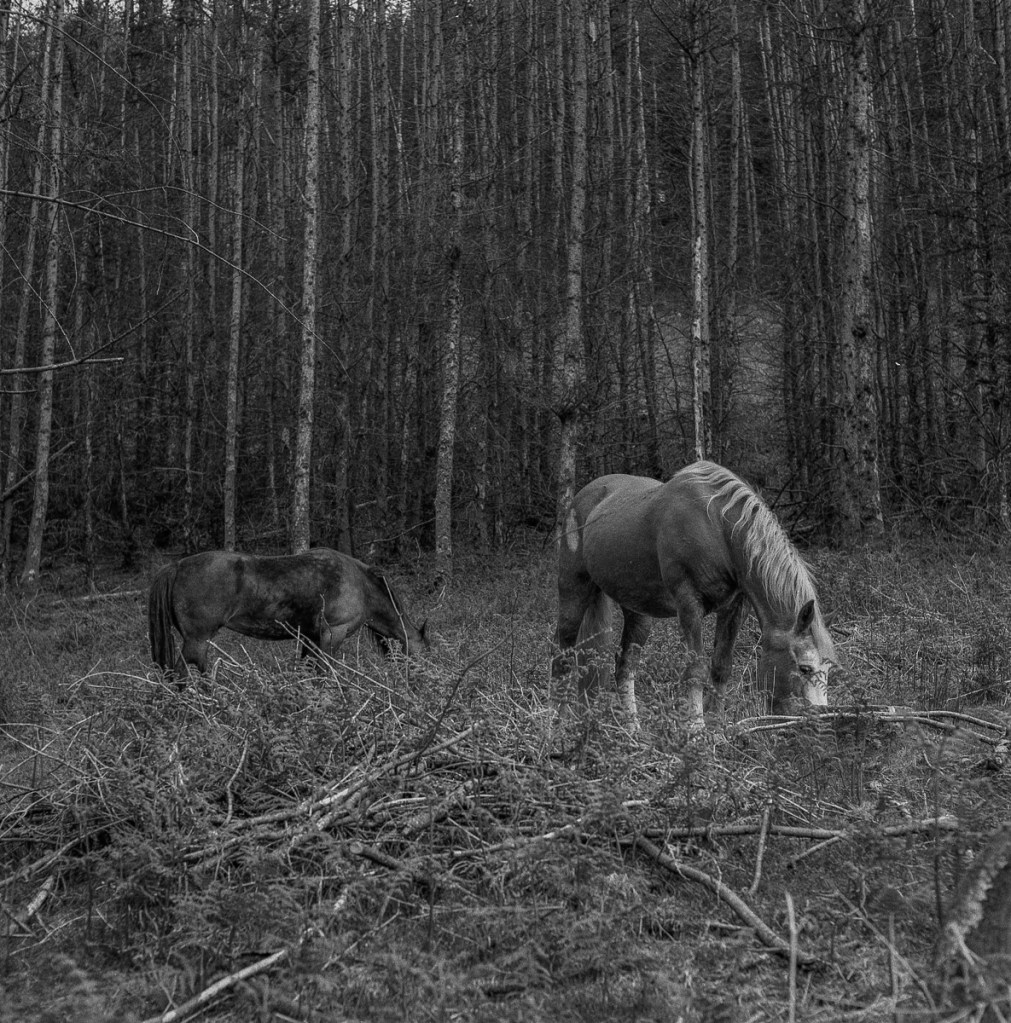
Sticking with Kentmere 400@800 theme which I really like the look of I loaded my FM2n and for a change I have an old Carl Zeiss Jena Flektogon 35mm f2.4 which is an M42 screw mount lens that I have a Nikon adapter for and it works great.
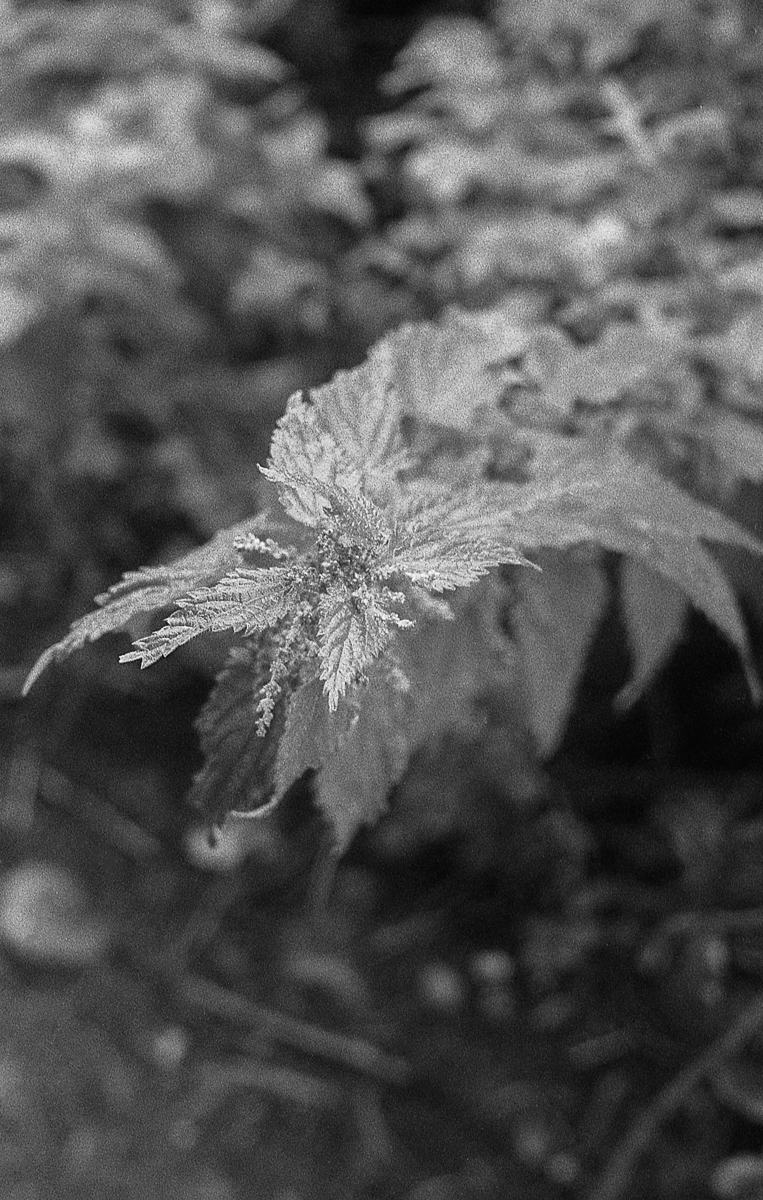
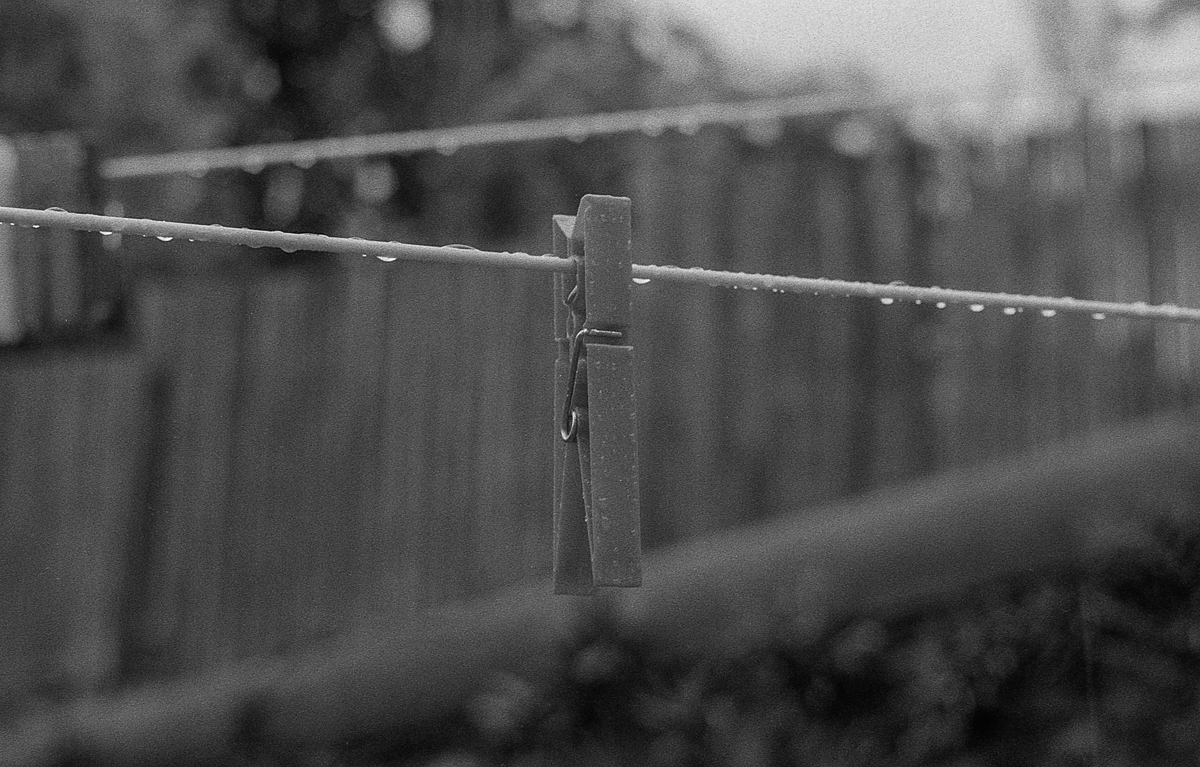
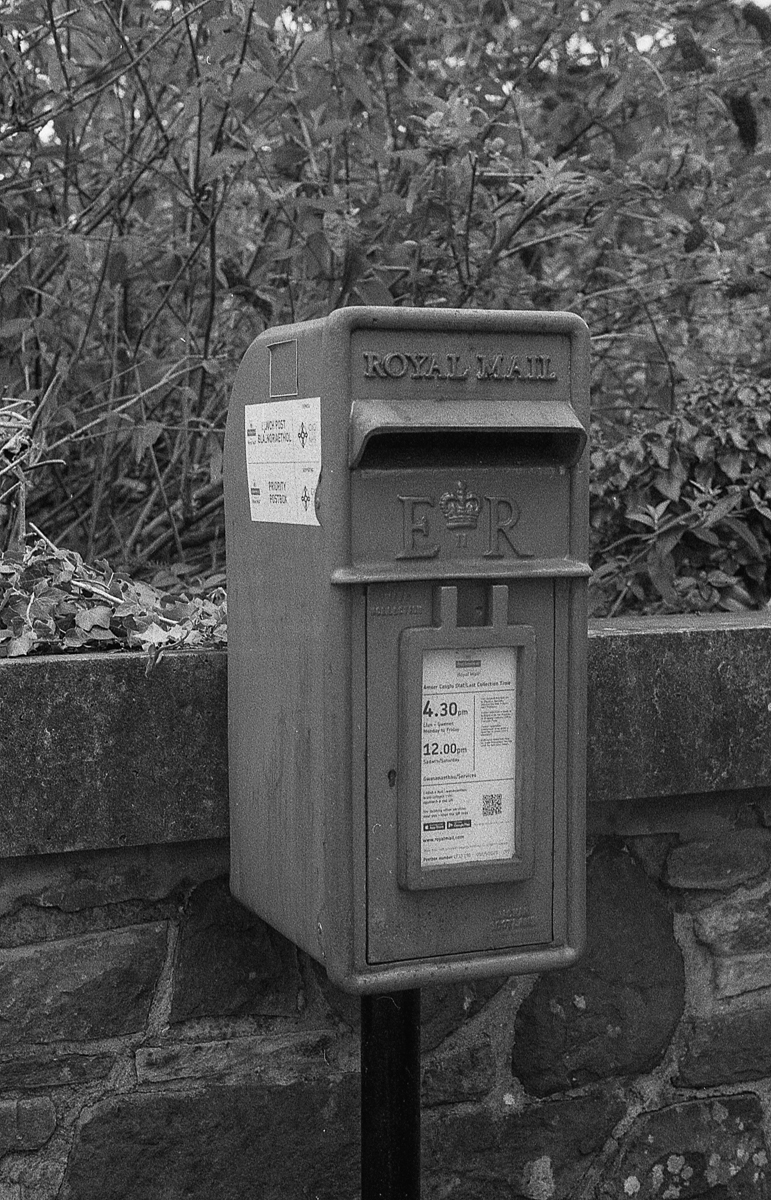
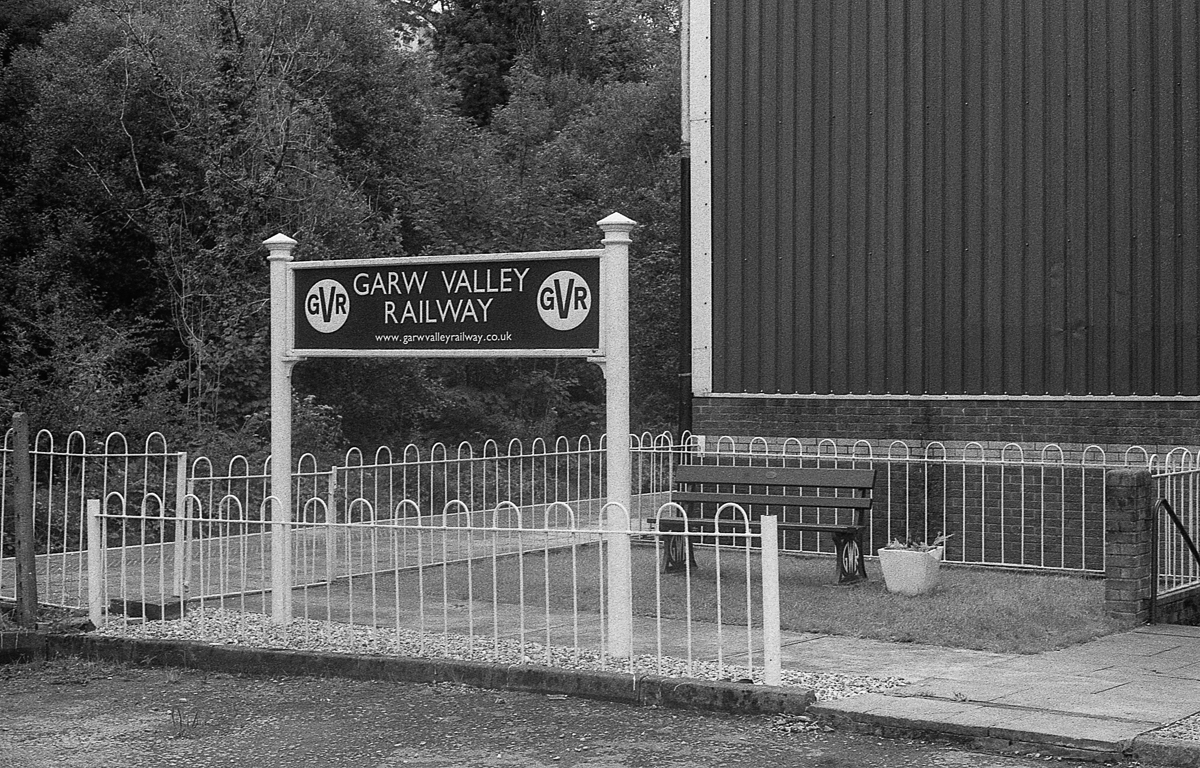
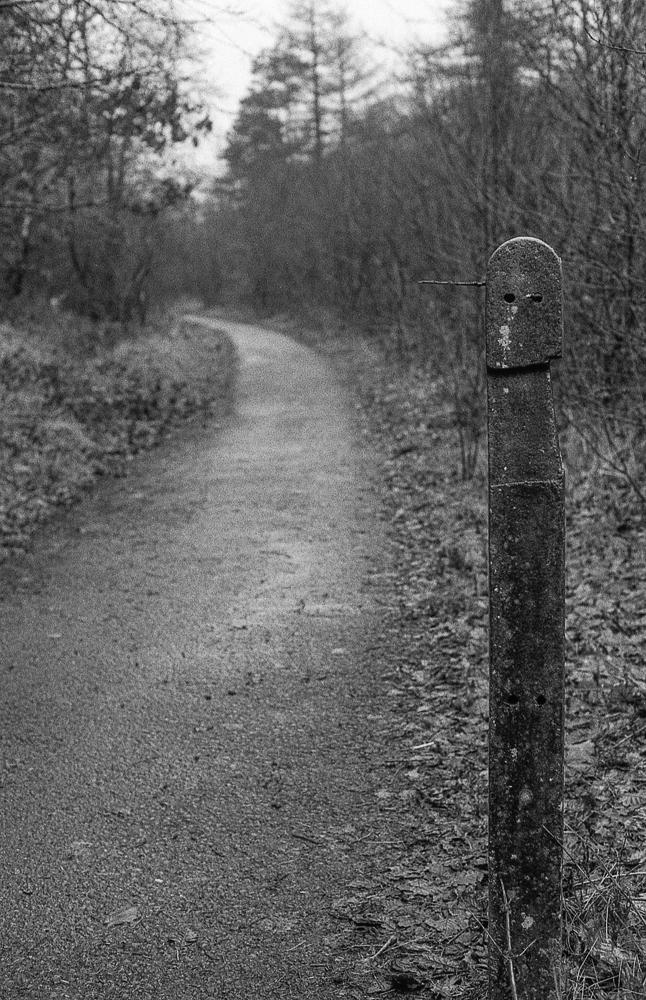
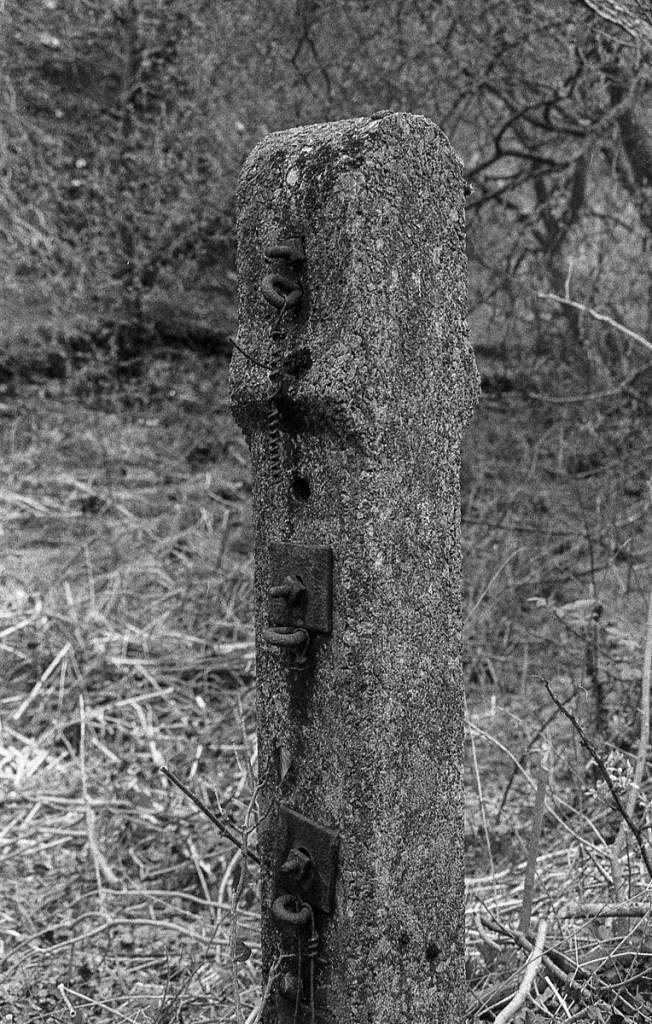
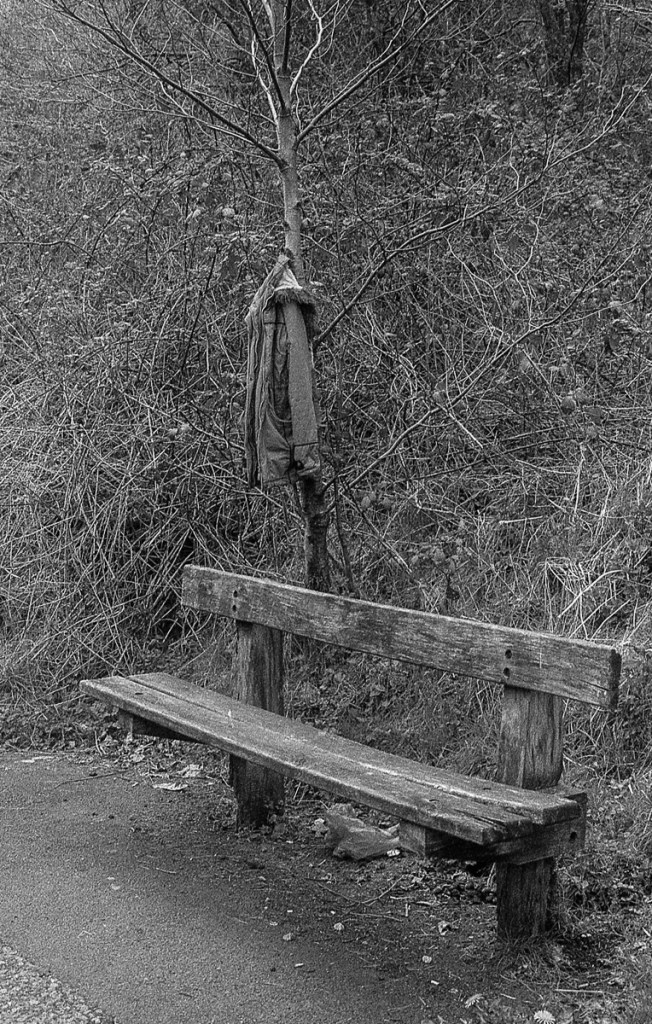
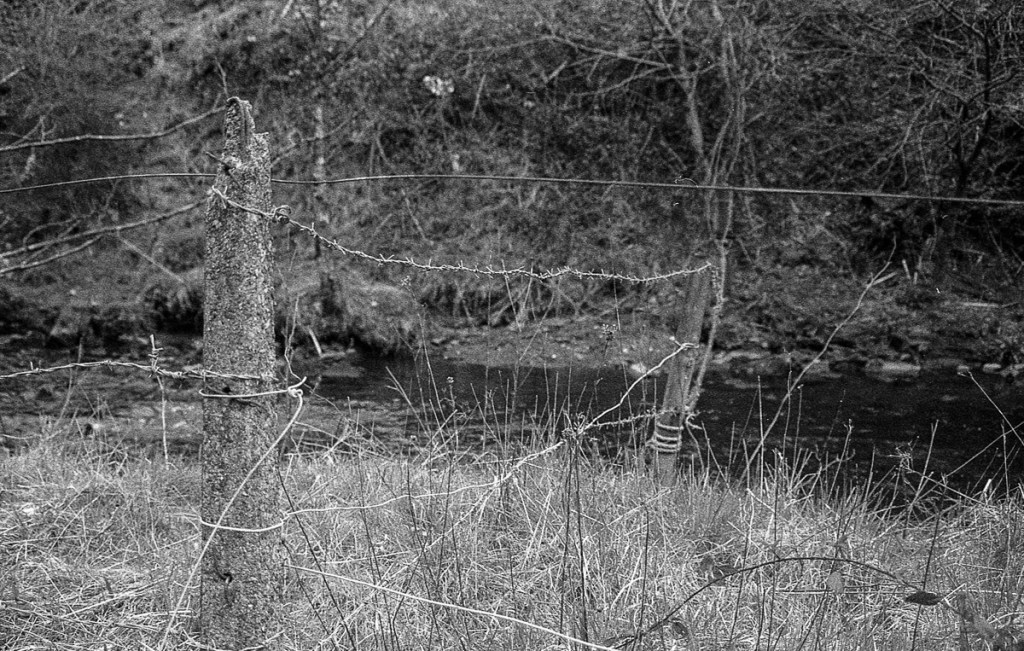
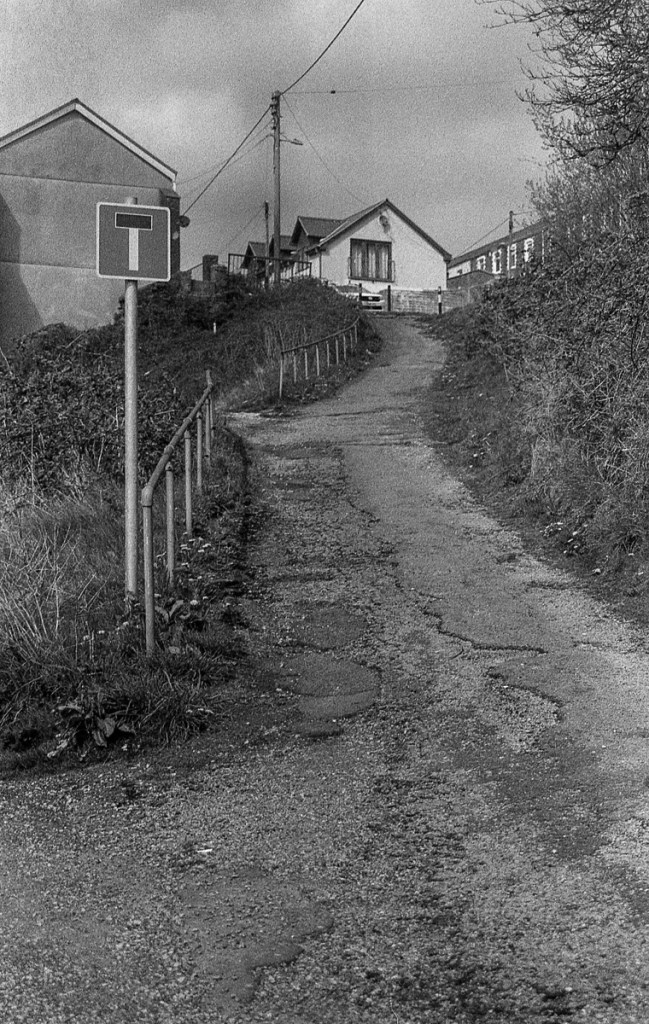
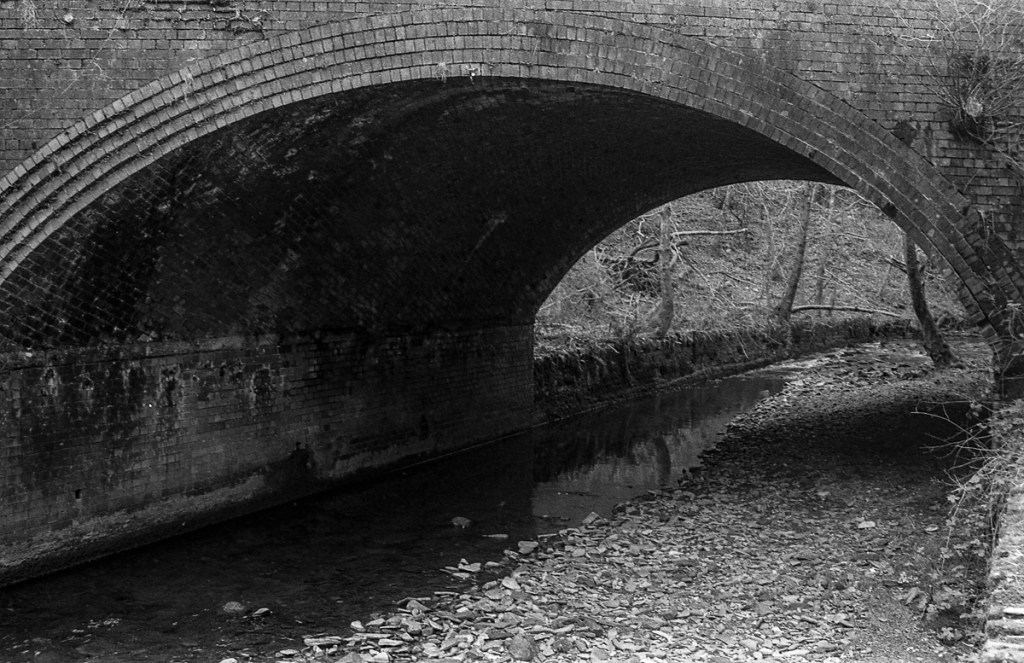
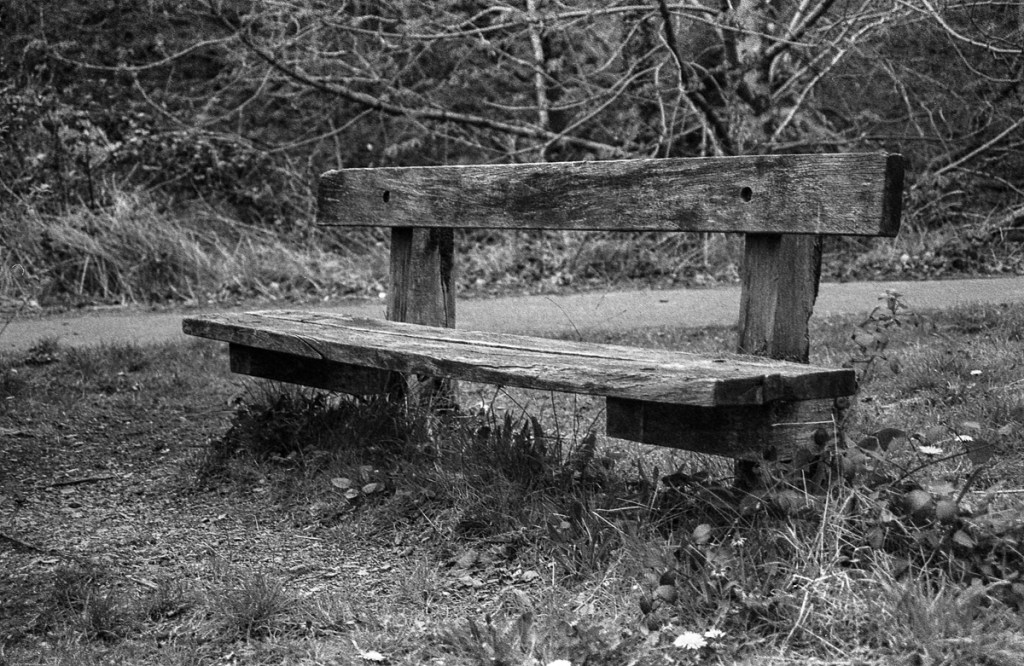
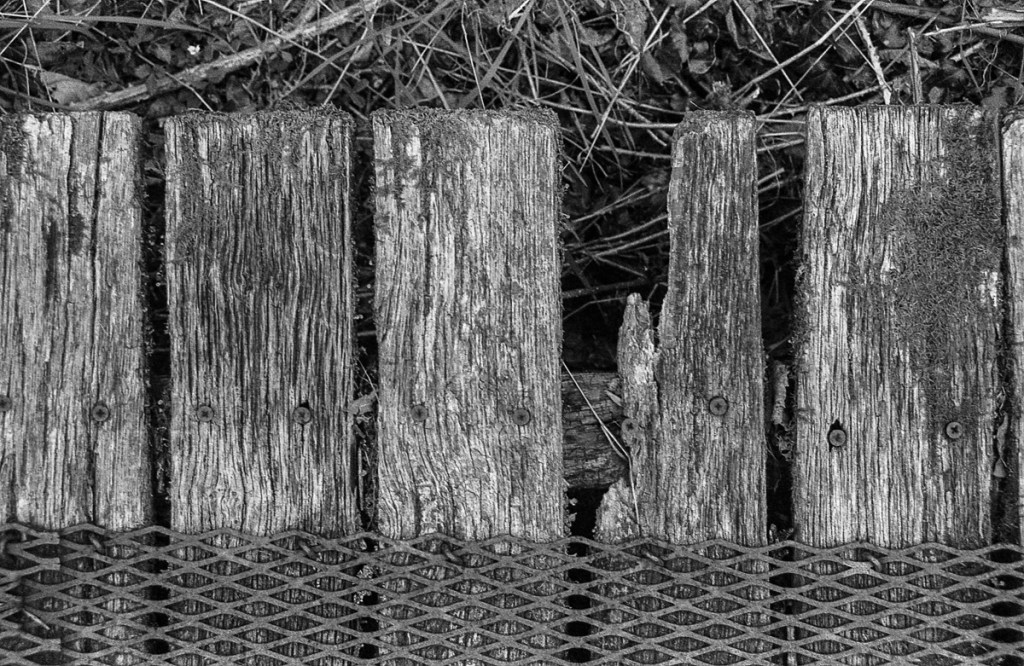
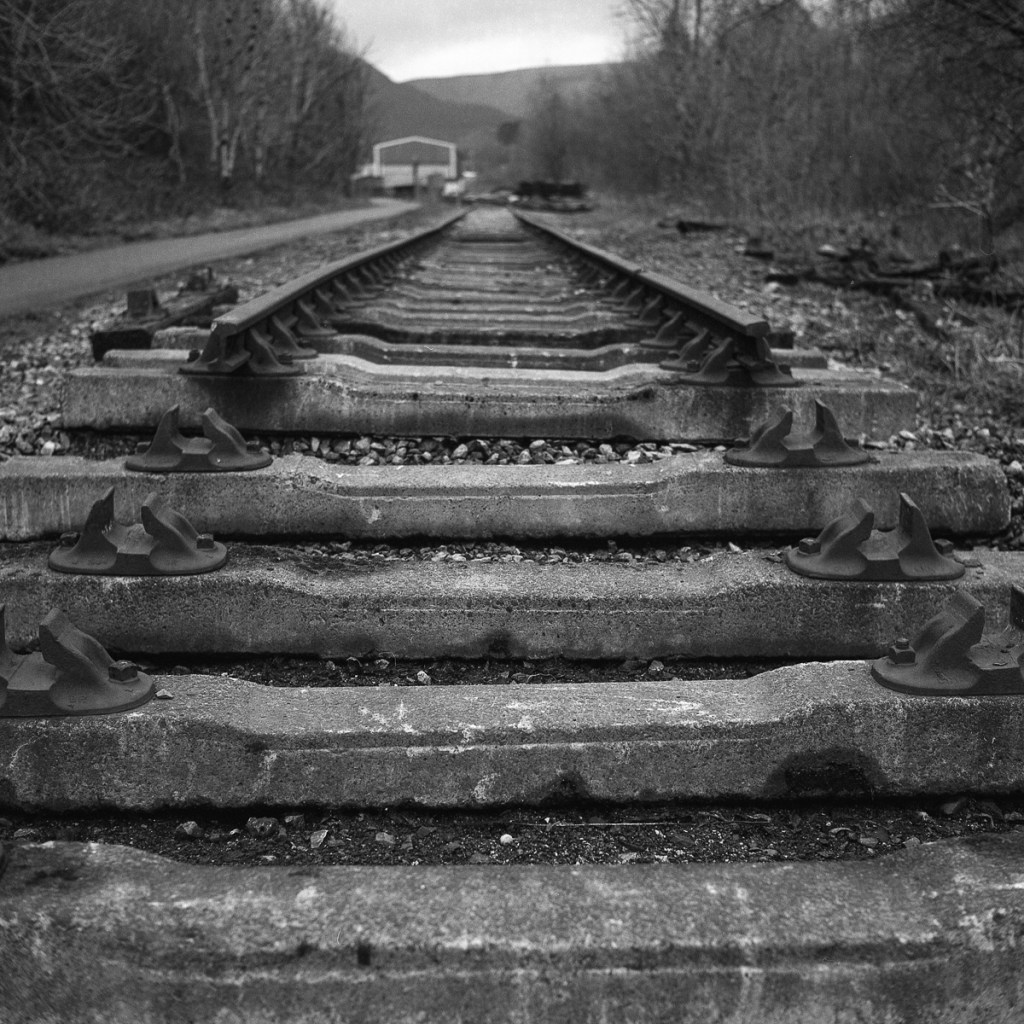
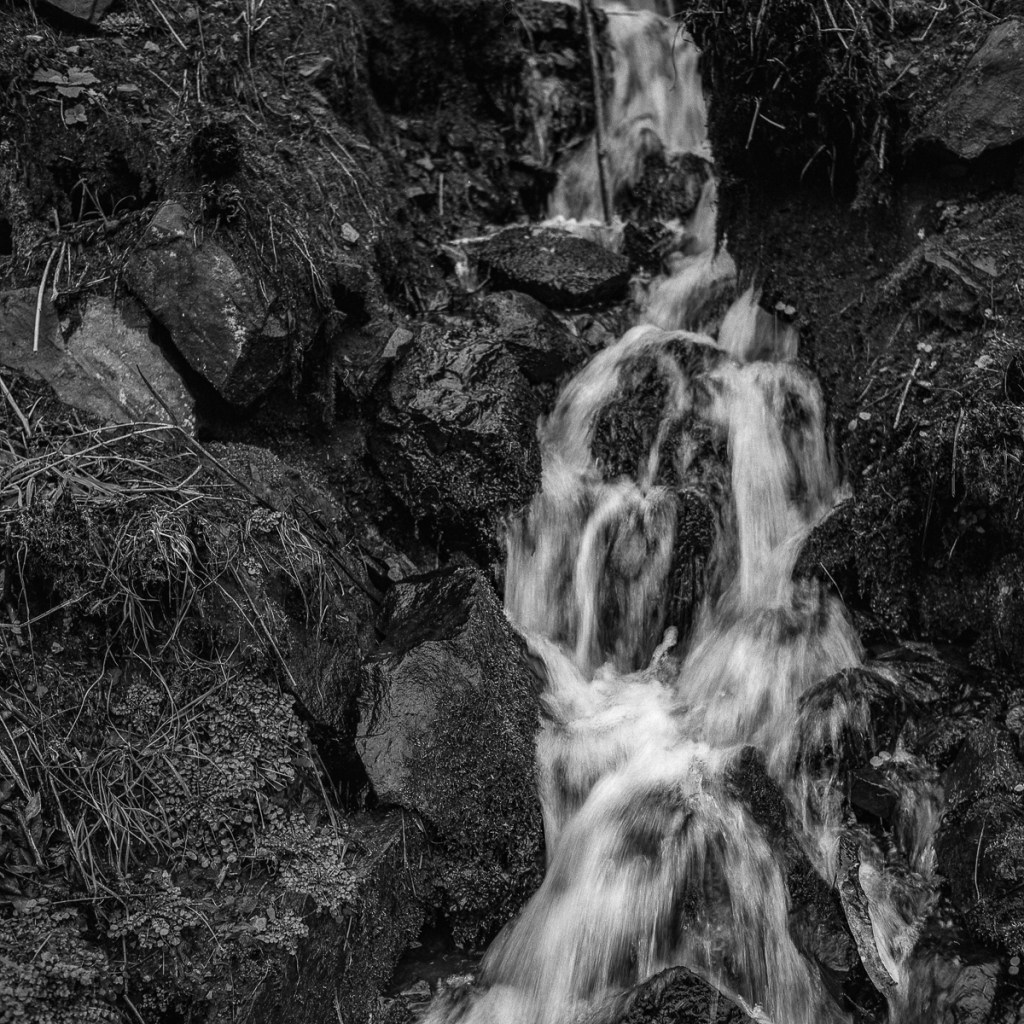
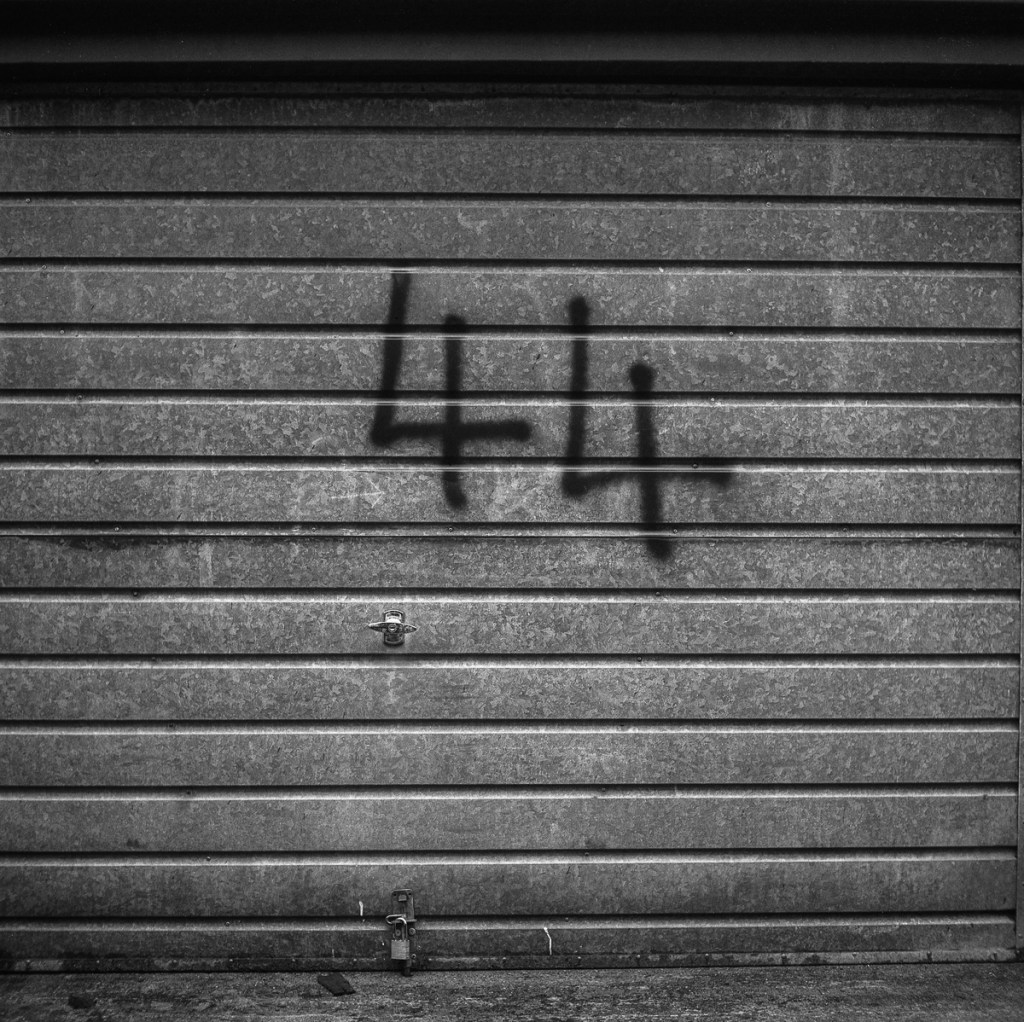
It took well over a week to shoot the whole roll so the subject matter is pretty varied ….
I developed the roll in Rodinal this time which gave a far grittier look than I had with the last roll.
So here are the best of the roll as I had a few duplicates …
All images on my blog are available as prints just drop me an email
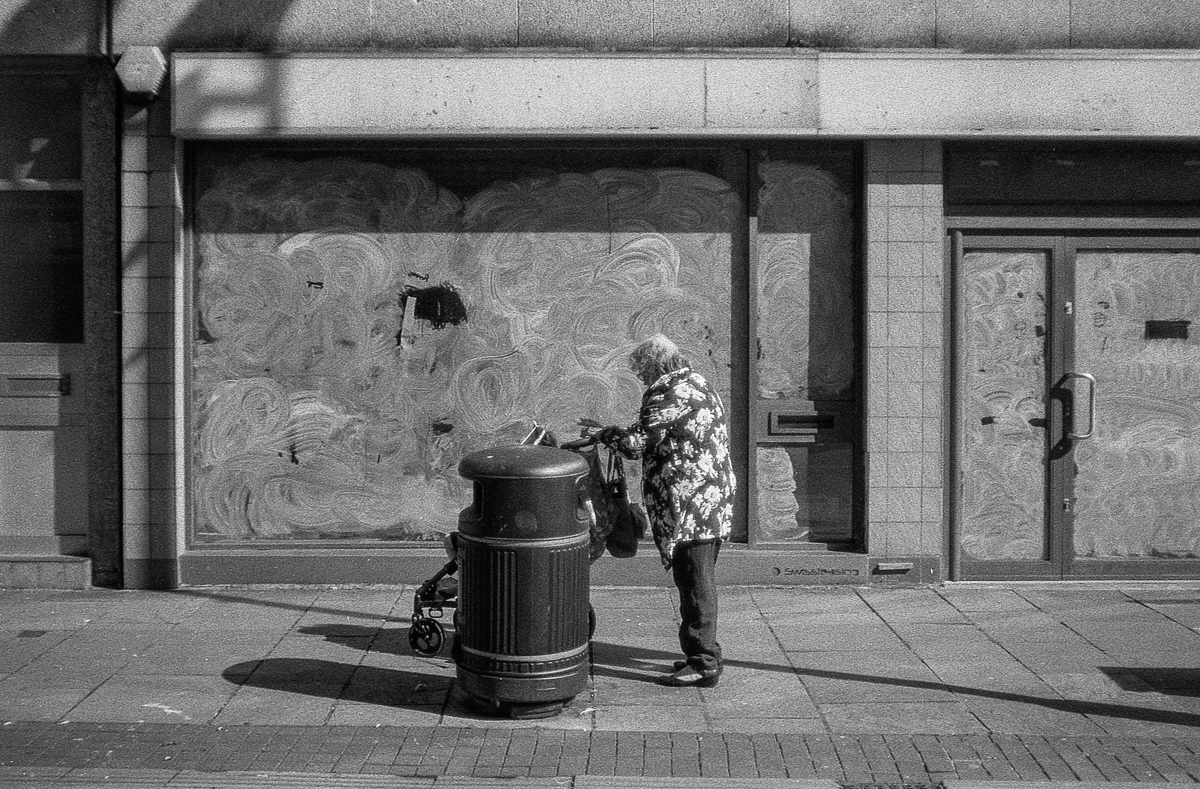
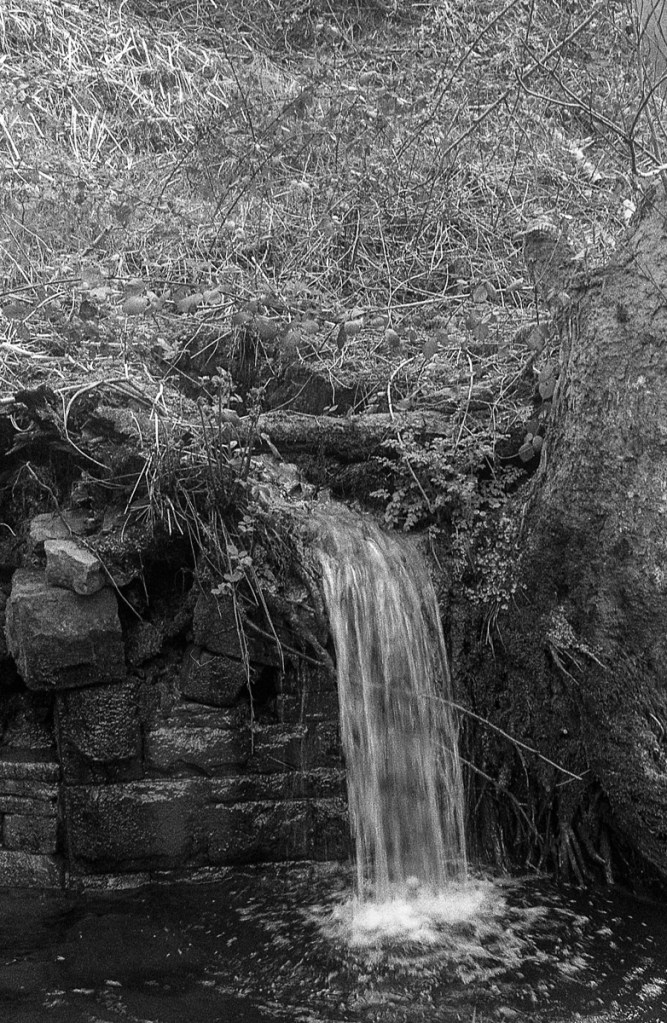
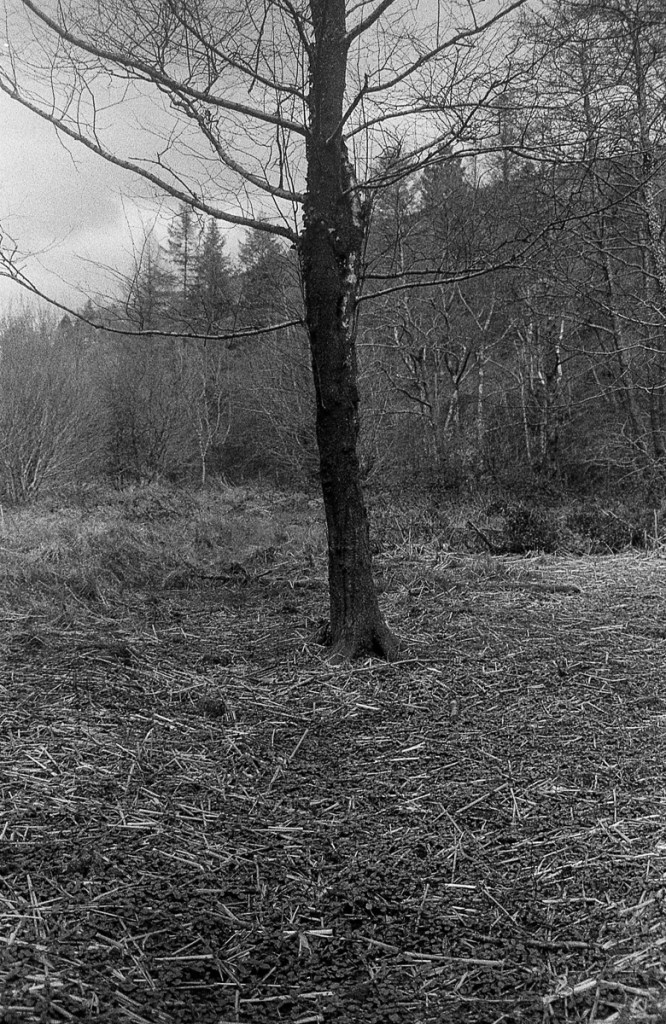
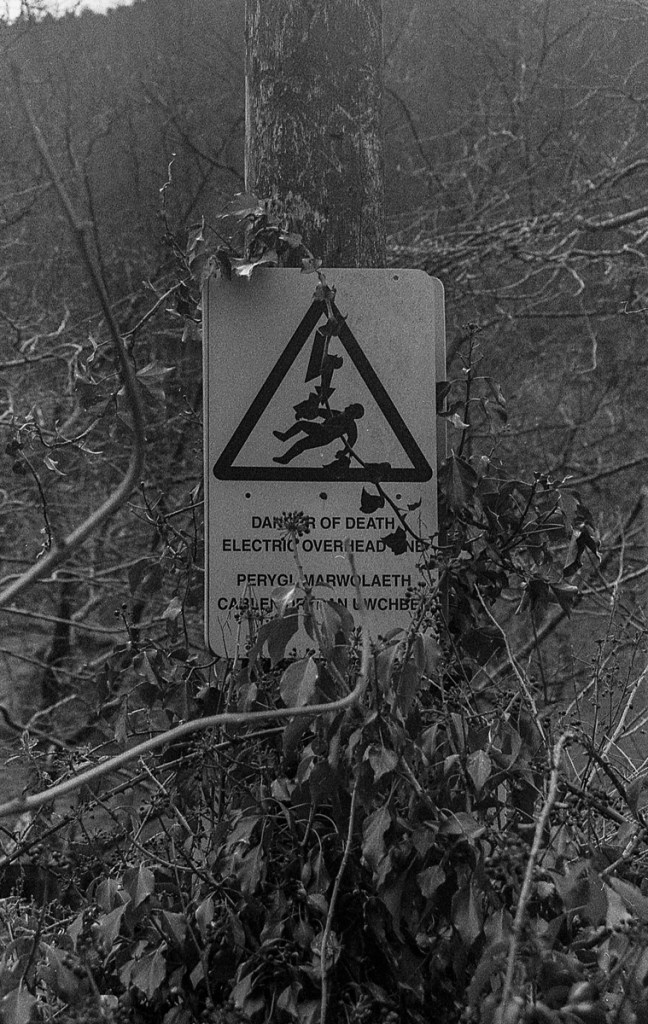
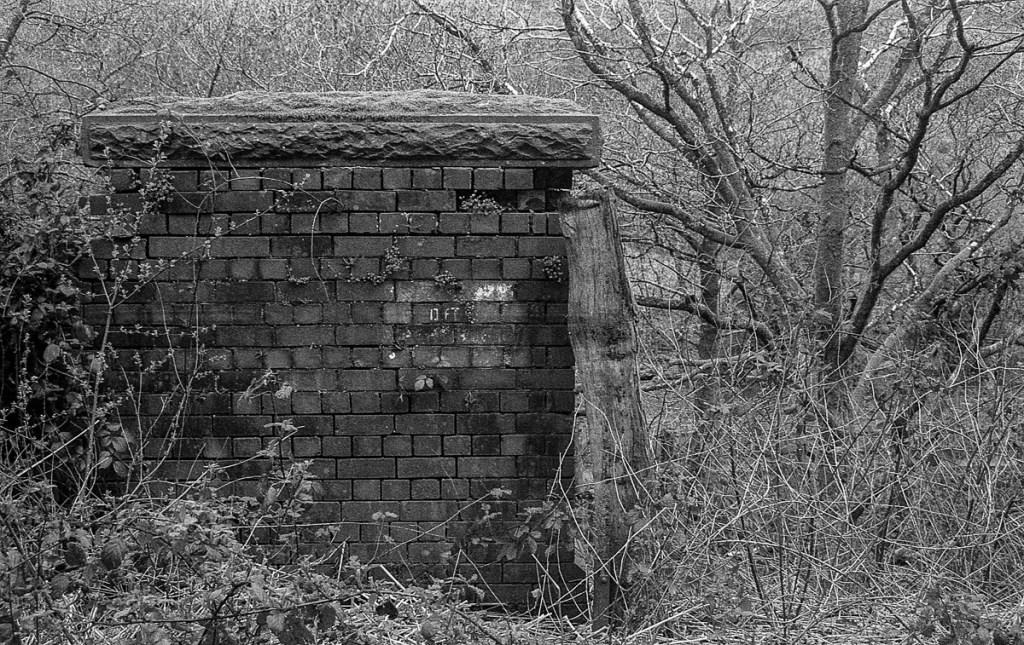
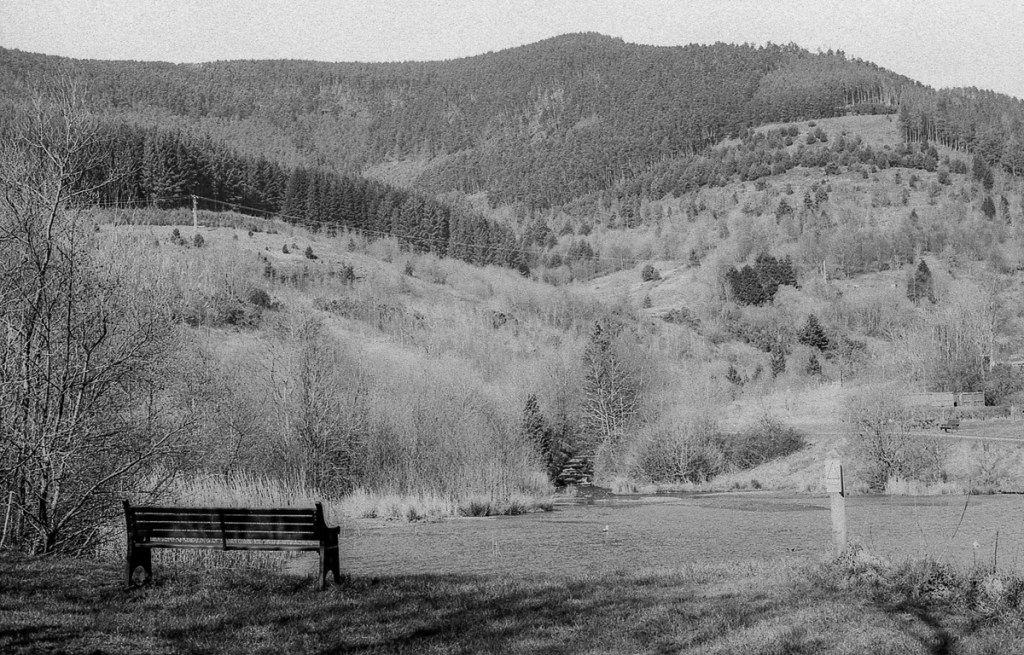
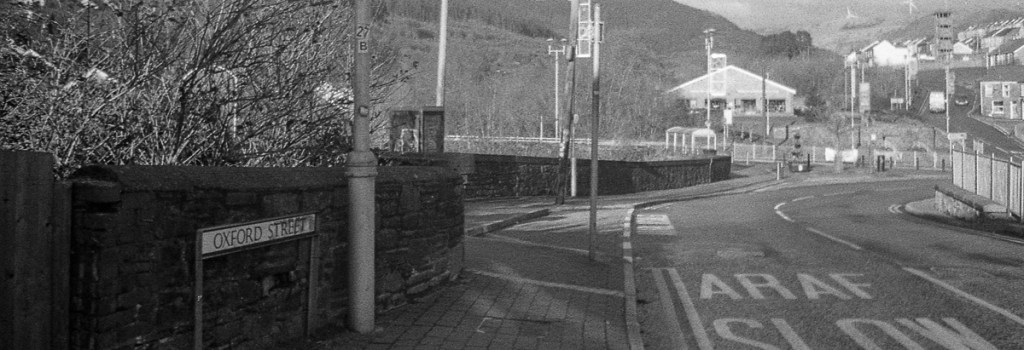
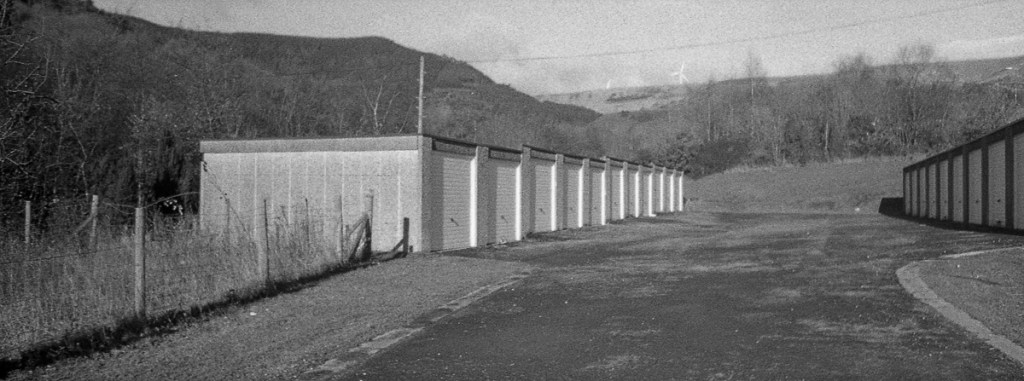
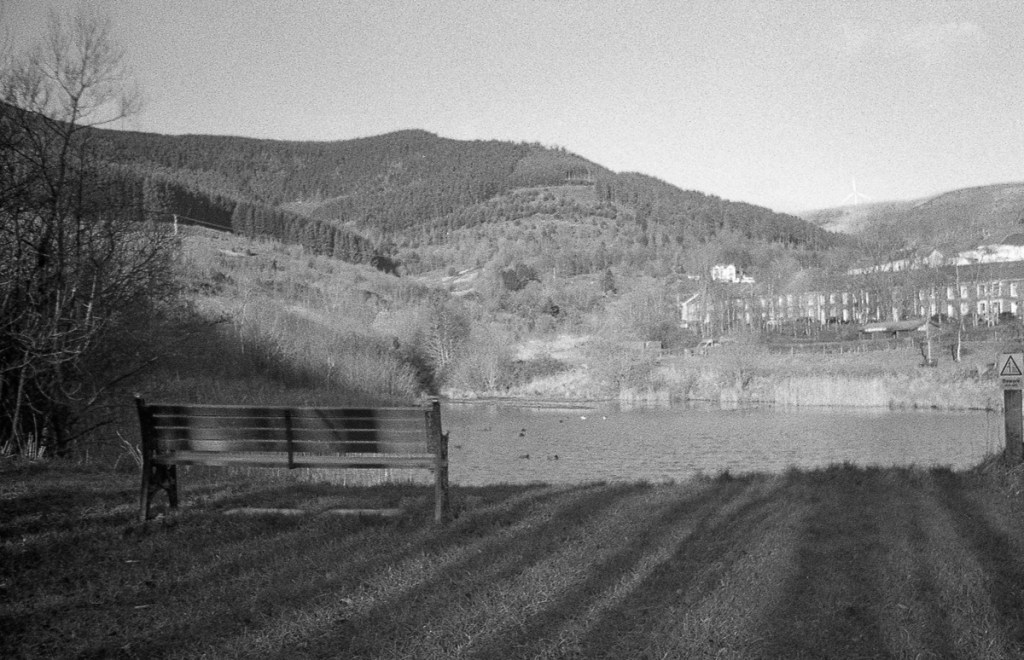
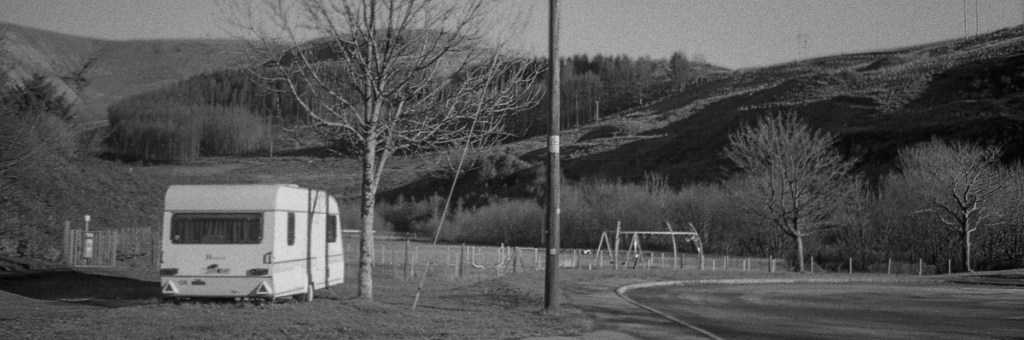
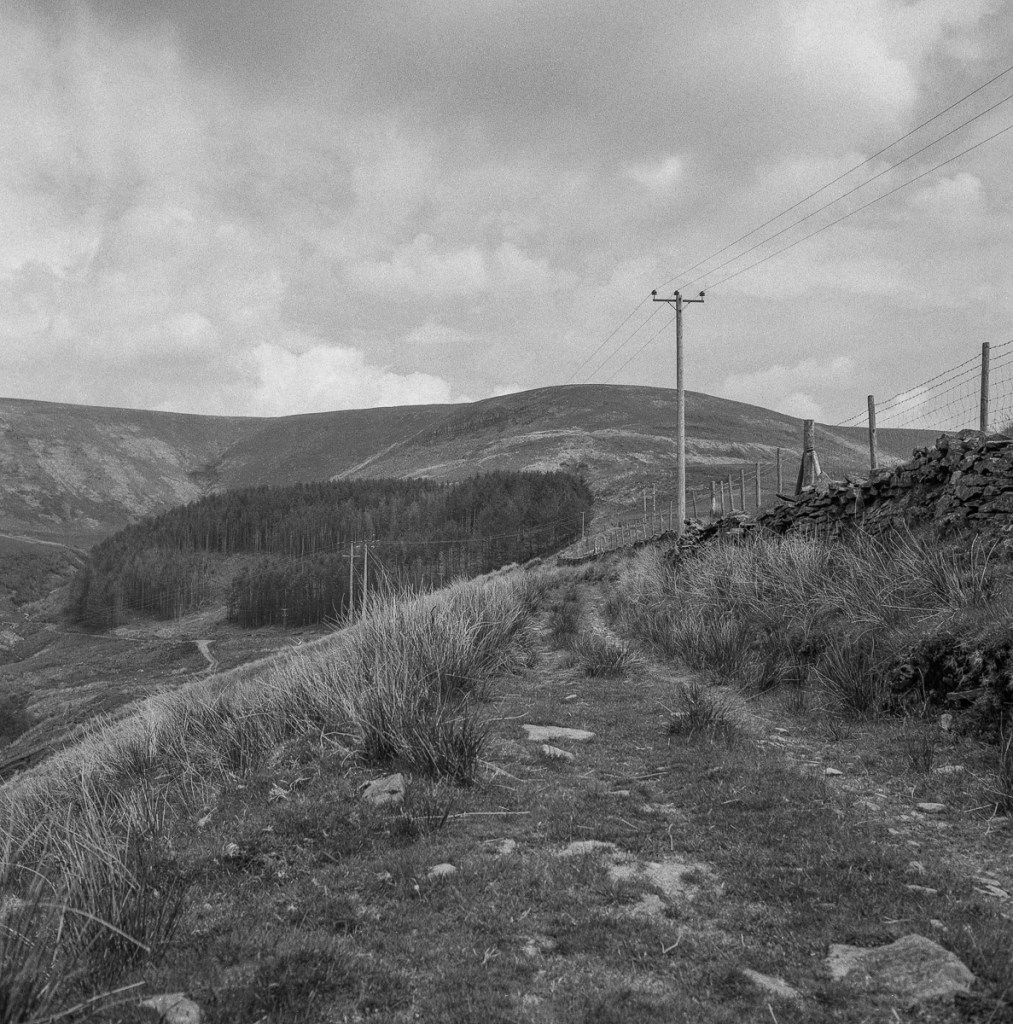
I have been shooting ilford Kentmere film stock quite a bit recently and it has really impressed me with how it performs especially as it is a very affordable film in this day and age.
I wanted to see how it looked when pushed compared to HP5 which I really love when pushed one or 2 stops.
I loaded my Minolta XG9 and set the camera to 800 and went for a little walk, it was really overcast so 800 was ideal.
I developed it in ilford DD-X and scanned using my Epson v600.
The images were great, no problem with the exposure and even though the grain was pretty noticeable it didn’t spoil the look and was on a par with my usual HP5.
This has to be the best value, quality B&W film stock on the market as it is less than £5 per roll here in the UK and is so versatile.
Here is the whole roll, nothing special but it gives an idea how this film looks …
All images on my blog are available as prints just drop me an email
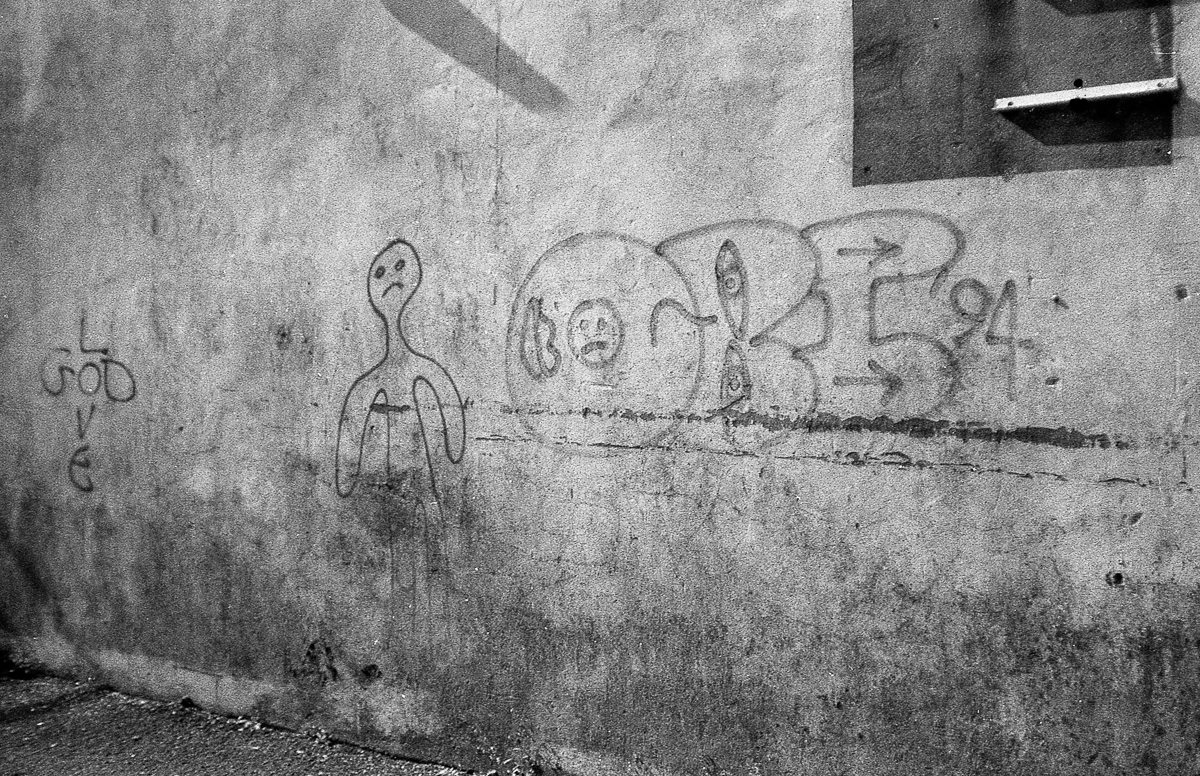
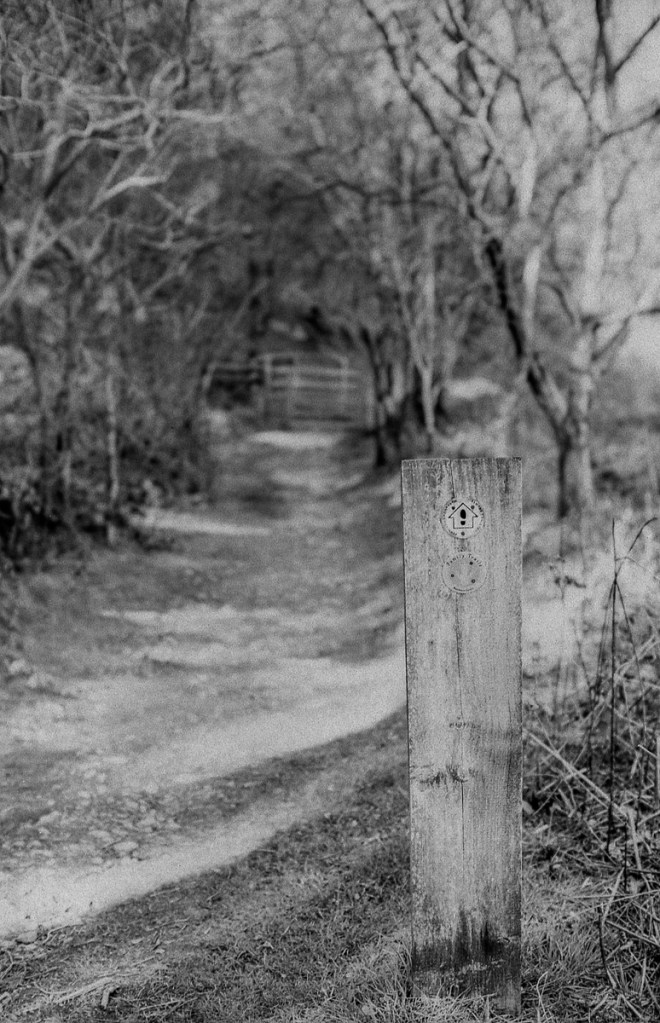
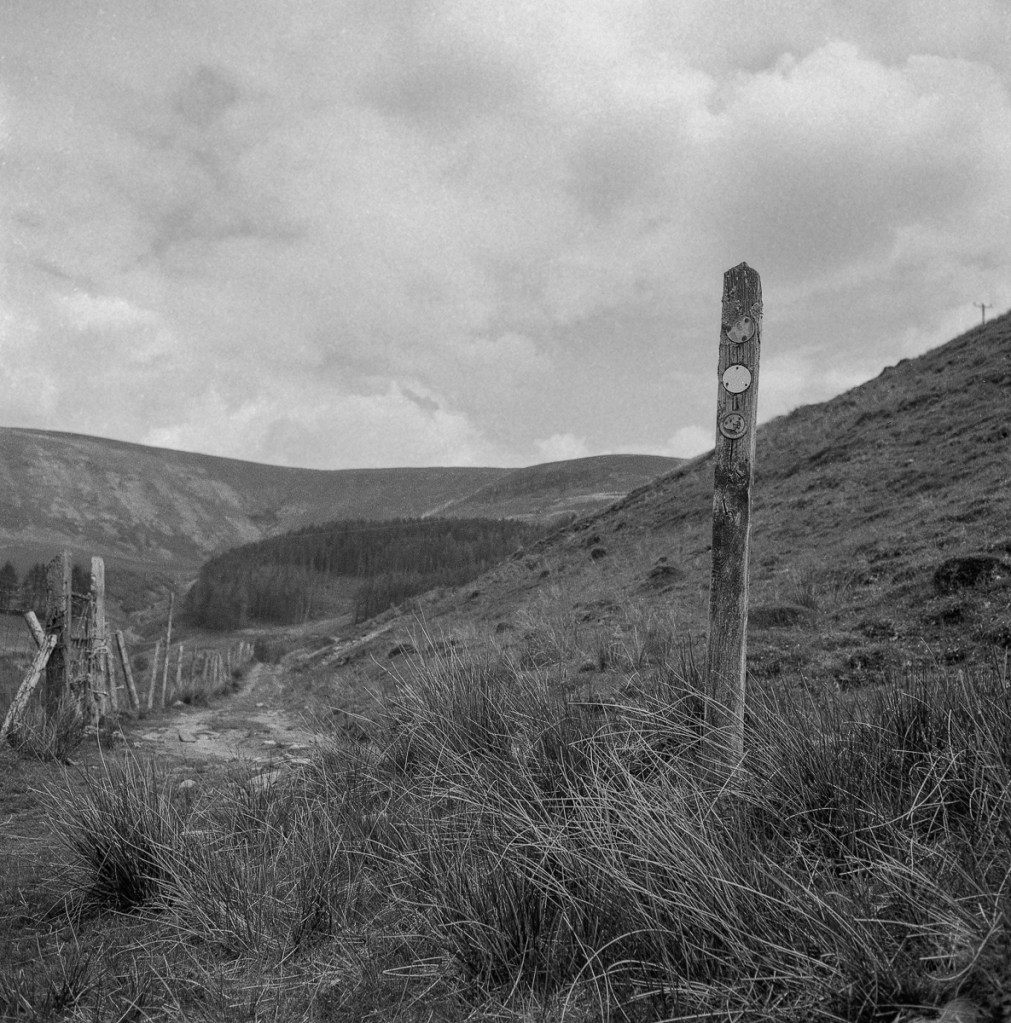
I have a few rolls of Kosmo film in my fridge and until recently I have not got around to trying it out for one reason or another.
So a few weeks back I was going through my film stash looking for something to try and get my shooting mojo back and came across a roll of Kosmo Foto Mono in 120 and as it was a pretty bright day I thought it was about time that I tried it out.
I loaded my Mamiya 645 for a change as it gives me 15 frames to play with and popped out for a nice walk.
When I goto back I looked up a few different developing options and went for Rodinal 1+25 dilution for 3 and a half minutes.
Once developed and even before the film was dry I could see that the negatives looked crisp and sharp and with good contrast.
When I scanned the first frame I was very pleased with how it looked, the tones and contrast were really nice and the sharpness was excellent.
Even though I used Rodinal the grain was very subtle and didn’t stand out unlike most of the time I use it.
Overall I really like how this film stock looks especially in medium format, I have a couple of rolls in 35mm to try next and will use the same development just to see how it compares.
So here is the whole roll warts and all …
Comments most welcomed, click on an image to view larger
All images on my blog are available as prints just drop me an email
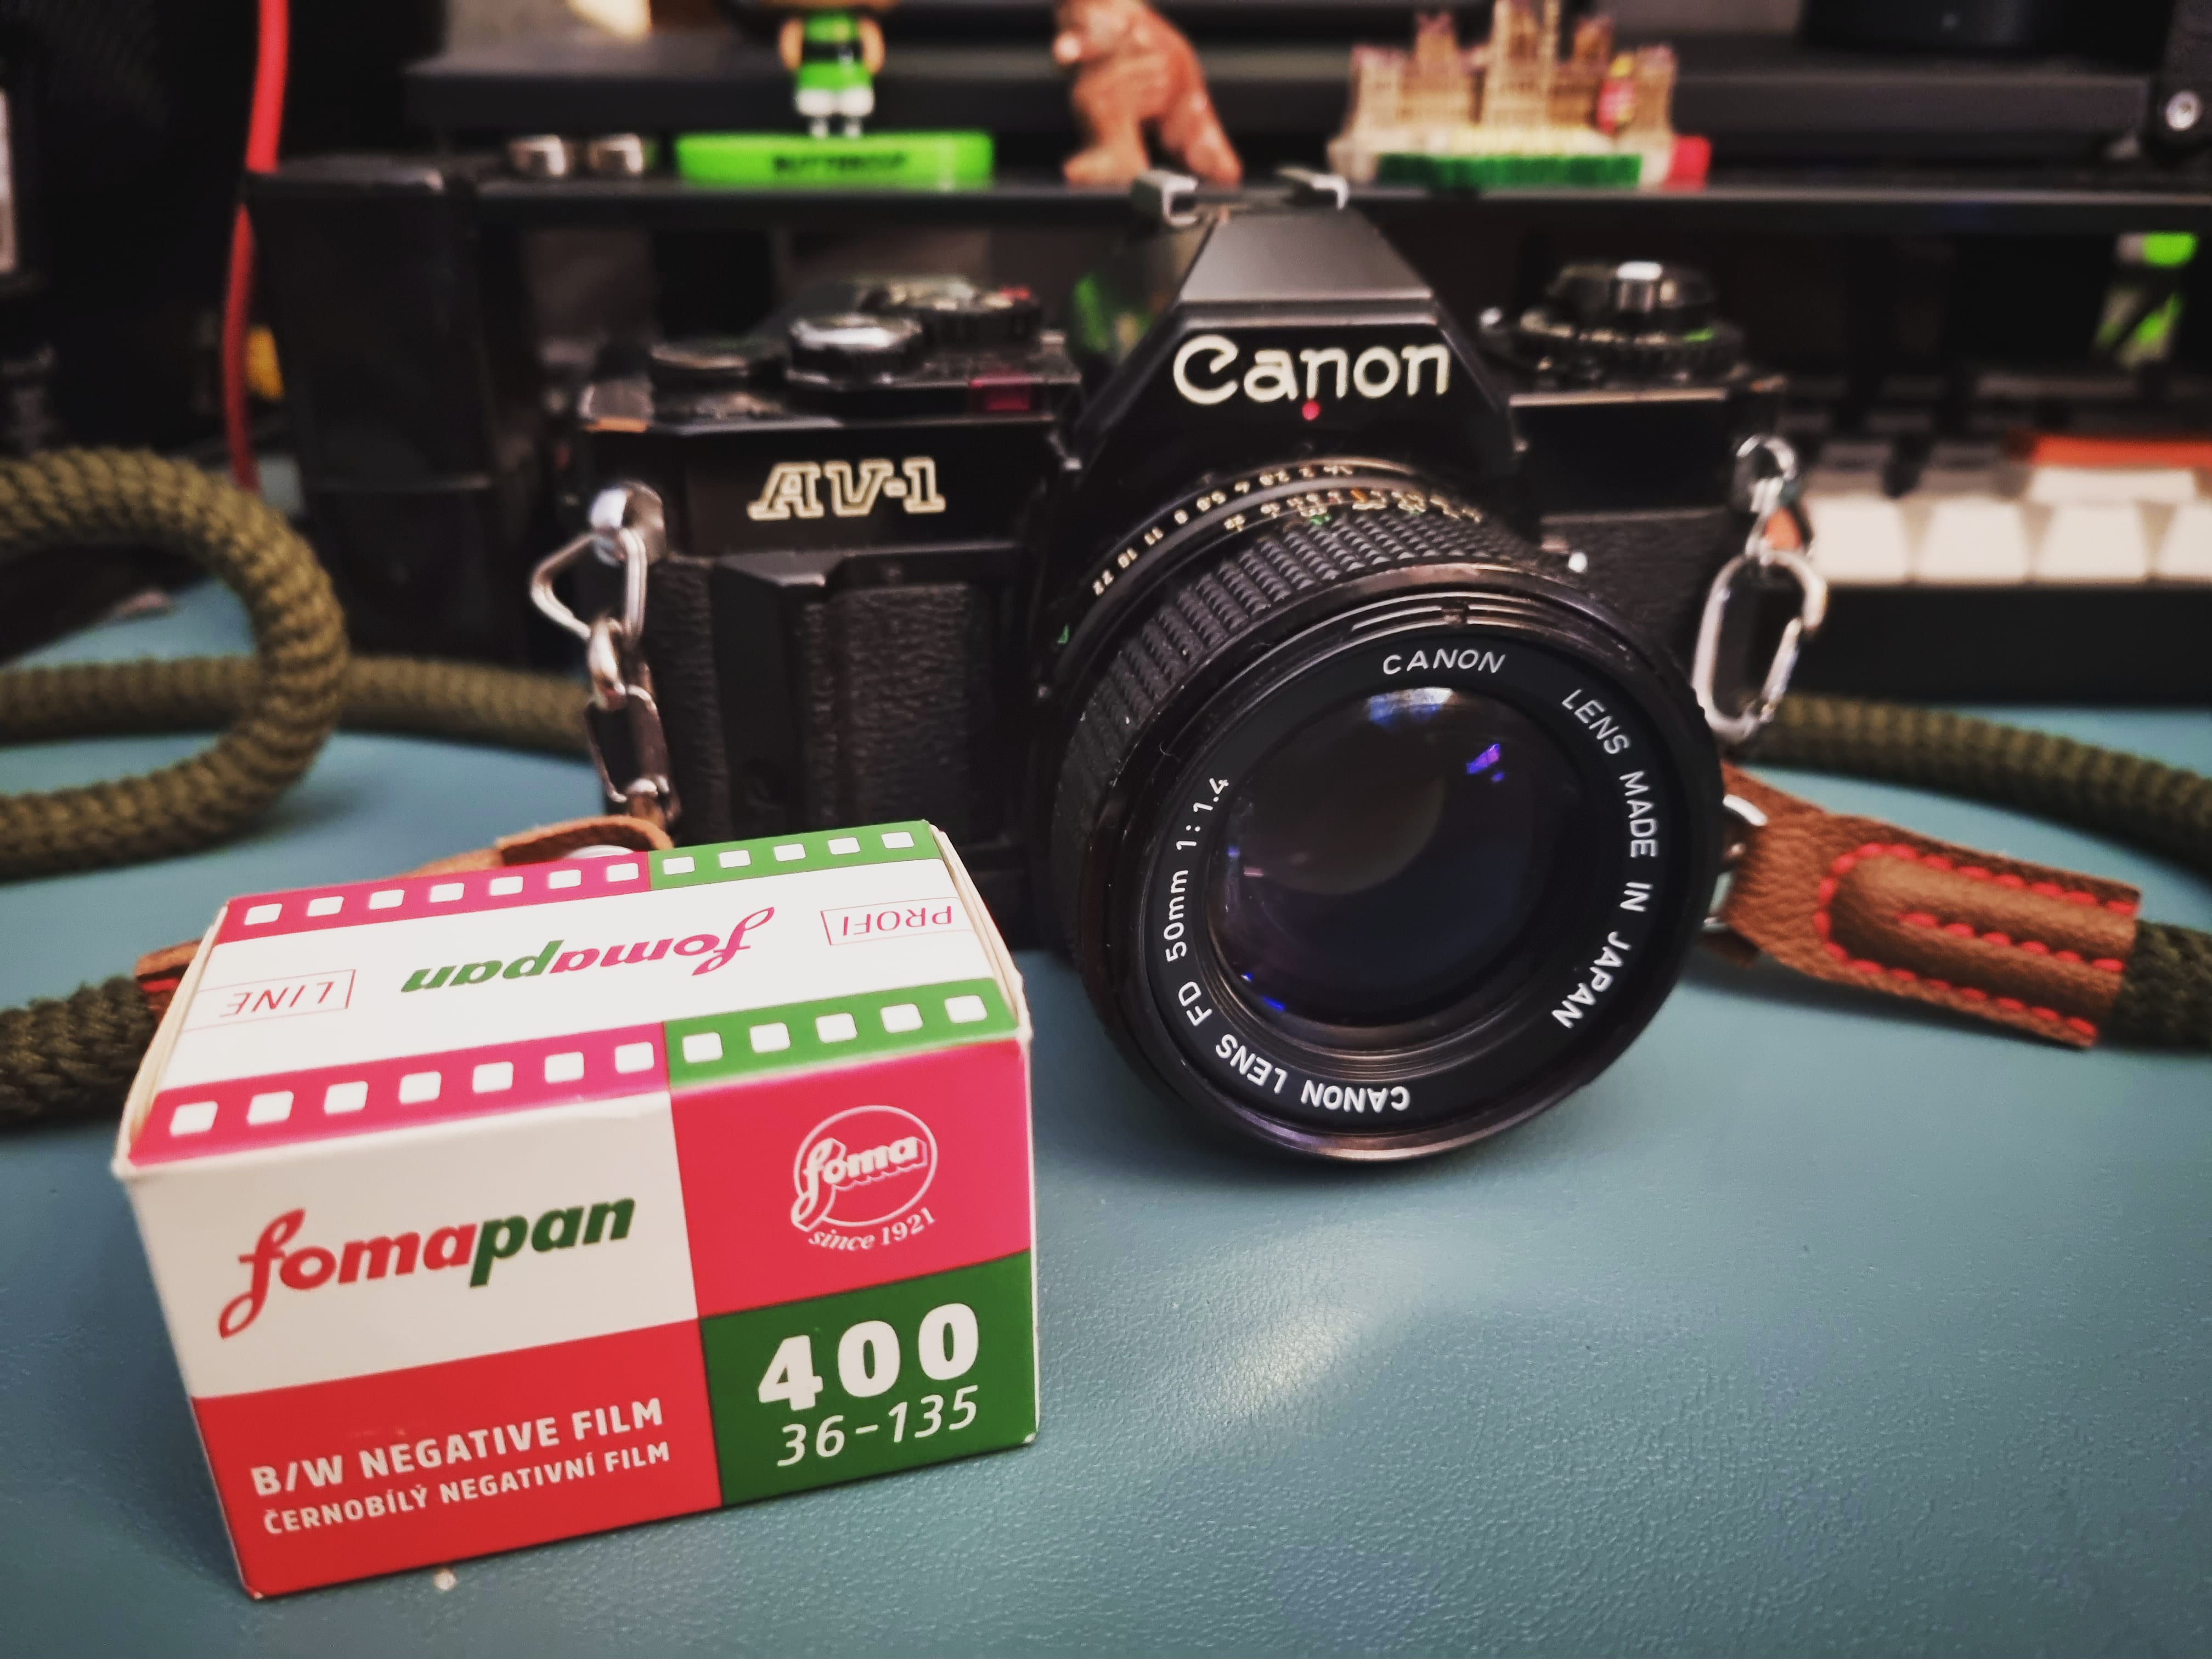
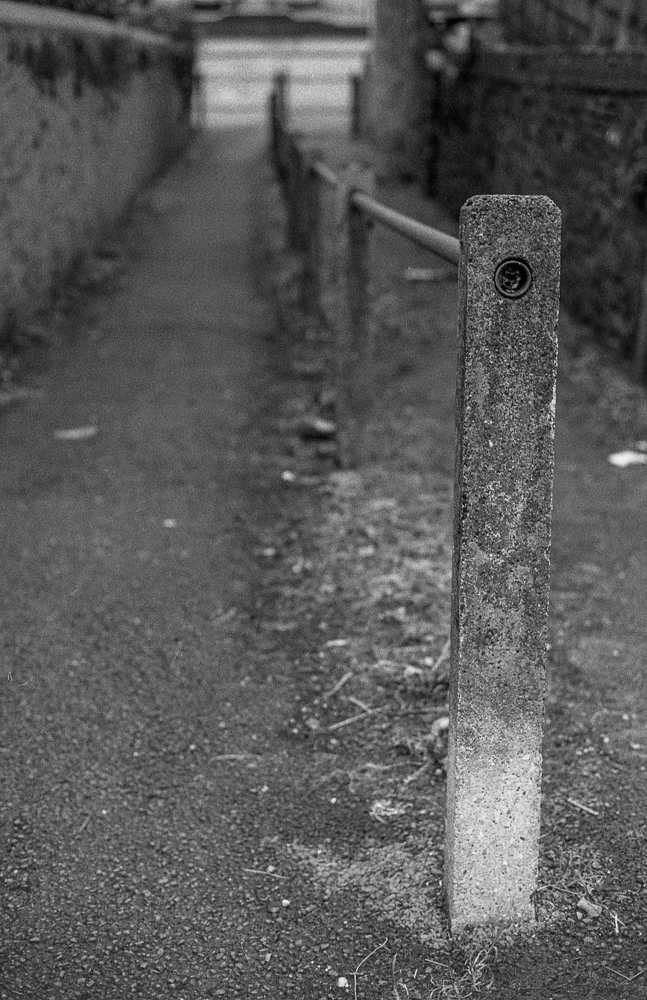
I have 2 Canon AV1’s … Chrome and Black versions, I prefer the AV1 to the AE1 as I shoot mainly in aperture priority so it works much better for me.
I have not shot with any of my Canon’s for an absolute age so dug out the black version, put on the 50mm f1.4 and loaded a roll of Fomapan 400 which is a film that is growing on me especially the cost ha ha!.
It was a pretty gloomy day but I didn’t want to push it so rarely even got to f8, mainly shooting f2.8 to f5.6.
I had some infosol 3 that was gifted me so I decided to see how Fomapan 400 looked compared to my usual ilfotecHC.
The results were pretty nice, there was quite a bit of grain but the images were contrasty and reasonably sharp considering the apertures I was using.
From memory the previous rolls of 400 I developed had slightly less grain when using ilfotecHC but nevertheless I was happy with what I got.
So here is the whole roll minus 2 shots that were accidents …
Comments most welcome …
All images on my blog are available as prints just drop me an email
This year has not been the best if I am honest and my photography has suffered as my desire to shoot all but deserted me.
I have only shot 25 rolls of film this year which is a fraction of what I normally shoot and even though I have developed and scanned them all, many of the rolls have just sat in my lightroom catalog un-edited.
As the weather this week has been horrendous ( I did get out and shoot one roll last weekend) I have been going through the images in the catalog and started to edit as I have had a week off work.
Here is the first roll shot on my Minolta 600si and developed using ilfotec DD-X.
I shot this back in April. I have tried Berlin before and new the images would be pretty contrasty.
I think the subject matter here was not the best for this film as the excessive contrast in busy images tends to muddle the scene unless viewing large.
Nevertheless I was pretty pleased with the results.
Anyway here is the whole roll, comments most welcome.
Please click a photo to view larger
All images on my blog are available as prints just drop me an email
My favorite B&W film stock has got to be ilford HP5 due to how versatile it is.
I have pushed it to 3200 and still got great results, I have also used Kentmere 400 in 35mm on quite a few occasions and was pretty happy with what I got but it never pulled me away from using HP5.
So when all the you tubers I follow suddenly started putting out videos about the new Kentmere in 120 format I was a little taken aback as I was unaware that ilford were releasing a new film.
As I am not one of the ilford chosen few I had to buy my own to try so I got a few rolls of Both 100 and 400 iso from the excellent Analogue Wonderland.
I loaded the 400 in my Yashicamat 124g and popped out to burn a roll and see what it was like.
I developed it using ilfotec DD-X 1+4 dilution for 11.30mins and scanned using my Epson V600.
First look at the negatives and they looked very flat with minimal contrast.
When scanning that is exactly how they turned out but that isn’t a bad thing because once they were in Lightroom the dynamic range was excellent and with just a few tweaks the images looked fine with great tonal range, minimal grain and nicely sharp.
Overall this film is a winner for me as it is only £5 a roll and gives great results .. I will have to try pushing the next roll to 800 or even 1600 to see how it copes, I regularly shoot HP5 pushed and love how that looks.
Anyway here is the whole roll, comments most welcome.
Please click a photo to view larger
All images on my blog are available as prints just drop me an email
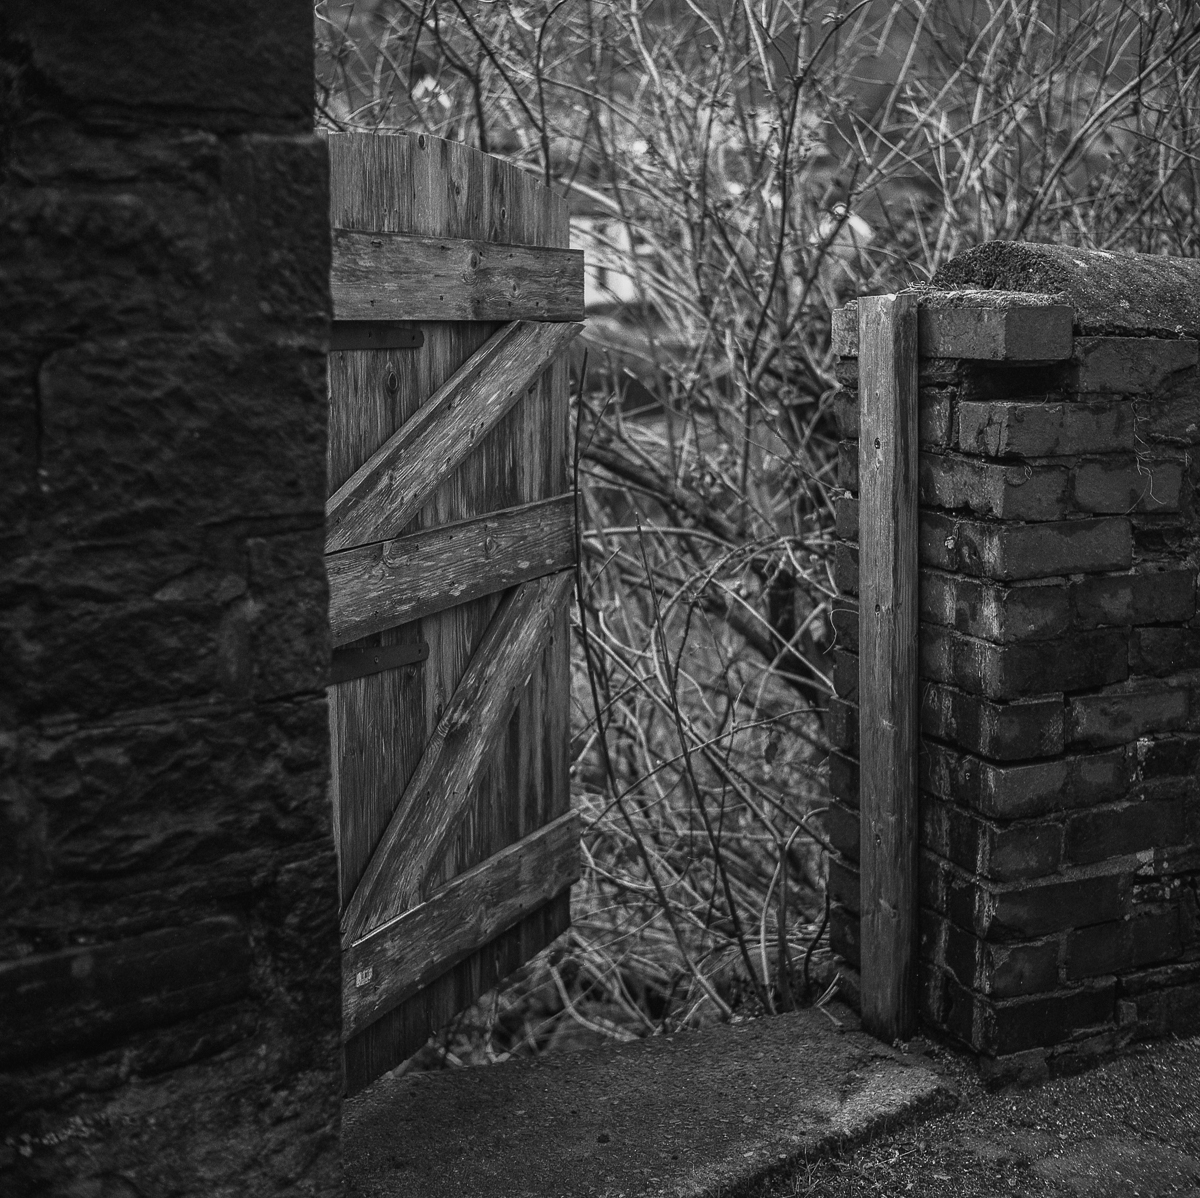
As I have said before I am trying to spice up my photography this year by trying different things so I decided to try out a roll of film that has been in my fridge for ages … Silberra Orta 50.
I have had this roll for over 2 years and have tried ilford’s Ortho offering before digging this out.
I really liked how Ortho 80 looked when I tried it so I was looking forward to seeing how Orta 50 compared as they are both Orthochromatic films.
It was a reasonably bright day so I loaded my Nikon F90 which I have been neglecting recently and went out for a walk.
When I returned home and opened the Massive Dev app to decide how to develop the roll I realised that the only developer that I had that was suitable was Rodinal which as it happens was the developer I used when shooting Ortho 80 last time.
The dilution/times were 1+25 for 11 minutes
The resulting negatives were extremely contrasty looking out of the tank and just the same when scanning.
I am not sure if it is the developer or the film stock itself but most of the images had a sort of a glow about them and quite a few of the highlights had blown out.
The overall look was pleasing and I liked the contrast and sharpness but compared to ilford Ortho 80 the tonal range was far more compressed.
If I had to choose which stock I would shoot again it would have to be Ortho 80 to be honest as Orta 50 was a bit too harsh for me and the grain was a little too intrusive but that may have been the fault of using Rodinal.
So here is most of the roll minus some duplicate frames.
Please click a photo to view larger
All images on my blog are available as prints just drop me an email
One of the things I want to do this year is try different things with my photography as I feel that last year not only was my film roll count down compared to previous years it was also very samey.
Out of the first six rolls shot this year I didn’t really do much different to usual so with number seven I decided to see how ilford XP2 looked in B&W chemicals compared to C41.
I did a bit of research on the interwebs and decided to shoot the roll at 640/800 iso in my Yashicamat 124G and process it using ilford DD-X 1+4 dilution for 13.30 mins.
Once out of the tank at first glance the negs seemed rather thin and quite under exposed with the base looking a pale pink colour.
But on scanning I was really surprised how they looked, yes they were a little under exposed but nothing that Lightroom couldn’t handle and the images had bags of contrast and sharp as a tack.
The grain was pretty noticeable and I did have some weird effects in the sky but that was probably due to the fact it was expired film rather than the B&W chems.
Overall I was very happy with the roll and would develop XP2 in B&W again, most probably at box speed and fresh rather than pushing it.
I have experimented before shooting XP2 at various iso’s on the same roll then developed in standard C41 and got excellent results .. see here :
I have loads of cameras all of which produce technically excellent images due to the metering/lenses and the ability to choose how you want the image to look as you can determine the aperture to control depth of field or the shutter speed to control the exposure.
I have always liked panoramic images and have in the past shot 35mm in my Fuji Gw690iii to get a sudo pano look and as I am very unlikely to find an Xpan in a charity shop I am going to have to make do shooting multiple frames and sticking them together to get my panos.
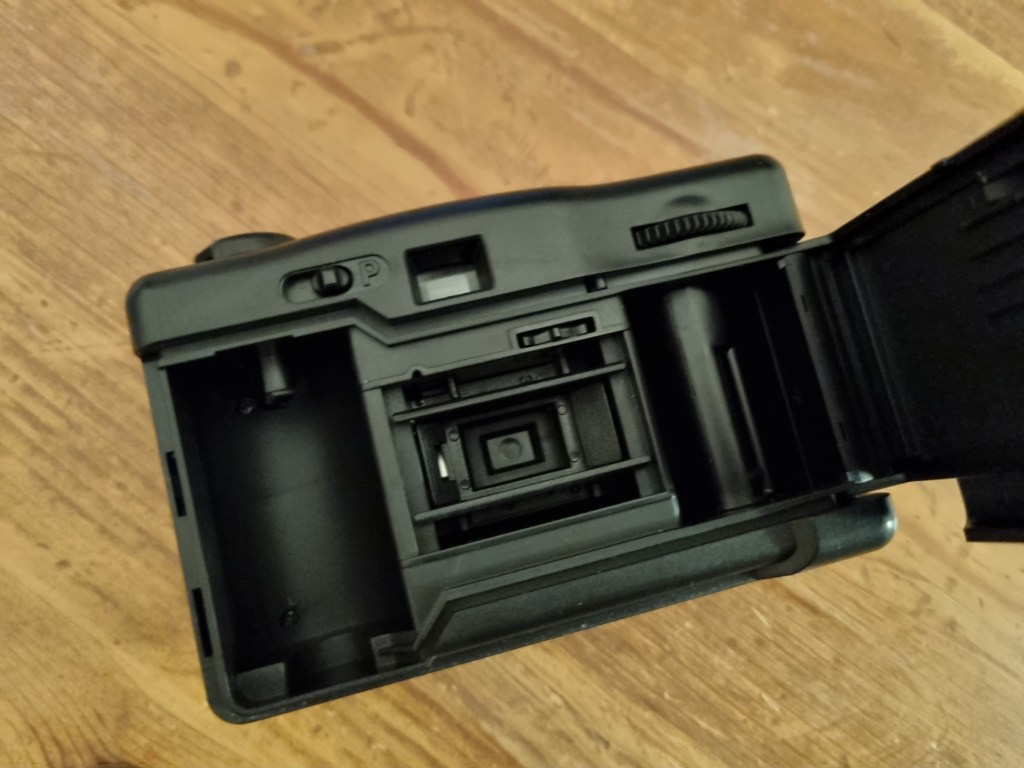
The other day I was going through my camera drawers and various camera bags and came across a little plastic camera that I didn’t know I had.
I am sure I never bought it so I must have been given it at some point.
Not knowing anything about it other than it said PN919 on the front I checked out Google to find that it was a rebadged Vivitar by the Readers Digest magazine from years ago.
It gives you the option of shooting straight 35mm or with a flick of a switch it gives a fake pano by just exposing the centre of the frame ( you could just do this in Lightroom on a full frame but where’s the fun in that”.
What I like with this camera which is also the same when I shoot my Holga and Diana cameras is the fact that I can just worry about the content and composition of what I am shooting and let everything else be what it will be.
I loaded it up with a roll of trusty ilford HP5 and went out for a walk to test it out.
When I got home I went to rewind the film and it was very loose and didn’t seem to be rewinding, I thought that the film take up spool had let go of the leader and I had not shot any frames so opened the back in very dim light only to find that it had fully wound on to the take up spool.
I quickly closed the back and attempted to rewind again and eventually it did start to rewind albeit very stiffly.
I developed it in ilford LC29 1+19 dilution and when I opened the tank I was pleased to see that only the last few frames had been affected with the back being opened.
Overall I was pleased with how the images look, they are not all that sharp but the pano effect coupled with the gritty HP5 look made me smile.
Would I recommend this camera if you could find one? .. in a word Yes! as it’s a fun thing to try, I wouldn’t pay a lot for it but if a cheap one came up then give it a go.
Here are all the images along with some images of the camera showing the pano mechanism.
There are also one or two full frames images there just to see the difference
Comments most welcome ….
All images on my blog are available as prints just drop me an email
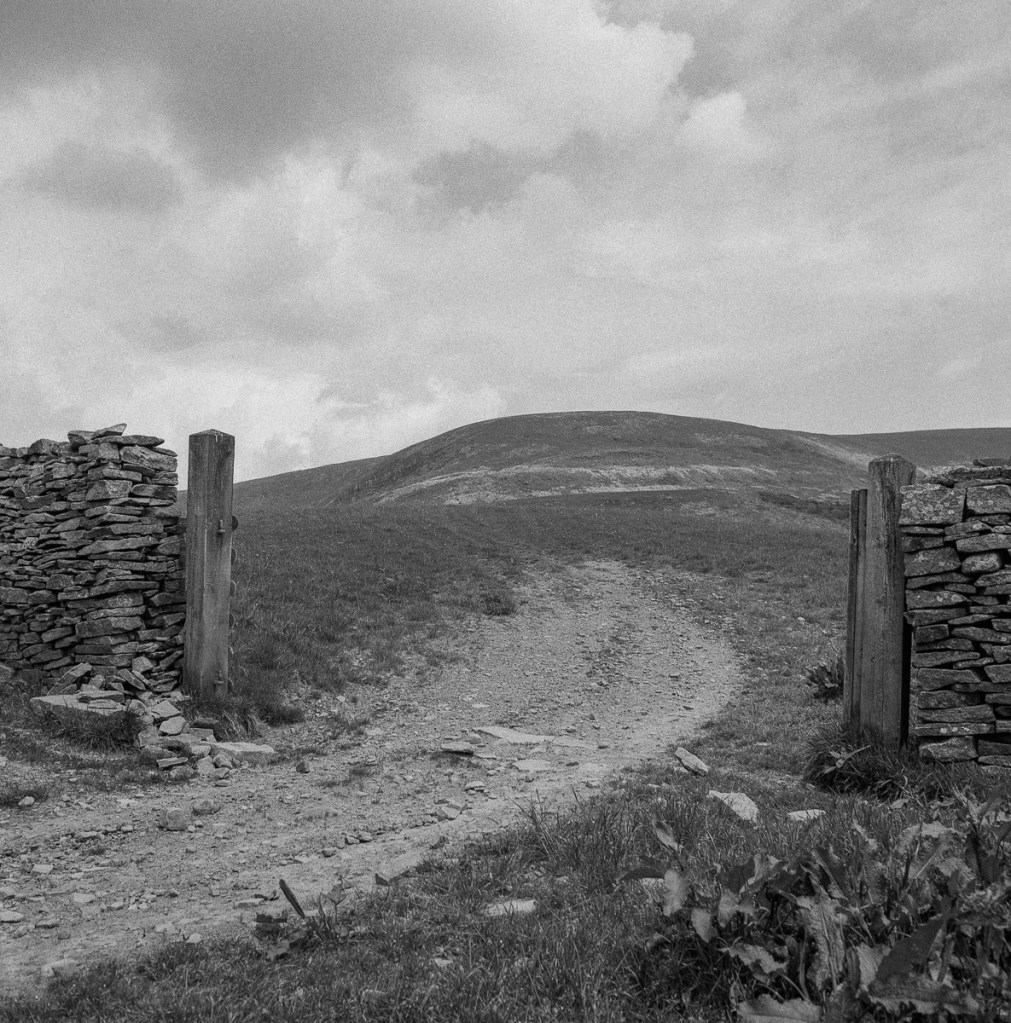
I have shot Fomapan in both 100 and 400 iso in the past on 35mm and have tried different developers but have never been all that impressed with the results I have achieved.
I have seen lovely images shot using this film so I bought some Fomapan 100 and 400 in 120 format to give that a go.
I also bought some ilfotech LC29 developer at the same time so I loaded my Mamiya C330 with a roll of 400 and on a really cloudy overcast afternoon I went out and shot the roll at my local haunts where I have had nice results in this type of weather/lighting before.
Even though it was not the brightest of days I still managed to shoot most of the frames at between f5.6 and f11 hoping to test how sharp Fomapan 400 is.
After development the negatives looked pretty contrasty so I was excited to scan and see what I had.
The initial scans using my Epson v500 and Epson scan were promising and once in Lightroom/Photoshop the images blew me away … really nice contrast, not too punchy and sharpness in spades.
The C330 always gives me contrasty sharp images on most film stocks and didn’t fail here either.
Fomapan in 120 is like chalk and cheese compared to 35mm, I never got anything like this even from Fomapan 100 yet alone 400.
Suffice to say I immediately bought more Fomapan 400 and will be shooting it much more in future.
Here is the whole roll .. comments most welcome
Click on an image to view larger
All images on my blog are available as prints just drop me an email