
 Quick disclaimer … this is not a full in depth techy review its just my personal impression after a few weeks playing about with this scanner.
I have never been totally happy with any of my own scans, not that there has been anything wrong with them really but they never seem as good as when I get stuff done in the lab.
I usually use an Epson v500 flatbed scanner and the bundled epson software.
I try to scan as flat as I can capturing as much of the Highlight/Shadow detail as possible by adjusting the individual RGB channels then do all the heavy lifting in Adobe Lightroom.
This workflow seems to yield the best results for me.
I was debating wether to upgrade my flatbed to an Epson v800 (I may have to as I am now looking to scan 4×5) but came across a review of the Plustek 8100 and saw that it was only £150 here in the uk so decided to jump in and give it a go.
Here is the link to where I bought it …
Its a nice compact unit and feels pretty solid but the film holders are just as flimsy as my epson ones.
This is a totally manual scanner in the sense that you can only scan one frame at a time, no batch scanning and no motorised loading you just have to push the holder to the next frame but it stops in position with a nice positive click so you know that the frame is aligned correctly.
The film holder is not the easiest thing to use if you have curly film as it is a pain to position and then close the top flap without actually handling the film surface so gloves are a must.
Also as a side note …. this is a 35mm only scanner
It comes complete with a nice little bag that holds the scanner/film-slide holders and leads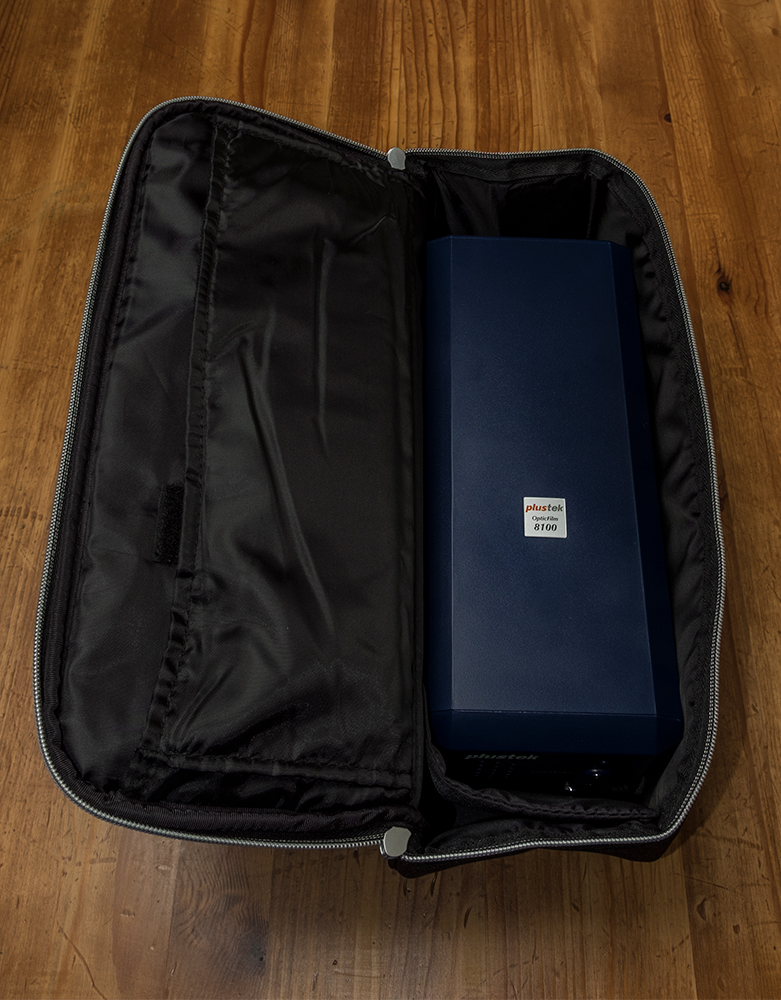 The supplied software is Silverfast SE Plus 8 which I must admit has a damn steep learning curve compared to the Epson Scan software.
 So now to the results ….
Well before that just a quick word on the Silverfast software …
There are so many options that unless you enjoy scanning this is not for you.
My 1st scans were pretty awful, I clicked and tweaked away at every option and got nowhere fast.
I then tried to scan flat like I was used to and that was poor also so I then decided to check out the web for some instruction and to be fair the silverfast website really helped big time.
The best thing that this scanner/software does is multi exposure scanning … yes it takes quite a while but the results are worth it also the Negafix option gives you a great starting point with the colours as it features a ton of film profiles that you choose when you begin scanning.
All in all I bought this scanner to hopefully get better scans which It really does but I am not going to scan all my images with it as the workflow is pretty time consuming rather I am scanning my rolls with the epson 1st then re scanning the frames that I may want to process further or especially if I want to print an image as the amount of detail that it captures is way more than the v500 for sure.
This is the cheapest version that Plustek sell.
The next one in the range is about £80 more and features infrared scanning for the dust removal this model has dust removal but without the infrared pass so obviously its not as accurate but I never used it much on my v500 so didn’t want to spend the extra £80.
I have used the SRD which is what Silverfast calls the dust removal and it works fine but if its something that you require I would recommend buying the 8200i SE which incorporates the infrared scanning. This was a really old negative that had slipped out of a folder some how and was pretty badly marked and scanned on my v500.
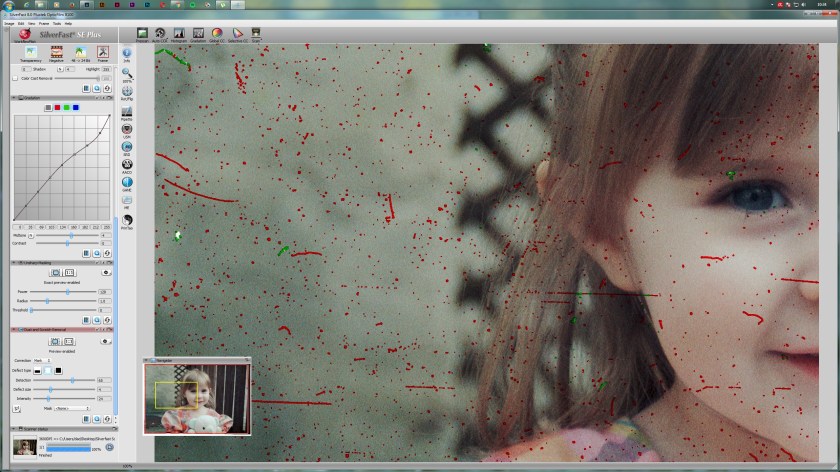 This is the Opticfilm 8100 scan using the SRD attempting to find the dust.
 This is the scan after the dust removal which is pretty good considering it does not have the infrared channel to help.
 Using the Negafix part of the software you get much closer to the correct color straight from the scanner and before Lightroom ….. this is Kodak Ektar.
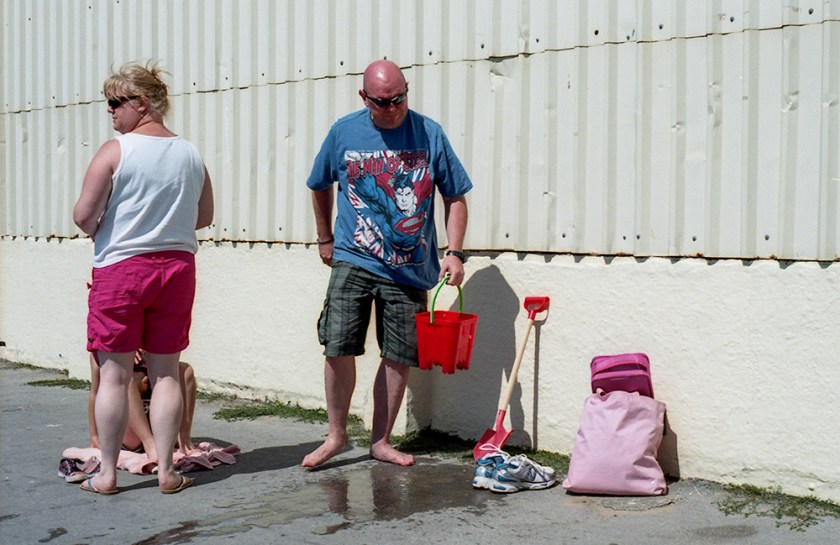
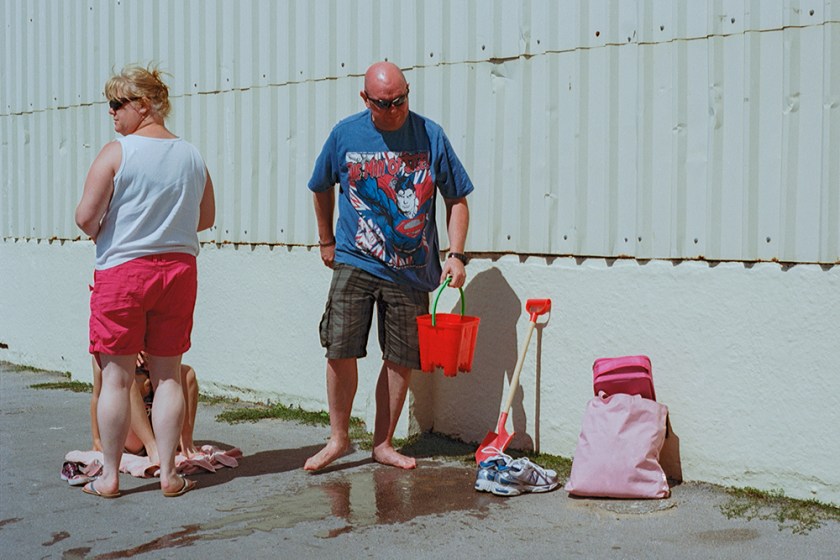
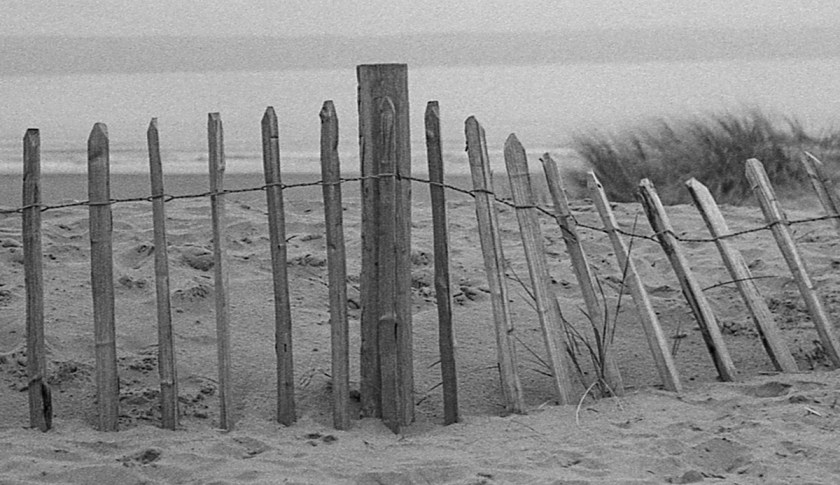 Epson V500 scan of some Tmax 400 … the 2nd image is a 100% crop
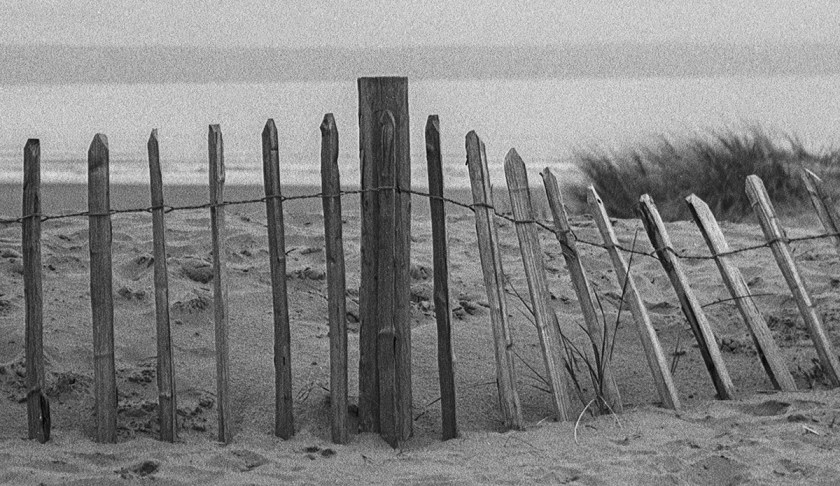 This is the Opticfilm 8100 version which captures much more detail and it can then be processed further in Lightroom.
Click on the crops to see ….
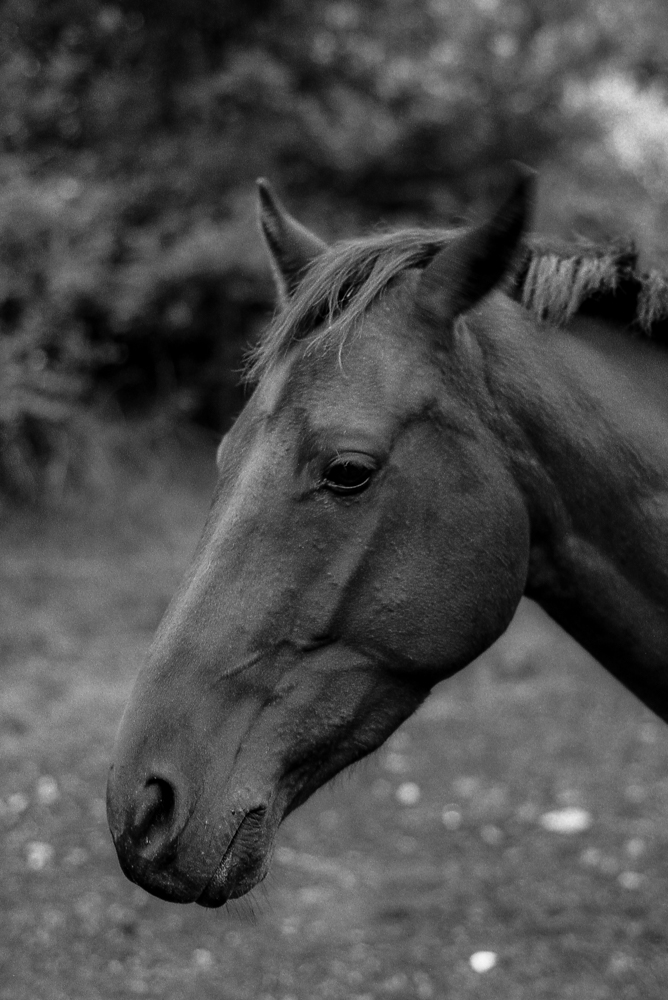
Here are some more samples to compare
The V500 versions have been through Lightroom for full editing while the Opticfilm 8100 versions have only had dust removed in Photoshop CC then re-saved as jpegs … no colour editing or sharpening etc….


Just to finish off I am very happy that I bought this little scanner it doesn’t break the bank as far as scanners go and gives great results if you are willing to give each scan a bit of time.
Its not an everyday scanner unlike the V500 and I would find it quite hard going if this was my one and only scanner especially as I tend to shoot at least 1 roll of film a week so in conclusion I would have to say that if you shoot 35mm and want your scans to get to at least lab standard (not drum scanning) then this is a must buy especially at the £150 price point.
Thanks for looking ….
Click on an image to view larger
I also have a film only blog over at usingfilm.wordpress.com if you want a peek 🙂

I have the 7500i, AFAIK this is a 8200i with the old Silverfast 6 SE rather than 8 SE. It’s an excellent scanner. In the end I gave up on SF after it stopped working on my Mac, and the upgrade to 8 was too expensive, so I got Vuescan Pro for much less money, and it works on the V500 as well. UI also a bit odd but you get used to it. The scanner review at http://www.filmscanner.info/en/PlustekOpticFilm8200i.html is worth reading in detail.
BTW I find the 35mm negative holders on the Plustek much better than those on the Epson because of the cross strips… easier to hold curly film flat! But getting it in, properly located, is a learned skill involving more fingers than I usually have available!
Couple of further comments… both multi-scan and multi-exposure are useful features. ISTR that SF 6 would not allow me to use both together, but Vuescan Pro does. Multi-exposure is useful for getting into shadow areas in transparencies, or highlight areas in negatives. Multi-scan helps reduce noise; I usually do at least 2 scans, sometimes 4 or even 8 for an image I’m really cosseting.
Be careful of the software SRD… it works fine much of the time, but try it with an image with fine detail like tree twigs and you may lose some of them too. I found the masking feature in SF useful to keep the SRD away from such areas.
My curly film technique is roughly… hinge at the left, justify left end of film, pinch the left end of the top plate down pressing against the back of my right hand, enough to hold the end of the film in place, locate the right hand (ish) end of the film, hold the rebate in place with my right forefinger, then let the top plate snap downwards. Don’t know if that makes any kind of sense!
Oh, 2400 dpi seems to be the sweet spot for me. I occasionally do 3600 dpi but on a fine detail caomparison I could not convince myself I was really getting more detail.
Hey! I just came across your review of the plustek. Thanks for the post! I am curious though… What settings did you use for the black and white scans? Because the results look so good. And when I do it… Well, lets just say i have seen better. 😛 So I am trying to determine it is my lens. Or maybe the way I scan my negatives…