Carl Zeiss Flektogon 35mm f2.4 on my Nikon FM2n …..

I was very lucky a few months back to be gifted a bunch of old camera stuff from a friend, most of which sadly was pretty far gone but mounted to an old Praktica that had died was this beauty … Carl Zeiss Jena Flektogon 35mm f2.4

Funny thing was I was reading a random blog post only days before extolling the virtues of this particular lens.

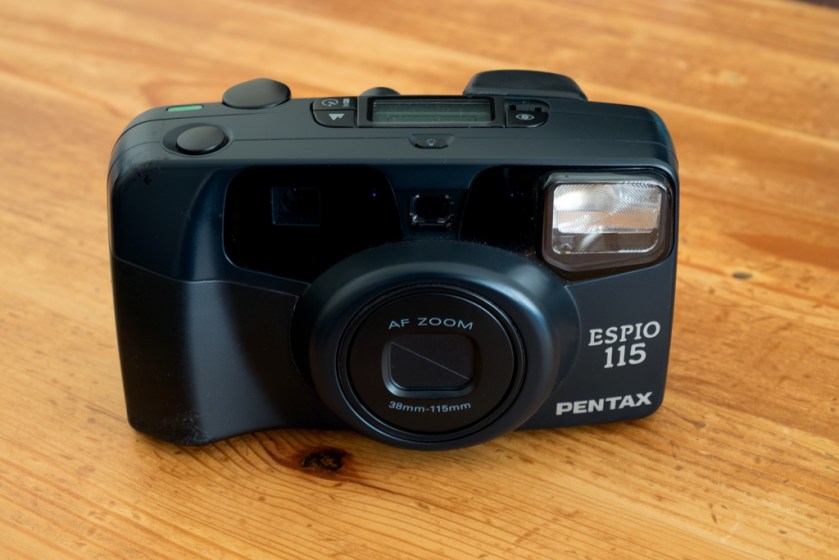
I have a couple of M42 mount cameras so mounted it on my working Praktica MTL 5B and shot a roll of expired Kodak Colorplus just to test the performance.

See link here .. carl-zeiss-jena-flektogon-35mm-f2-4

I was very pleased with how the lens performed so I decided to get an M42 adapter for Nikon F mount so that I could use it with some of my older Nikon Slr’s.

I made sure that I got one with the glass element that let the camera focus to infinity and mounted it on my FM2n loaded with some ilford XP2 and went out to test it.

I found that if I switched the lens to manual diaphragm mode then the FM2n metered correctly for me.

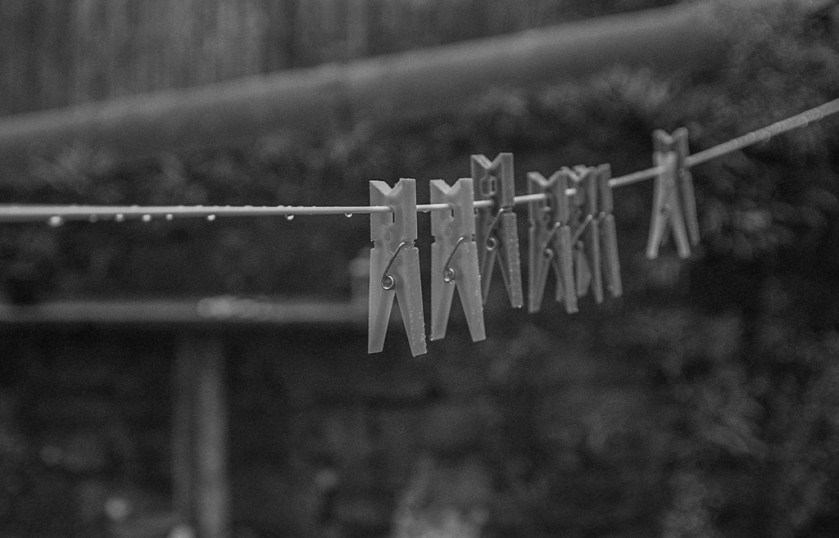
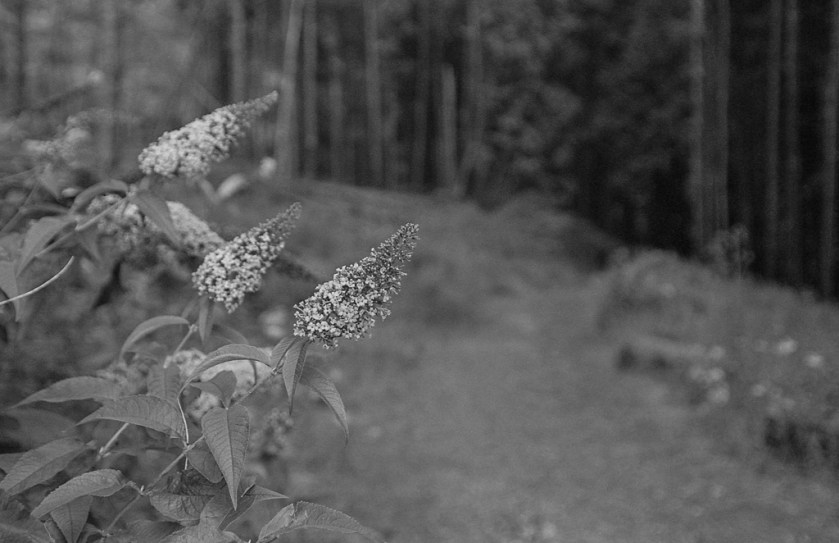
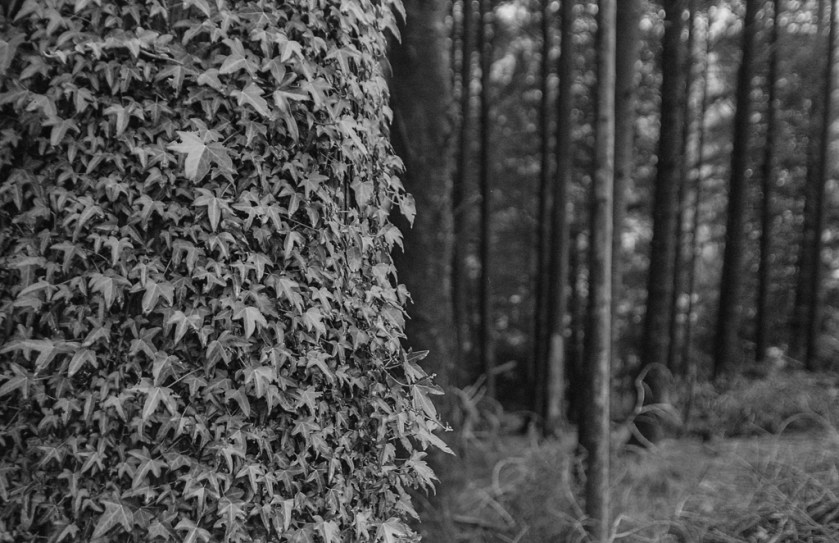
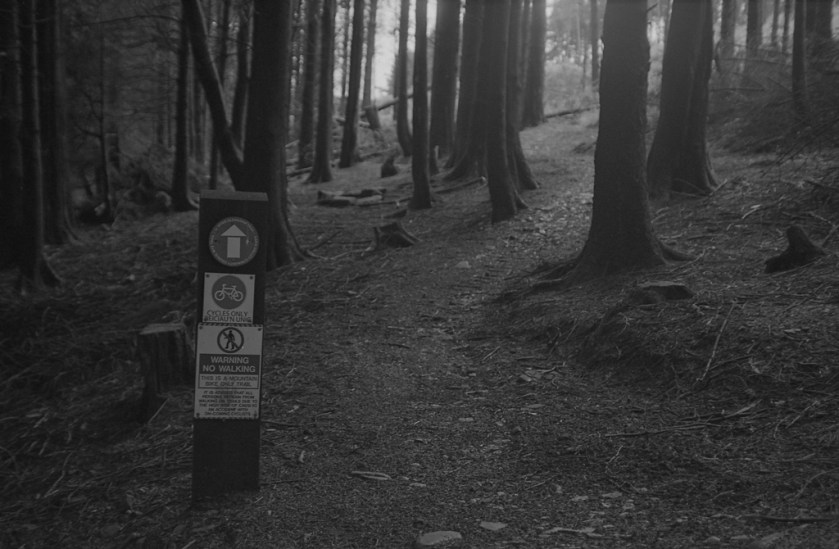
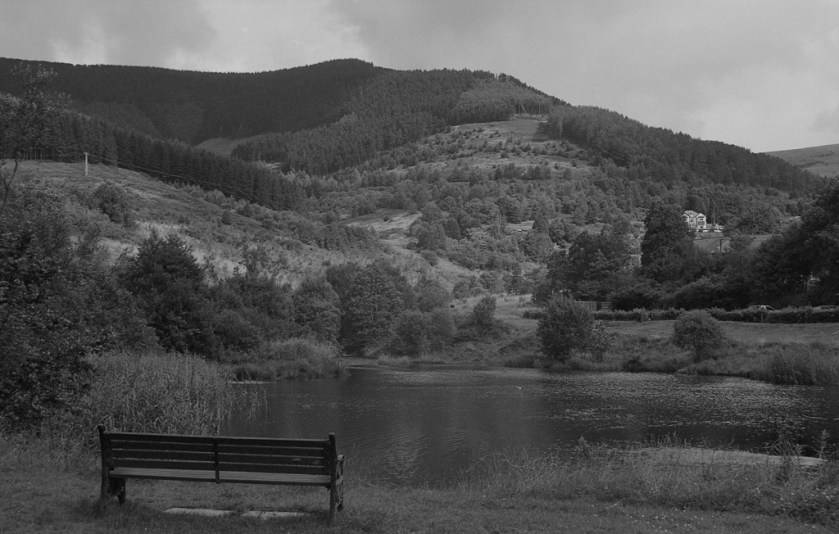
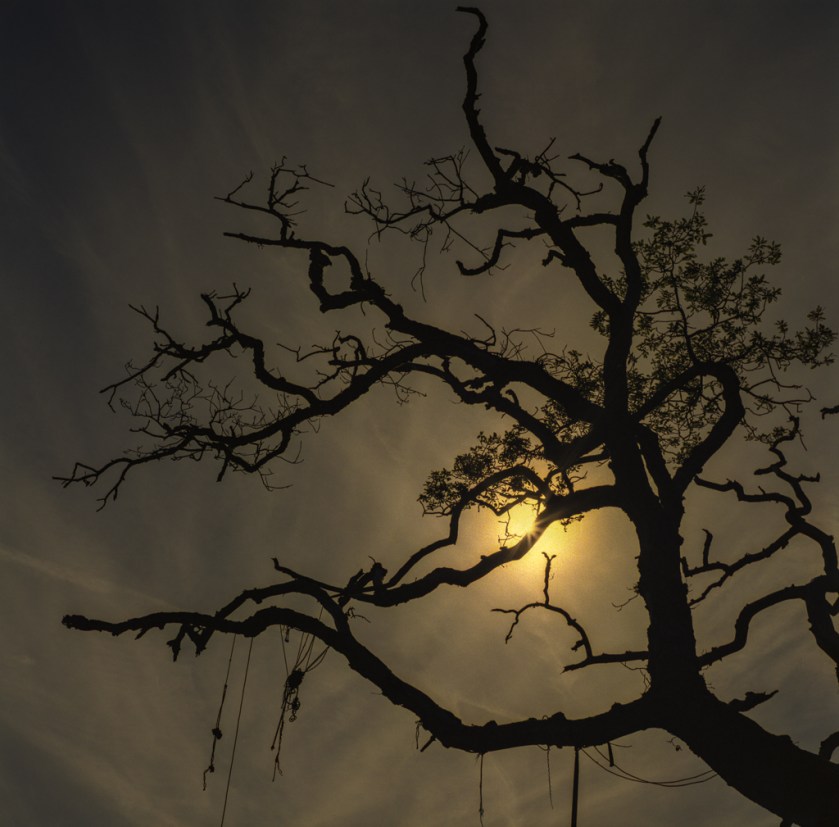
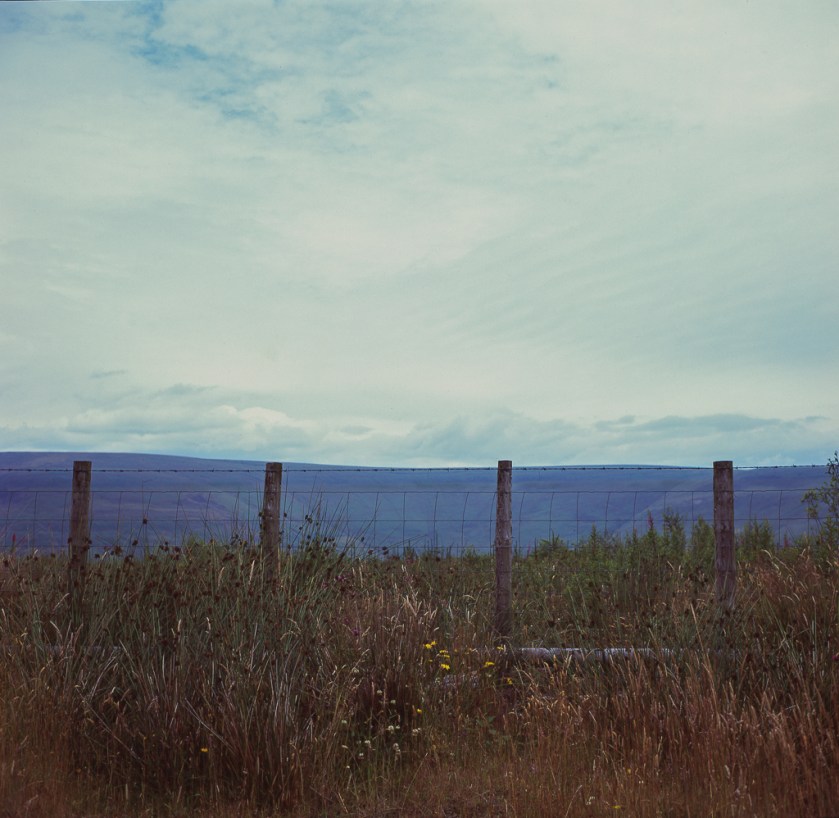
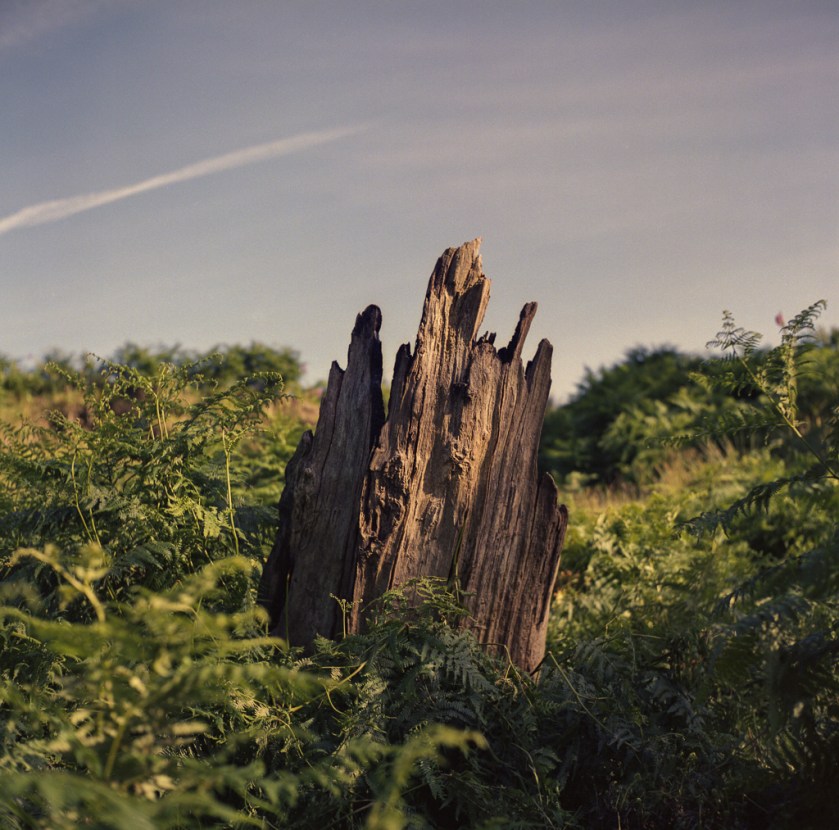
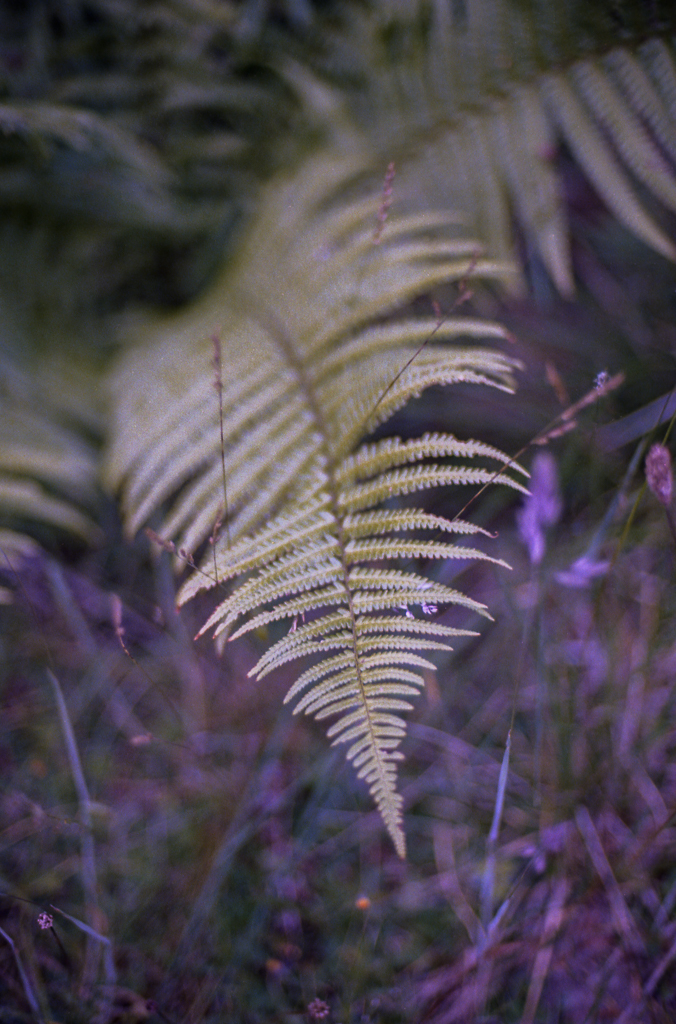
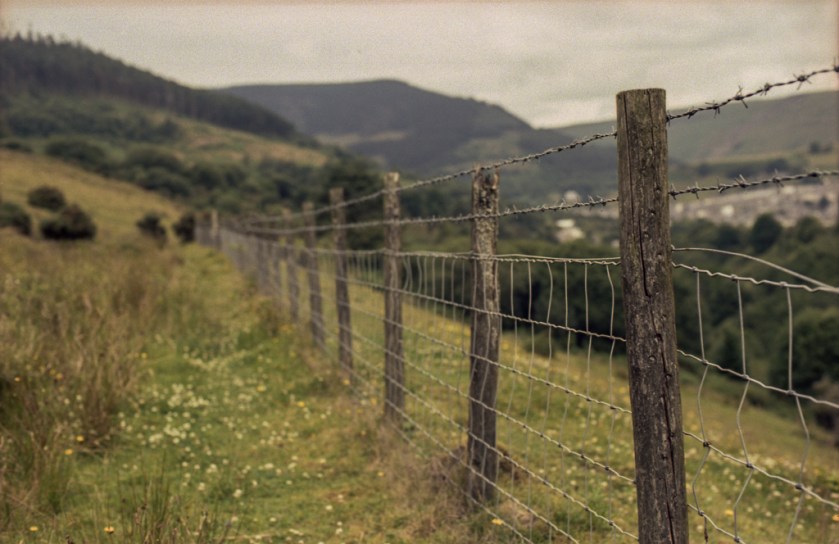
Here are some sample images mostly shot wide open at 2.4 through 5.6 with the bench landscape at f11.

The viewfinder dimmed quite a bit the more that I stopped down making it quite hard to focus but if you switch back to auto diaphragm mode to focus if you are using f8+ then back to manual to meter then all is good. 
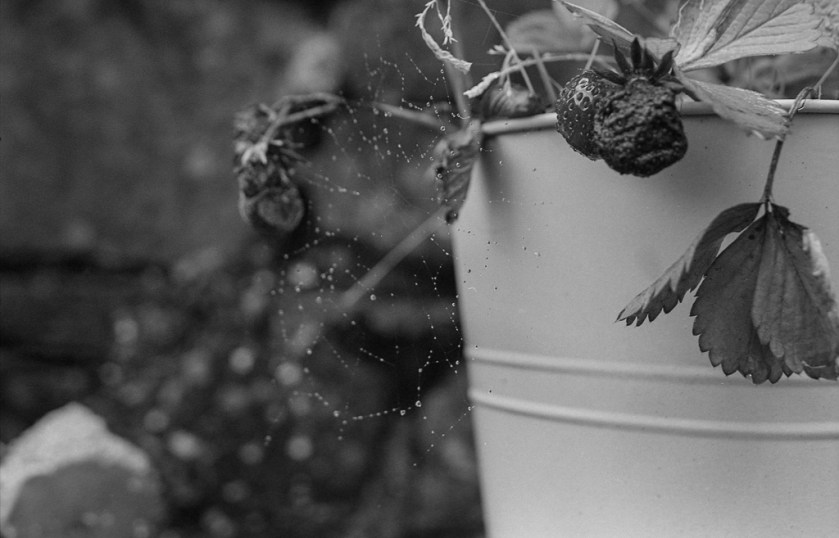
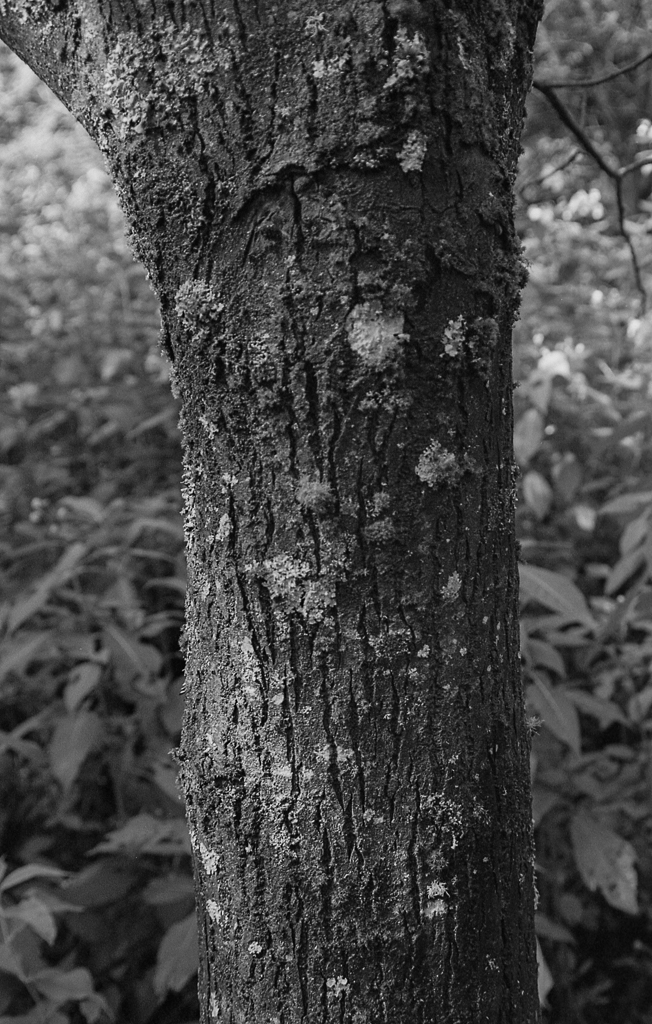
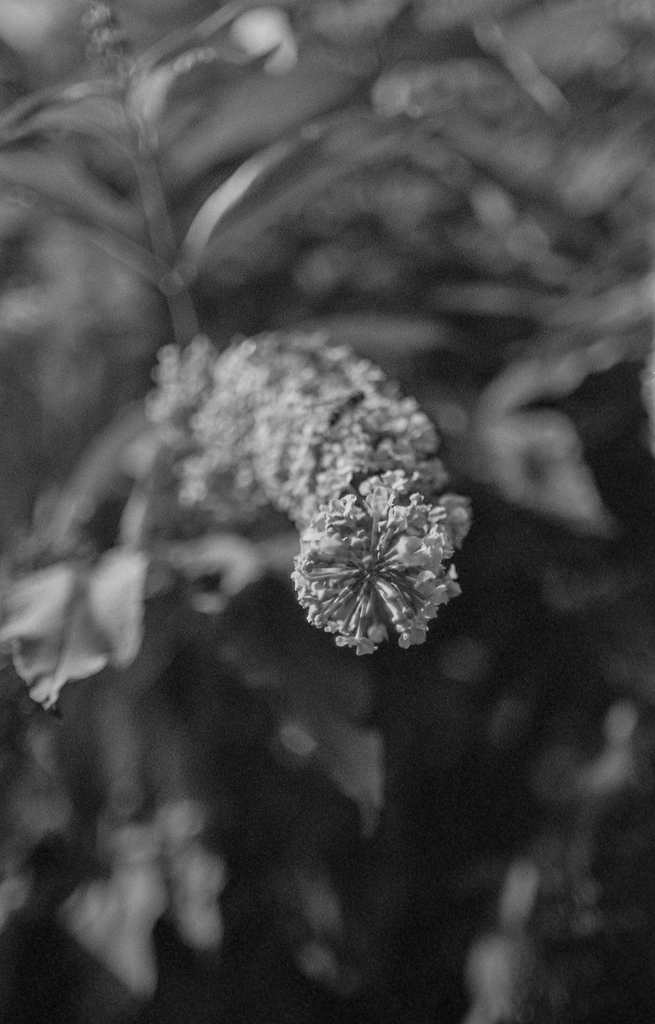
All in all I am very pleased with this little lens and it has the added benefit of being able to close focus down to 19cm.

Considering I got this for nothing is a bonus but I wouldn’t hesitate to recommend this as a purchase as you will not be disappointed

Thanks for looking ….

Click on an image to view larger

All images are available as prints just drop me an email

I also have a film only blog over at  usingfilm.wordpress.com if you want a peek 🙂


All my #SummerFilmParty entries in one place ….

I have been taking part in a Twitter competition #SummerFilmParty where the photographers have to use certain types of film during shoot week then over the following 2 weeks develop and then post the results.

Today was the last posting day so I decided to also post all my entries her together.

I used 2 cameras … Nikon F90 with a 50mm f1.4 & Sigma 105mm f2.8 with some Kodak Ektar.

and Yashica Mat 124G with Fuji Reala 100 both rolls developed and scanned at home.

Here they are in no particular order … Obviously the Square images are from the Yashica Mat  🙂 As usual it was fun to be a part of …. here is the link to Emulsive where you can see the info about this and future competitions .. Summer Film Party also here is the Twitter link @summerfilmparty 

Thanks for looking ….

Click on an image to view larger

All images are available as prints just drop me an email

I also have a film only blog over at  usingfilm.wordpress.com if you want a peek 🙂

Do you need to calibrate your monitor ….. ?

I suppose the answer to this question depends on what you are doing.

I mean if you are a photographer who just posts the odd image on the web then maybe the answer is no as most of the time people will view your image on a smartphone or on a monitor that is also un-calibrated so you have no control over how the colours in your image may look to them.

If on the other hand you want print out your images or post them on a blog or website and have some control on how the colours will be seen (assuming the end viewer also has a calibrated monitor to) then calibrating your system is a must.

I have been calibrating my system for years using  one of the original Datacolor Spyder express 2 which has served me well all this time but I recently managed to get hold of the new Spyder 5 to compare between the old and the new thanks to @digitalglueuk and datacolor.com

Firstly I was pleased with the size difference, the new Spyder 5 was a much neater compact unit that split open to reveal the sensor and the cover was then used as a counter weight over the top of the monitor.

Also after installing the software I was especially pleased to find that I was able to calibrate multiple monitors where as with my Spyder 2 I was limited to just the single monitor ( I use a 2 monitor set up ).

The sensor also monitors the ambient room light to optimally tune the screen to your environment.

Quite a few people ask me if calibrating your monitor is hard to do?

Well I have taken a few screen shots just to show you how easy it is as it is a step by step process that anyone can do .

The software guides you every step of the way…All you have to do is follow along and change a few monitor settings and you are done in a matter of minutes…You then save the new profile and the final screens will show you the before and after views …The best thing is if you have multiple computers when you calibrate each one you know that when you are editing/viewing the same picture on each computer you will get the same look and then when you save the image with the embedded profile and send it to the printer or out to a lab you know that the image will be reproduced pretty damn close to how it appeared on your screen (obviously it depends on the output device matching the colour gamut of the profile you used).

Since getting the new Spyder 5 I have printed loads of images and had a few done in a lab and the results have been perfect that’s not to say that my old Spyder 2 did not do the same but the ease of use and the newer software with the Spyder 5 made the whole process so much easier.

I cannot recommend this product highly enough, It is so easy to use with such huge benefits to a photographer that  I personally think everyone should get one.

I have only ever used the Datacolor calibrators so I can’t speak of any others out there on the market but I imagine that they may be just as good/easy to use too but they would have to go a long way to beat this little gem.

Thanks for looking ….

Click on an image to view larger

I also have a film only blog over at  usingfilm.wordpress.com if you want a peek 🙂

#Camerachallenge time ….

Over the last week or so I have been taking part in the #camerachallenge on twitter organised by fellow photographer Jason Avery @Jaysargo who came up with the idea of buying a camera for under £5 or equivalent in any other currency and then shooting and posting the results followed by a twitter Q&A today all about the process.

I am always looking on ebay and in charity shops for cameras so that part was not new to me so this challenge was right up my street.

I managed to get 2 cameras for under the £5 price both of which were Pentax Espio’s … the 115 and 140 which differed slightly but the main difference was the zoom length as the numbers in the names suggested 38mm to 115 and 140mm.

Also the 115 had a so called macro setting that the 140 did not have while the 140 has an extra spot af setting and both of those were useful, it would have been nice to have both on one camera.

They both also had a pano setting which only seemed to crop to the centre of the 35mm frame and most importantly you could shoot without the flash if you wanted and not be automatically forced to use it .

Also there was a landscape af mode on both which I assume  focussed to infinity and stopped down the lens to achieve a greater DOF. I tried all the of the available modes and was pretty impressed with the results. The Espio 115 shot a roll of Kodak Tmax 400 while the 140 already had a roll of what turned out to be Tudor XFG 100 which had 6 frames already shot.

I developed both rolls at home and here are some of the images.

First the Pentax Espio 115 & Tmax 400

And the Espio 140 and Tudor XFG 100

All in all both cameras were great and if I had used a better roll of film in the 140 instead of the expired roll that was already in there I would have said that both cameras had great lenses that gave very sharp and contrasty results.

This challenge has been good fun and I would recommend other film photographers reading this to give it a try … follow Jason and keep a lookout for the next challenge, I am not sure how it will differ from this one but thats the fun really.

It just goes to show that you don’t need expensive kit to get nice images and also how cheap it is to get into film photography.

After the Q&A today I may give one of these cameras away to someone who is interested in getting into film photography so follow me on twitter or leave a comment below.

Thanks for looking ….

Click on an image to view larger

I also have a film only blog over at  usingfilm.wordpress.com if you want a peek 🙂